2-2 SPEAKERS DISTANCE
Use this parameter to specify the distance of each speaker’s position from the listening position. The delay time is automatically calculated according to these distances.
Begin by determining the ideal or most commonly used seating position in the room.
This is important for the timing of the acoustics to create the proper sound space that the SR5600 and today’s sound systems are able to produce.
Note:
•For speakers that you have selected “NONE” the Speaker Configuration sub-menu will not appear here. (There are several useful books and special DVD and LD’s available to guide you through proper home theater configuration. If you are unsure, have your Marantz dealer perform the
i n s t a l l a t i o n f o r y o u . T h e y a r e t r a i n e d professionals familiar with even the most sophisticated custom installations. Marantz recommends the WWW.CEDIA.ORG website for further information about this).
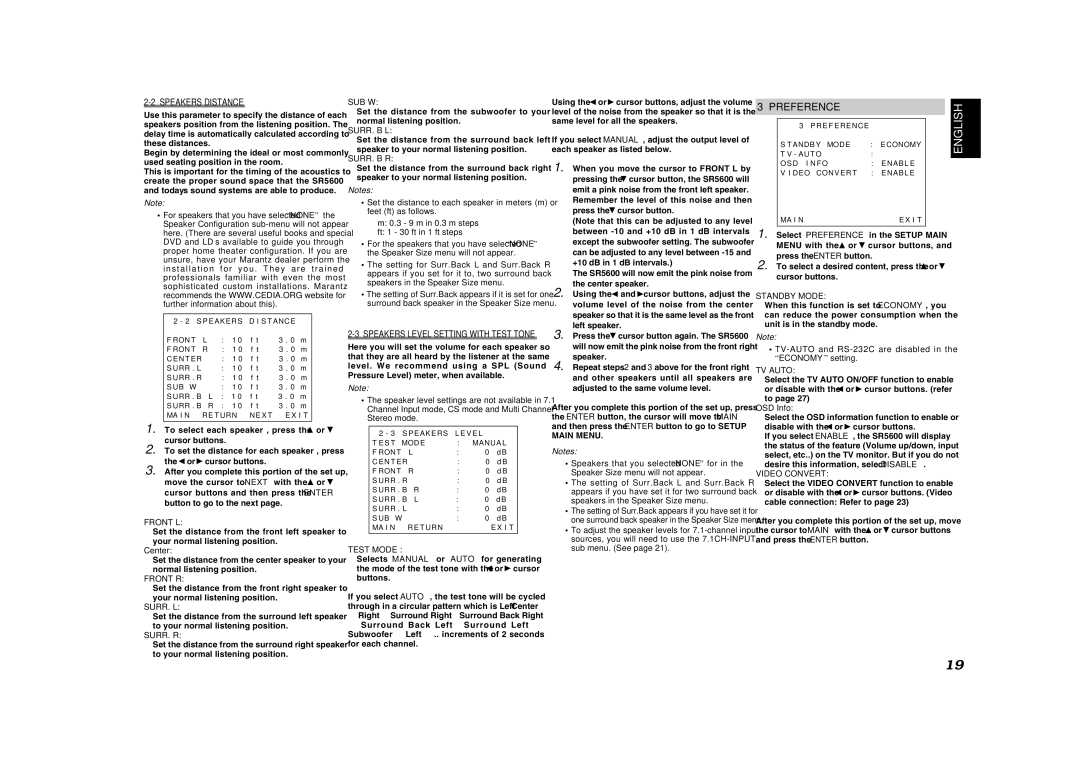
2 - 2 S P E AK E R S | D I S T ANC E | |
F RON T | L | : | 1 0 | f t | 3 . 0 | m |
F RON T | R | : | 1 0 | f t | 3 . 0 | m |
C E N T ER | | : 1 0 f t | 3 . 0 m |
S URR . L | | : | 1 0 | f t | 3 . 0 | m |
S URR . R | | : | 1 0 | f t | 3 . 0 | m |
S UB W | | : 1 0 f t | 3 . 0 m |
S URR . B | L | : | 1 0 | f t | 3 . 0 | m |
S URR . B | R | : | 1 0 | f t | 3 . 0 | m |
MA I N R E T URN N E X T E X I T
1. To select each speaker , press the  or
or  cursor buttons.
2. To set the distance for each speaker , press
the or
or cursor buttons.
3. After you complete this portion of the set up, move the cursor to “NEXT” with the  or
or  cursor buttons and then press the ENTER button to go to the next page.
FRONT L:
Set the distance from the front left speaker to your normal listening position.
Center:
Set the distance from the center speaker to your normal listening position.
FRONT R:
Set the distance from the front right speaker to your normal listening position.
SURR. L:
Set the distance from the surround left speaker to your normal listening position.
SURR. R:
Set the distance from the surround right speaker to your normal listening position.
SUB W:
Set the distance from the subwoofer to your normal listening position.
SURR. B L:
Set the distance from the surround back left speaker to your normal listening position.
SURR. B R:
Set the distance from the surround back right speaker to your normal listening position.
Notes:
•Set the distance to each speaker in meters (m) or feet (ft) as follows.
m:0.3 - 9 m in 0.3 m steps ft: 1 - 30 ft in 1 ft steps
•For the speakers that you have selected “NONE” the Speaker Size menu will not appear.
•The setting for Surr.Back L and Surr.Back R appears if you set for it to, two surround back speakers in the Speaker Size menu.
•The setting of Surr.Back appears if it is set for one surround back speaker in the Speaker Size menu.
2-3 SPEAKERS LEVEL SETTING WITH TEST TONE
Here you will set the volume for each speaker so that they are all heard by the listener at the same level. We recommend using a SPL (Sound Pressure Level) meter, when available.
Note:
•The speaker level settings are not available in 7.1 Channel Input mode, CS mode and Multi Channel Stereo mode.
2 - 3 S P E AK E R S L E V E L | |
T E S T MOD E | : | MANUA L |
F RON T | L | : | 0 | d B |
C E N T ER | | : | 0 | d B |
F RON T | R | : | 0 | d B |
S URR . R | | : | 0 | d B |
S URR . B | R | : | 0 | d B |
S URR . B | L | : | 0 | d B |
S URR . L | | : | 0 | d B |
S UB W | | : | 0 | d B |
MA I N R E T URN | | | E X I T |
| | | | |
TEST MODE :
Selects “MANUAL” or “AUTO” for generating the mode of the test tone with the or
or cursor buttons.
If you select “AUTO” , the test tone will be cycled through in a circular pattern which is Left →Center
→Right → Surround Right → Surround Back Right
→Surround Back Left → Surround Left → Subwoofer → Left →.. increments of 2 seconds for each channel.
Using the or
or cursor buttons, adjust the volume level of the noise from the speaker so that it is the same level for all the speakers.
If you select “MANUAL”, adjust the output level of each speaker as listed below.
1. When you move the cursor to FRONT L by pressing the cursor button, the SR5600 will emit a pink noise from the front left speaker.
Remember the level of this noise and then press the cursor button.
(Note that this can be adjusted to any level between -10 and +10 dB in 1 dB intervals except the subwoofer setting. The subwoofer can be adjusted to any level between -15 and +10 dB in 1 dB intervals.)
The SR5600 will now emit the pink noise from the center speaker.
2. Using the and cursor buttons, adjust the volume level of the noise from the center speaker so that it is the same level as the front left speaker.
3. Press the cursor button again. The SR5600 will now emit the pink noise from the front right speaker.
4. Repeat steps 2 and 3 above for the front right and other speakers until all speakers are adjusted to the same volume level.
After you complete this portion of the set up, press the ENTER button, the cursor will move to “MAIN” and then press the ENTER button to go to SETUP MAIN MENU.
Notes:
•Speakers that you selected “NONE” for in the Speaker Size menu will not appear.
•The setting of Surr.Back L and Surr.Back R appears if you have set it for two surround back speakers in the Speaker Size menu.
•The setting of Surr.Back appears if you have set it for one surround back speaker in the Speaker Size menu.
•To adjust the speaker levels for 7.1-channel input sources, you will need to use the 7.1CH-INPUT sub menu. (See page 21).
3 PREFERENCE
| 3 P R E F E R E NC E | | |
| S T ANDB Y MOD E | : | E CONOMY | |
| T V - AU T O | : | ✽ ✽ ✽ | |
| OS D I N F O | : | E NAB L E | |
| V I D EO CON V E R T | : | E NAB L E | |
| MA I N | | E X I T | |
1. | | MAIN |
Select “PREFERENCE” in the SETUP |
MENU with the or | cursor buttons, and |
press the ENTER button. | | |
2. To select a desired content, press the or cursor buttons.
STANDBY MODE:
When this function is set to “ECONOMY”, you can reduce the power consumption when the unit is in the standby mode.
Note:
•TV-AUTO and RS-232C are disabled in the “ECONOMY” setting.
TV AUTO:
Select the TV AUTO ON/OFF function to enable or disable with the or cursor buttons. (refer to page 27)
OSD Info:
Select the OSD information function to enable or disable with the or cursor buttons.
If you select “ENABLE”, the SR5600 will display the status of the feature (Volume up/down, input select, etc..) on the TV monitor. But if you do not desire this information, select “DISABLE ”.
VIDEO CONVERT:
Select the VIDEO CONVERT function to enable or disable with the or cursor buttons. (Video cable connection: Refer to page 23)
After you complete this portion of the set up, move the cursor to “MAIN” with the or cursor buttons and press the ENTER button.