ENGLISH

1-1 FUNC INPUT SETUP

(ASSIGNABLE DIGITAL INPUT)

The 5 and F (Front) digital inputs can be assigned to a desired source.

HDMI and COMPONENT inputs can be assigned to the preferred source.

Use this menu to select which digital input jacks are to be assigned to which input source.

1. Select “FUNC INPUT SETUP” from the 1.INPUT SETUP menu with the 3 or 4 cursor buttons and press the ENTER button.

FUNC INPUT SETUP 1

FUNC:MODE DIG HDMI COMP V/S

TV

:

AUTO


1

-

1

1

DVD

:AUTO

2

1

2

2

VCR

:AUTO

3

-

3

3

DSS

:AUTO

4

2

4

4

AUX1 :AUTO

F

-

-


RETURN


NEXT T

EXIT

2. Select a setting with the 3, 4, 1, and 2 cursor buttons, and assign a mode and input jack (DIG, HDMI, COMP, V/S).

MODE

AUTO:

Select “AUTO”, for automatic detection of the digital input signal condition.

If there is no digital signal, but there is an analog signal present, the analog signal will be played. "AUTO" is the initial setting of all input sources.

HDMI:

Select “HDMI”, when only a HDMI signal will be used.

DIG:

Select “DIG”, when only a digital signal will be used.

ANA:

Select “ANA” for input sources for which no digital input jacks are used.

DIG

5 and F(Front) digital inputs can be assigned to a desired source.

Assign the number of a digital input jack to the device.

HDMI

Assign the number of an HDMI input jack to the device.

Note:

When FUNCTION MODE is set to HDMI and HDMI AUDIO of “5. PREFERENCE” is set to THROUGH, audio is not output from the SR6001. (See page 39)

COMP

Assign the number of a component video input jack to the device.

V/S

Assign the number of a composite video and S- video input jack to the device.

Note:

Video and S-video can use the same numbers when assigning to input functions.

The mark in AUX.1 indicates that other inputs cannot be assigned.

3.Press the ENTER button.

4.Select each mode setting and input terminal with the 1 or 2 cursor buttons.

5.Press the ENTER button.

6.Repeat steps 2-5 until all items are set.

7.After you complete this portion of the setup, move the cursor to “NEXT” with the 3, 4, 1, and 2 cursor buttons and then press the ENTER button to go to the next page.

FUNC INPUT SETUP 2

FUNC:MODE DIG HDMI C0MP V/S

TAPE:ANA - - - 1

CD/R:AUTO 5 - - 2

AUX2:ANA - - - 3

RETURN BACK

EXIT

8. Repeat steps 2-5 until all items are set.

After you complete this portion of the setup, move the cursor to “RETURN” with 3, 4, 1, and 2 cursor buttons and press the ENTER button.

To return to the Func Input Setup 1 menu from the Func Input Setup 2 menu, move the cursor to “BACK” with the 3, 4, 1, and 2 cursor buttons and press the ENTER button.

Note:

Assignments cannot be made in sections with a mark.

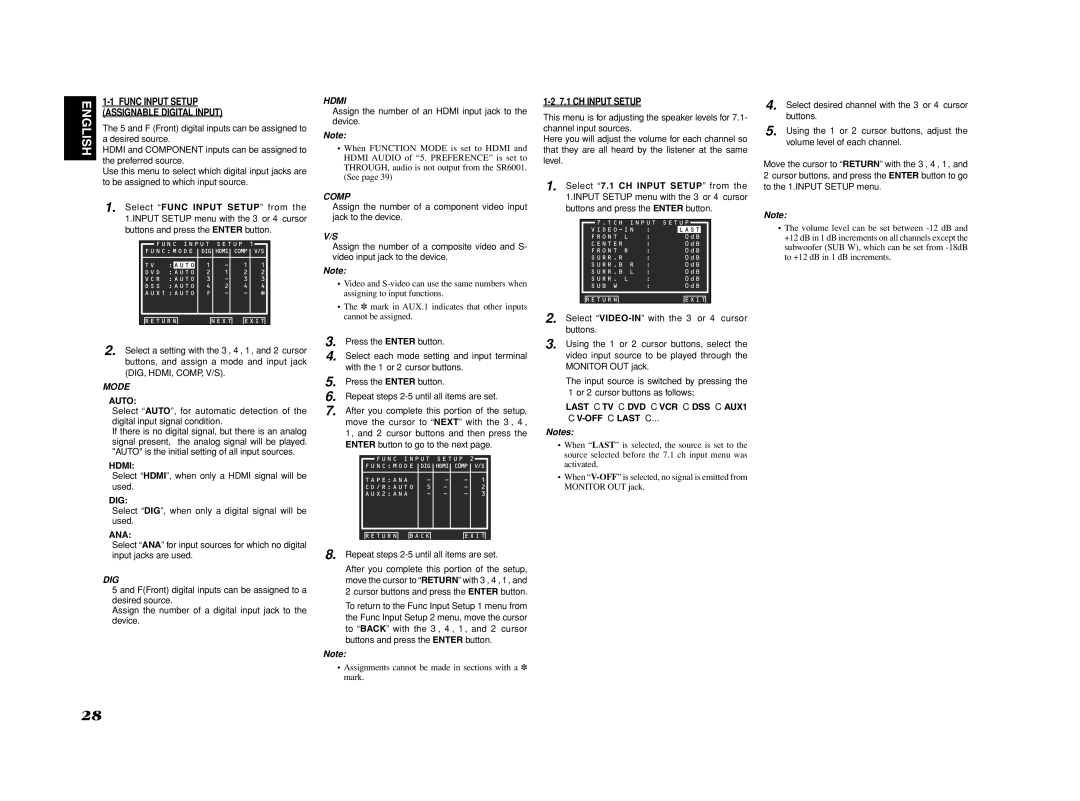
1-2 7.1 CH INPUT SETUP

This menu is for adjusting the speaker levels for 7.1- channel input sources.

Here you will adjust the volume for each channel so that they are all heard by the listener at the same level.

1. Select “7.1 CH INPUT SETUP” from the 1.INPUT SETUP menu with the 3 or 4 cursor buttons and press the ENTER button.

7 . 1CH

INPUT SETUP

VIDEO - IN

:


LAST


FRONT

L

:


0dB

CENTER


:


0dB

FRONT

R

:


0dB

SURR . R


:


0dB

SURR . B

R

:


0dB

SURR . B

L

:


0dB

SURR . L

:


0dB

SUB W


:


0dB

RETURN


NEXT EXIT

2. Select VIDEO-IN with the 3 or 4 cursor buttons.

3. Using the 1 or 2 cursor buttons, select the video input source to be played through the MONITOR OUT jack.

The input source is switched by pressing the 1 or 2 cursor buttons as follows;

LAST TV DVD VCR DSS AUX1

V-OFF LAST ...

Notes:

When “LAST” is selected, the source is set to the source selected before the 7.1 ch input menu was activated.

When V-OFF is selected, no signal is emitted from MONITOR OUT jack.

4. Select desired channel with the 3 or 4 cursor buttons.

5. Using the 1 or 2 cursor buttons, adjust the volume level of each channel.

Move the cursor to “RETURN” with the 3, 4, 1, and 2 cursor buttons, and press the ENTER button to go to the 1.INPUT SETUP menu.

Note:

The volume level can be set between -12 dB and +12 dB in 1 dB increments on all channels except the subwoofer (SUB W), which can be set from -18dB to +12 dB in 1 dB increments.

28

Page 32
Image 32
Marantz SR6001 manual Func Input Setup Assignable Digital Input, CH Input Setup, Mode, Comp

SR6001 specifications

The Marantz SR6001 is a high-performance audio/video receiver that was designed for home theater enthusiasts seeking an immersive cinematic experience. As part of Marantz's esteemed lineup, the SR6001 showcases a blend of advanced technologies and elegant design, making it an attractive choice for audio aficionados.

At the heart of the SR6001 is a robust amplifier section capable of delivering 90 watts per channel across seven channels, ensuring that your movies and music come to life with powerful clarity. This receiver supports a wide range of audio formats, including Dolby Digital, DTS, and PCM, allowing for a rich sound experience. The inclusion of Dolby Pro Logic II is a notable feature, offering enhanced sound staging and a more realistic audio environment.

One of the standout technologies in the SR6001 is its implementation of HDMI 1.1 ports, allowing for high-definition video and multi-channel audio transmission. This feature ensures that users can connect their latest Blu-ray players and gaming consoles to enjoy stunning visuals alongside breathtaking sound. The receiver also includes multiple inputs and outputs, enabling seamless integration with various components in your home theater setup.

Another key characteristic of the Marantz SR6001 is its advanced room calibration system, which helps to optimize audio performance based on your specific room acoustics. This technology, known as Audyssey MultEQ, analyzes the sound and makes adjustments to deliver the best possible listening experience regardless of your room's shape or furnishings.

Moreover, the SR6001 sports an elegant design, complemented by a front panel that features a sleek display and intuitive controls. Its user-friendly interface makes it easy to navigate through settings and options, ensuring that users can quickly access their favorite features without confusion.

In terms of connectivity, the Marantz SR6001 is equipped with a variety of inputs, including composite, component, and digital audio inputs, providing flexibility in connecting to different sources. Its built-in AM/FM tuner also allows users to enjoy radio broadcasts in high quality.

With its powerful performance, advanced technologies, and stylish design, the Marantz SR6001 finishes as a formidable choice for anyone looking to elevate their home entertainment experience.