
SR6001 specifications
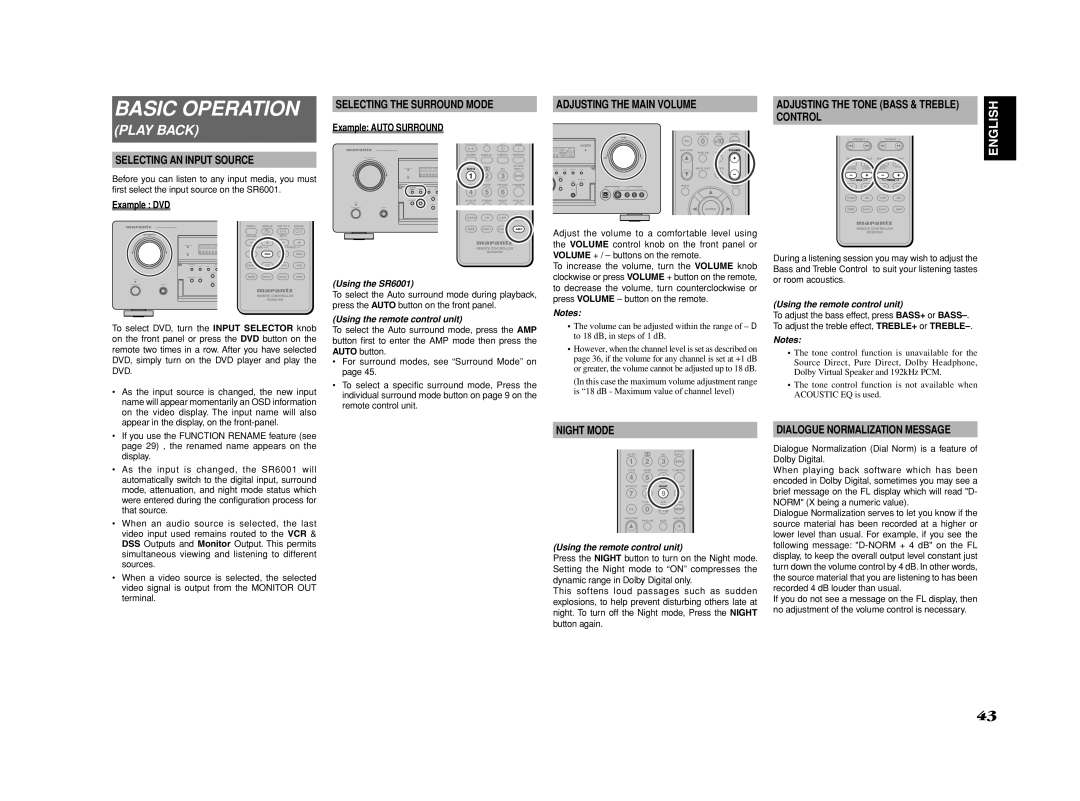
The Marantz SR6001 is a high-performance audio/video receiver that was designed for home theater enthusiasts seeking an immersive cinematic experience. As part of Marantz's esteemed lineup, the SR6001 showcases a blend of advanced technologies and elegant design, making it an attractive choice for audio aficionados.At the heart of the SR6001 is a robust amplifier section capable of delivering 90 watts per channel across seven channels, ensuring that your movies and music come to life with powerful clarity. This receiver supports a wide range of audio formats, including Dolby Digital, DTS, and PCM, allowing for a rich sound experience. The inclusion of Dolby Pro Logic II is a notable feature, offering enhanced sound staging and a more realistic audio environment.
One of the standout technologies in the SR6001 is its implementation of HDMI 1.1 ports, allowing for high-definition video and multi-channel audio transmission. This feature ensures that users can connect their latest Blu-ray players and gaming consoles to enjoy stunning visuals alongside breathtaking sound. The receiver also includes multiple inputs and outputs, enabling seamless integration with various components in your home theater setup.
Another key characteristic of the Marantz SR6001 is its advanced room calibration system, which helps to optimize audio performance based on your specific room acoustics. This technology, known as Audyssey MultEQ, analyzes the sound and makes adjustments to deliver the best possible listening experience regardless of your room's shape or furnishings.
Moreover, the SR6001 sports an elegant design, complemented by a front panel that features a sleek display and intuitive controls. Its user-friendly interface makes it easy to navigate through settings and options, ensuring that users can quickly access their favorite features without confusion.
In terms of connectivity, the Marantz SR6001 is equipped with a variety of inputs, including composite, component, and digital audio inputs, providing flexibility in connecting to different sources. Its built-in AM/FM tuner also allows users to enjoy radio broadcasts in high quality.
With its powerful performance, advanced technologies, and stylish design, the Marantz SR6001 finishes as a formidable choice for anyone looking to elevate their home entertainment experience.