RECORD
1. HDD OVERWRITE
Select “YES” to overwrite previous recording video in HDD.
NOTE : When the HDD is full under O/W Recording mode, previous recorded files may be overwritten without further warning notices.
(MENU)
SEARCH TIMER
►RECORD CAMERA SYSTEM EVENT NETWORK
2. RECORDING IPS
Select the images per second of recording. The options are as following :
NTSC-25A、15、8、4、2、1
PAL-18A、12、6、3、2、1
NOTE : “A” means “Record with Audio ”.
3. RECORDING QUALITY
There are four quality settings : BEST, HIGH, NORMAL and BASIC.
4. ALARM REC IPS
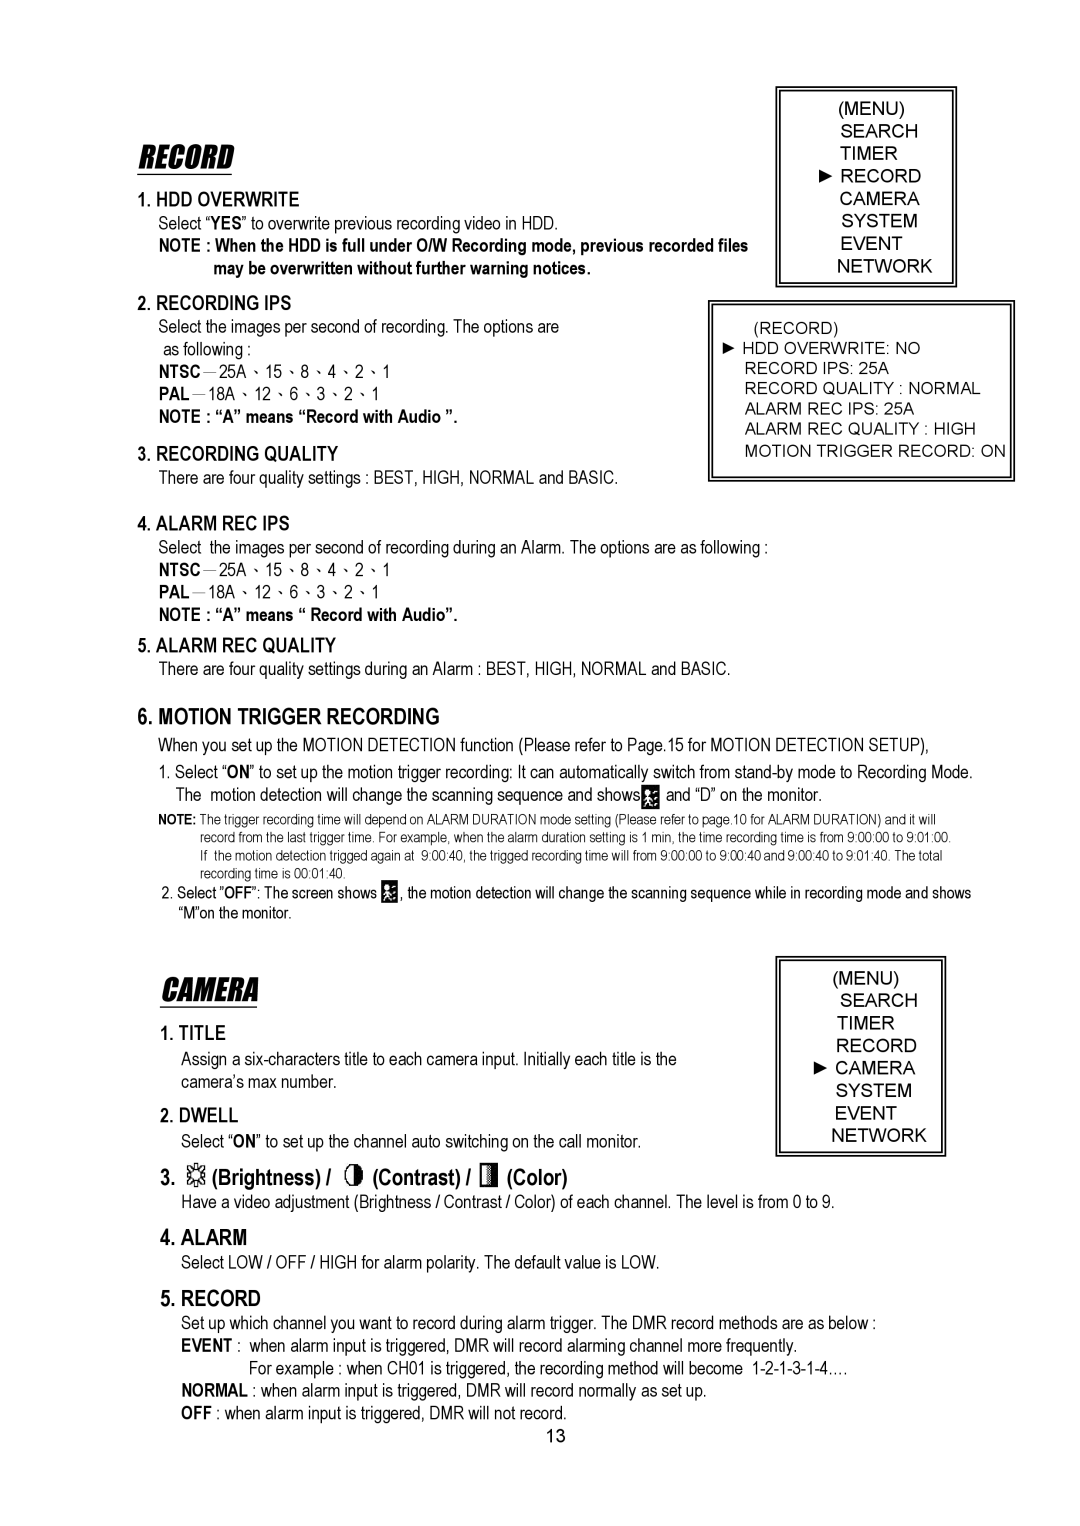
(RECORD)
►HDD OVERWRITE: NO
RECORD IPS: 25A
RECORD QUALITY : NORMAL
ALARM REC IPS: 25A
ALARM REC QUALITY : HIGH
MOTION TRIGGER RECORD: ON
Select the images per second of recording during an Alarm. The options are as following :
NTSC-25A、15、8、4、2、1
PAL-18A、12、6、3、2、1
NOTE : “A” means “ Record with Audio”.
5. ALARM REC QUALITY
There are four quality settings during an Alarm : BEST, HIGH, NORMAL and BASIC.
6. MOTION TRIGGER RECORDING
When you set up the MOTION DETECTION function (Please refer to Page.15 for MOTION DETECTION SETUP),
1.Select “ON” to set up the motion trigger recording: It can automatically switch from ![]() and “D” on the monitor.
and “D” on the monitor.
NOTE: The trigger recording time will depend on ALARM DURATION mode setting (Please refer to page.10 for ALARM DURATION) and it will record from the last trigger time. For example, when the alarm duration setting is 1 min, the time recording time is from 9:00:00 to 9:01:00. If the motion detection trigged again at 9:00:40, the trigged recording time will from 9:00:00 to 9:00:40 and 9:00:40 to 9:01:40. The total recording time is 00:01:40.
2.Select ”OFF”: The screen shows ![]() , the motion detection will change the scanning sequence while in recording mode and shows “M”on the monitor.
, the motion detection will change the scanning sequence while in recording mode and shows “M”on the monitor.
CAMERA
1. TITLE
Assign a
2. DWELL
Select “ON” to set up the channel auto switching on the call monitor.
(MENU)
SEARCH TIMER RECORD
►CAMERA SYSTEM EVENT NETWORK
3.  (Brightness) /
  (Contrast) /
  (Color)
Have a video adjustment (Brightness / Contrast / Color) of each channel. The level is from 0 to 9.
4. ALARM
Select LOW / OFF / HIGH for alarm polarity. The default value is LOW.
5. RECORD
Set up which channel you want to record during alarm trigger. The DMR record methods are as below : EVENT : when alarm input is triggered, DMR will record alarming channel more frequently.
For example : when CH01 is triggered, the recording method will become
OFF : when alarm input is triggered, DMR will not record.
13