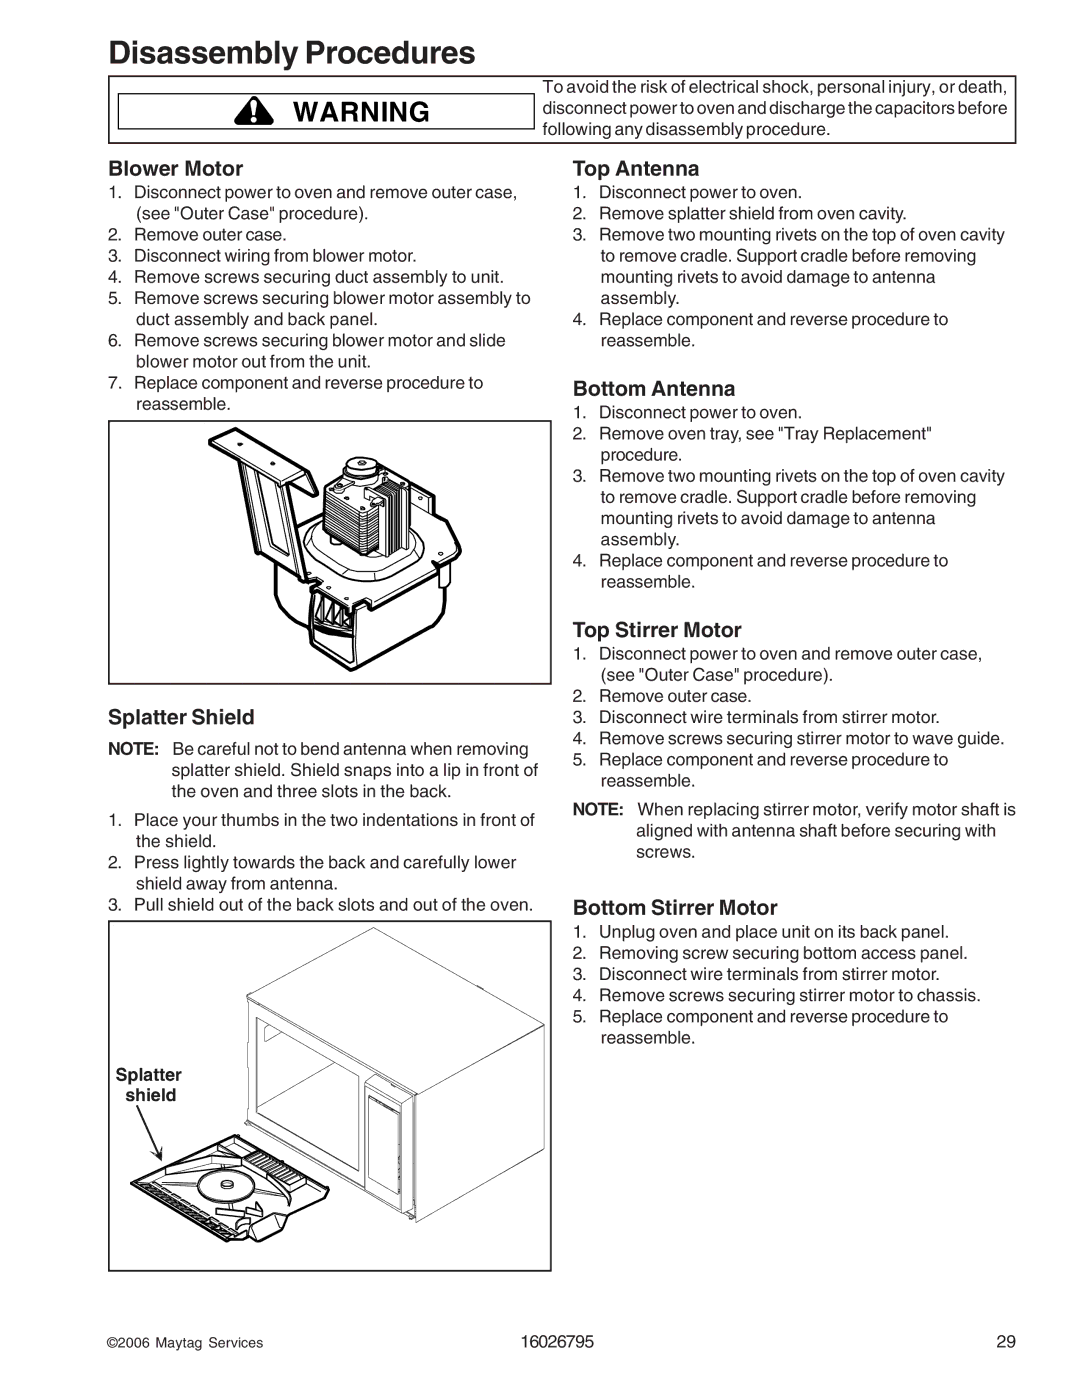
1800 W - 2005 specifications
The Maytag 1800 W, launched in 2005, marked a significant evolution in household appliance technology, combining functionality with durability and aesthetic appeal. Known for its robust design, this model quickly became a favorite among homeowners, delivering a reliable performance that matched the brand's longstanding reputation for quality.One of the standout features of the Maytag 1800 W is its powerful 1800-watt heating element, which ensures that water reaches its optimal temperature quickly and efficiently. This capability not only saves time but also enhances the effectiveness of various washing programs. The high wattage ensures that even stubborn stains are addressed, making this model a versatile choice for all types of laundry.
The Maytag 1800 W is equipped with an advanced control system that offers a user-friendly interface. A digital display shows the selected settings clearly, allowing users to adjust wash cycles, water temperature, and spin speed with ease. The interface was designed with simplicity in mind, catering to a wide range of users from tech-savvy individuals to those less familiar with modern appliances.
In terms of technologies, the 1800 W incorporates Maytag's innovative PowerWash system. This feature enhances cleaning effectiveness through a combination of increased agitation and optimized wash motions. It enables the washer to tackle tough stains more efficiently, ensuring that clothes come out spotless. Additionally, this model includes a variety of wash settings tailored for different fabric types, including delicate, heavy-duty, and quick wash options, promoting care for a wide array of garments.
Energy efficiency is another hallmark of the Maytag 1800 W. Designed to consume less water and electricity while maintaining robust cleaning performance, this appliance appealed to environmentally conscious consumers looking to reduce their ecological footprint. The integrated energy-saving features allow users to wash large loads without excessive resource use.
The build quality of the Maytag 1800 W is noteworthy as well, constructed with durable materials that ensure longevity and reliability. This model also boasts a sound-dampening system that minimizes operational noise, allowing it to run discreetly during laundry cycles.
In summary, the Maytag 1800 W, launched in 2005, combines powerful cleaning technology, user-friendly controls, energy efficiency, and durability into one compelling package. Its thoughtful design and features made it a responsible choice for modern households, solidifying Maytag’s legacy as a leader in appliance manufacturing.

