English

5 Installation under Windows NT 4.0

1. Installing the interface card

See page 10 for details. Card installation on Windows NT 4.0 is the same as that under Windows 98 / 95.

2.Installing the Windows NT driver

a)Start your computer, and log in as Administra- tor. Note: You must be logged in as Administra- tor in order to install the scanner software components and use the scanner.

b)In Windows, go to Start, Settings, then double-click on Control Panel, and double- click on the SCSI Adapters icon.

c)Select the Drivers tab in the SCSI Controllers dialog box, and click on the Add button.

d)From the list of drivers that appear, select Adaptec for manufacturers on the left, and Adaptec AIC-78xx PCI SCSI Controller on

6. Troubleshooting

After installing the interface card in your computer and connecting the scanner, you may find yourself unable to use the scanner. This is usually due to any of the situations described below:

Situation A Your interface card is not properly seated in the PCI card slot on your computer.

Situation B The driver for the interface card is not properly installed on your computer.

Resolving situation A

Power down your computer, remove the interface card from your computer. Then re-install it, make sure the card is seated all the way in and secured into the PCI card slot.

the right. You may be asked to insert your Windows NT CD-ROM at this point; do so.

e)You will be asked to restart your computer. Click Yes to do so.

Resolving situation B

1.Restart your computer.

2.In Windows 4.0, click Start, Settings, and select Control Panel.

3. Installing the software

Make sure you have logged in as Administrator. Then see page 11 for more details. The software installation instructions for your scanner under Windows NT 4.0 are the same as those for installation under Windows 98 / 95.

4. Connecting the scanner

See page 2-4 for details. Connecting the scanner on Windows NT 4.0 is the same as that under Windows 98 / 95.

5.Checking the scanner status

a)Double-click the SCSI Adapters icon in Control Panel; the string Adaptec AIC-78xx PCI SCSI Controller should appear on the list.

b)Double-click on this option, and it should expand with the scanner listed below it. Close all dialog boxes to continue.

3.In the Control Panel window, find SCSI Adapters and double click it. A window like the following below will appear.

Adaptec SCSI driver is not listed here

.

The Devices screen will list any SCSI controllers that may already have been installed in your computer.

Note: IDE CD-ROM drives are not SCSI, but Windows NT 4.0 will still list it on the screen because

16 ArtixScan 1100 Hardware User’s Guide

Page 20
Image 20
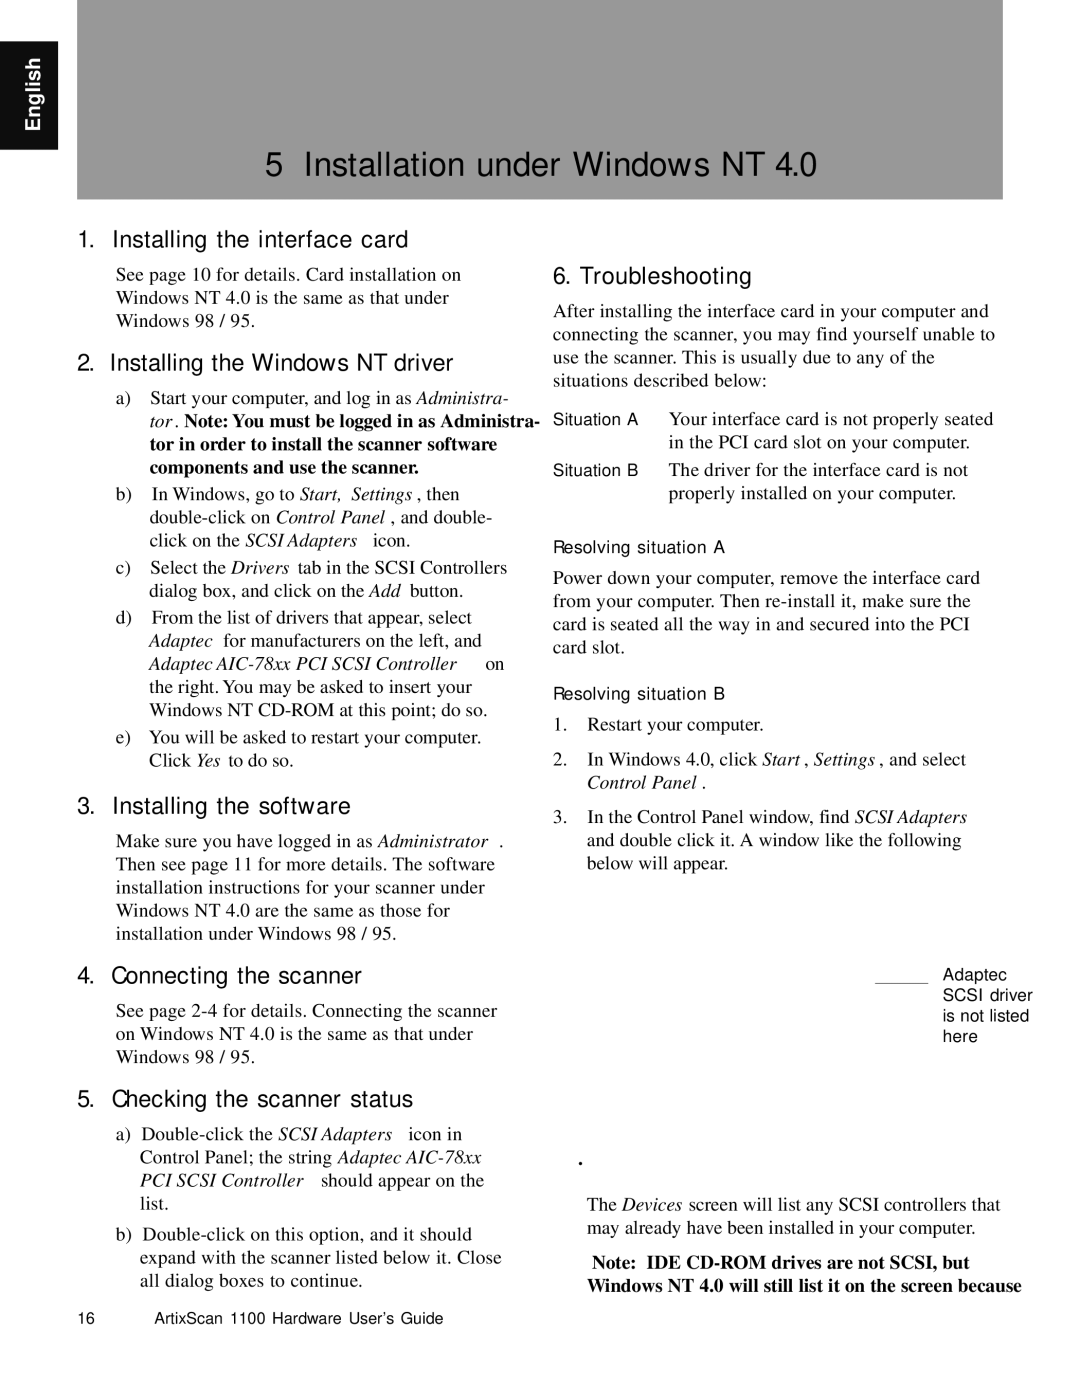
Microtek Artix Scan1100 manual Installation under Windows NT, Installing the Windows NT driver, Checking the scanner status

Artix Scan1100 specifications

The Microtek Artix Scan1100 is a versatile flatbed scanner designed for professionals and small businesses seeking high-quality document and image scanning solutions. As part of Microtek's renowned Artix series, this scanner integrates advanced technologies to deliver exceptional performance while maintaining ease of use.

One of the standout features of the Artix Scan1100 is its high optical resolution. With a maximum optical resolution of 2400 x 4800 dpi, it captures intricate details and vivid colors from images and documents. This makes it an ideal choice for users who require precision scanning for photographs, artwork, and detailed documents. The scanner supports a wide range of media types, including paper documents, photographs, and even 3D objects, providing versatile functionality for various scanning needs.

In terms of technology, the Artix Scan1100 utilizes a CCD (Charge-Coupled Device) scanning sensor, known for its excellent color accuracy and sharpness. This technology enhances the scanner's ability to render images with a high degree of fidelity, making it perfect for graphic designers and photographers who demand the best quality in their scans.

The Artix Scan1100 also features a user-friendly interface, simplifying the scanning process. With just a few clicks, users can easily set the desired resolution, file format, and other scanning options. It is compatible with multiple operating systems, including Windows and macOS, ensuring seamless integration into different workflows.

Furthermore, the scanner includes advanced image enhancement features, such as automatic color correction and dust removal, which help to produce cleaner, crisper images with minimal manual intervention. These features save valuable time and improve productivity, making the Artix Scan1100 a smart investment for any office environment.

Another characteristic worth mentioning is the scanner’s robust build quality and design, which not only makes it durable but also aesthetically pleasing in any office setup. Its compact size provides convenience, allowing it to fit in small workspaces without compromising its scanning capabilities.

In conclusion, the Microtek Artix Scan1100 is a powerful and reliable scanning solution equipped with state-of-the-art technologies and features. Its high-resolution capabilities, user-friendly interface, and advanced image processing ensure that it meets the diverse needs of both professionals and businesses alike. Whether for archival purposes, reproducing artwork, or simply digitizing important documents, the Artix Scan1100 stands out as a top choice in its class.