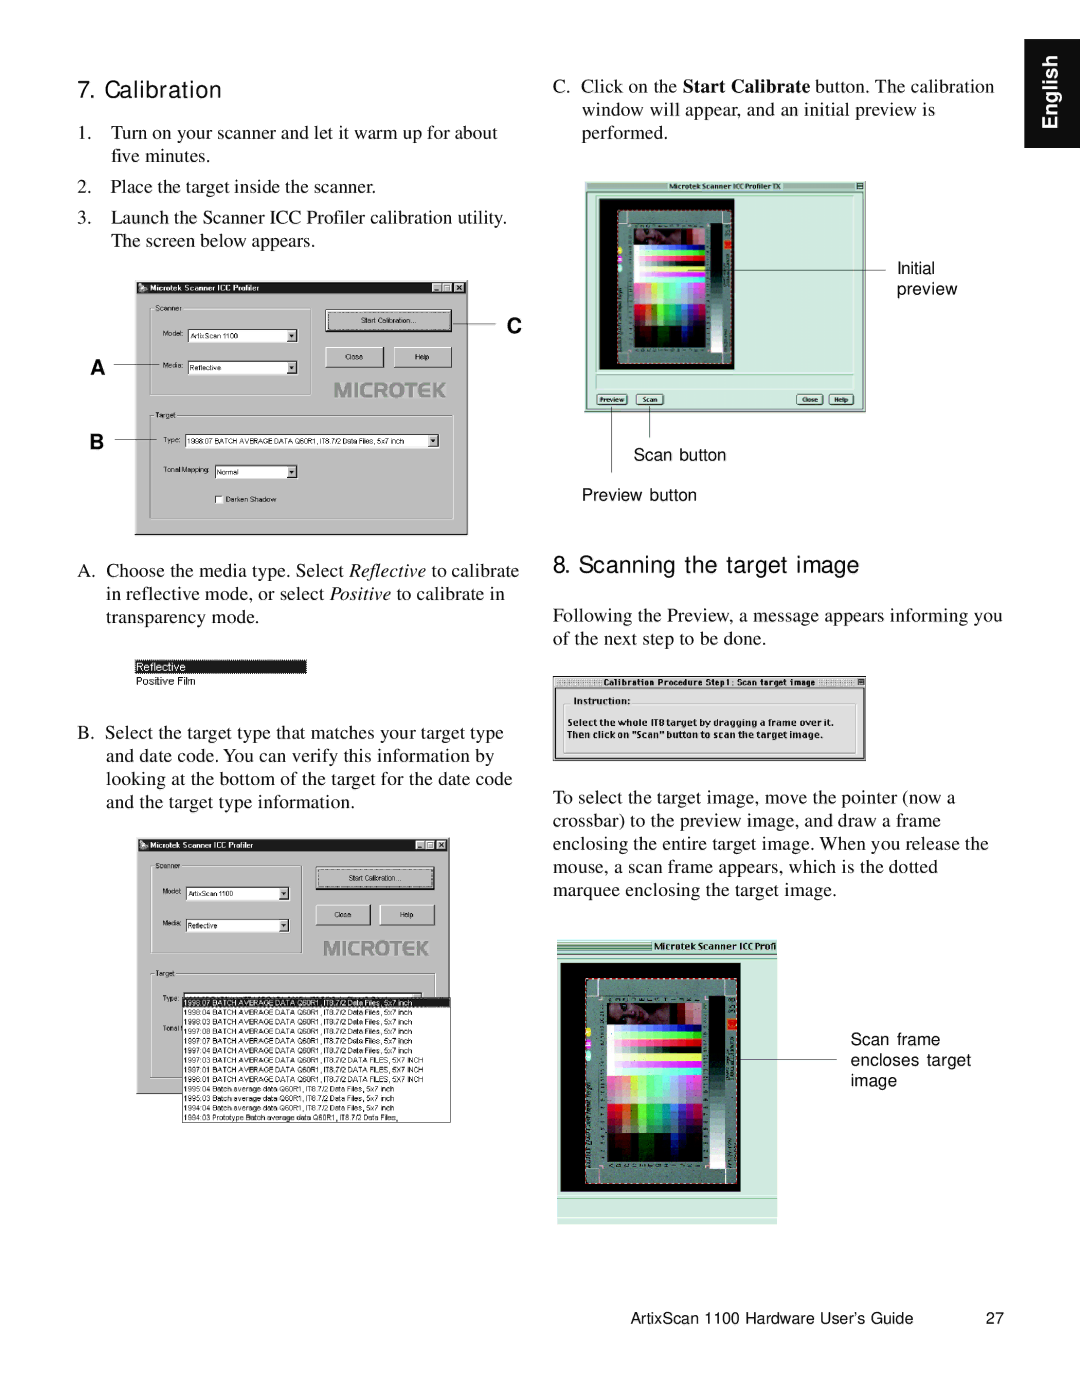
Artix Scan1100 specifications
The Microtek Artix Scan1100 is a versatile flatbed scanner designed for professionals and small businesses seeking high-quality document and image scanning solutions. As part of Microtek's renowned Artix series, this scanner integrates advanced technologies to deliver exceptional performance while maintaining ease of use.One of the standout features of the Artix Scan1100 is its high optical resolution. With a maximum optical resolution of 2400 x 4800 dpi, it captures intricate details and vivid colors from images and documents. This makes it an ideal choice for users who require precision scanning for photographs, artwork, and detailed documents. The scanner supports a wide range of media types, including paper documents, photographs, and even 3D objects, providing versatile functionality for various scanning needs.
In terms of technology, the Artix Scan1100 utilizes a CCD (Charge-Coupled Device) scanning sensor, known for its excellent color accuracy and sharpness. This technology enhances the scanner's ability to render images with a high degree of fidelity, making it perfect for graphic designers and photographers who demand the best quality in their scans.
The Artix Scan1100 also features a user-friendly interface, simplifying the scanning process. With just a few clicks, users can easily set the desired resolution, file format, and other scanning options. It is compatible with multiple operating systems, including Windows and macOS, ensuring seamless integration into different workflows.
Furthermore, the scanner includes advanced image enhancement features, such as automatic color correction and dust removal, which help to produce cleaner, crisper images with minimal manual intervention. These features save valuable time and improve productivity, making the Artix Scan1100 a smart investment for any office environment.
Another characteristic worth mentioning is the scanner’s robust build quality and design, which not only makes it durable but also aesthetically pleasing in any office setup. Its compact size provides convenience, allowing it to fit in small workspaces without compromising its scanning capabilities.
In conclusion, the Microtek Artix Scan1100 is a powerful and reliable scanning solution equipped with state-of-the-art technologies and features. Its high-resolution capabilities, user-friendly interface, and advanced image processing ensure that it meets the diverse needs of both professionals and businesses alike. Whether for archival purposes, reproducing artwork, or simply digitizing important documents, the Artix Scan1100 stands out as a top choice in its class.

