4-3. Work Clamp
1
Tools Needed:
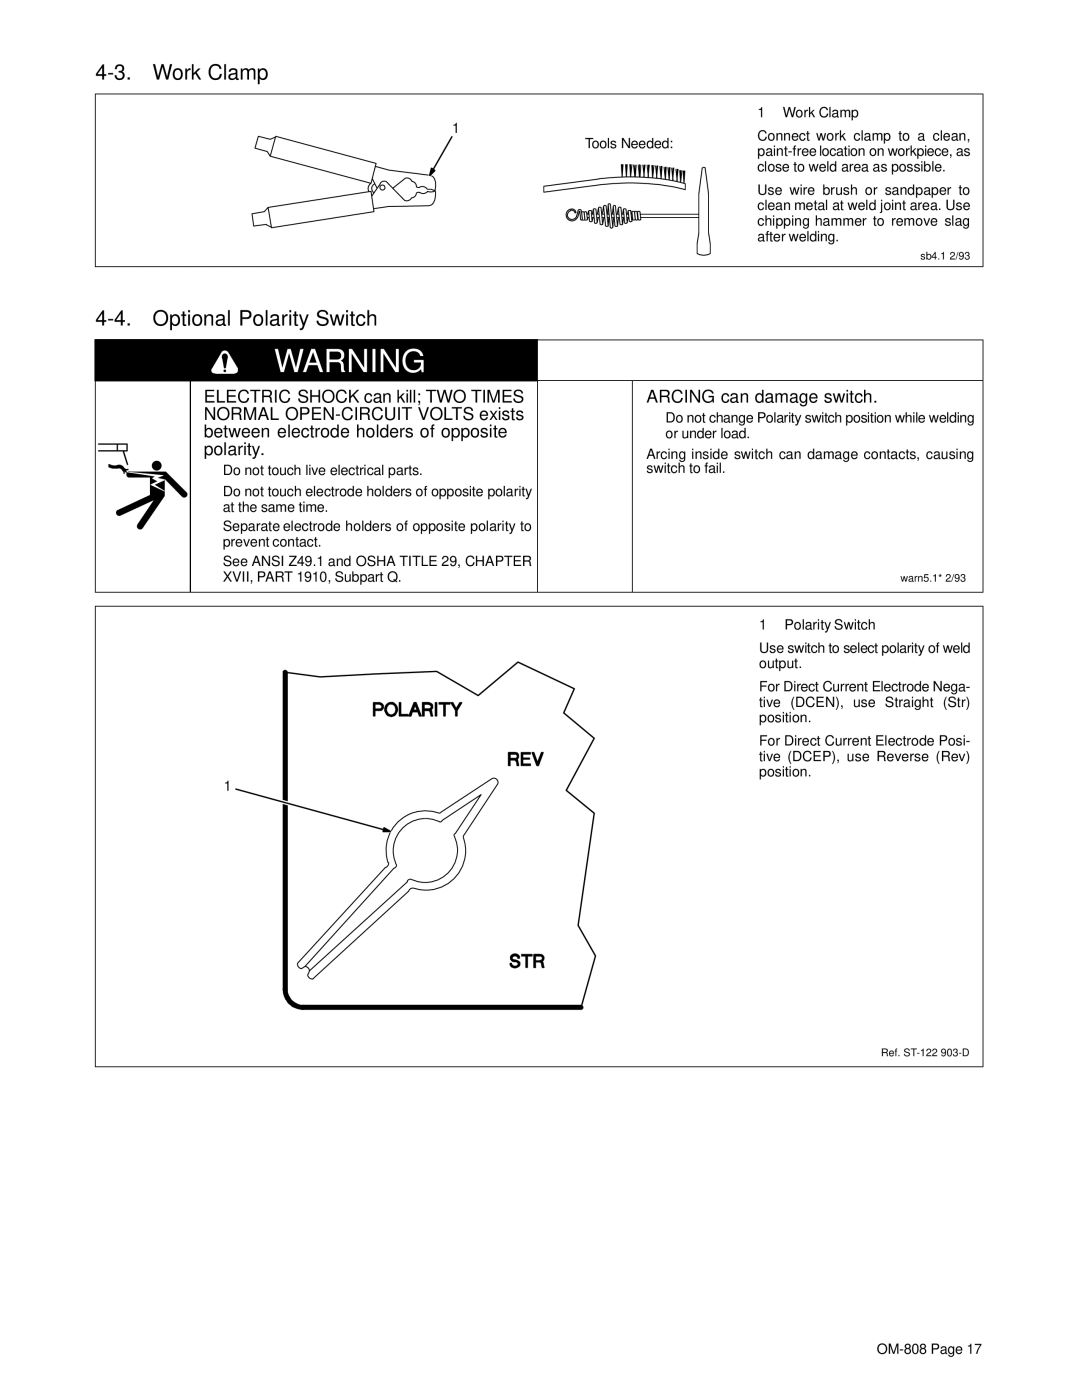
1 Work Clamp
Connect work clamp to a clean,
Use wire brush or sandpaper to clean metal at weld joint area. Use chipping hammer to remove slag after welding.
sb4.1 2/93
4-4. Optional Polarity Switch
WARNING
ELECTRIC SHOCK can kill; TWO TIMES NORMAL
•Do not touch live electrical parts.
•Do not touch electrode holders of opposite polarity at the same time.
•Separate electrode holders of opposite polarity to prevent contact.
•See ANSI Z49.1 and OSHA TITLE 29, CHAPTER XVII, PART 1910, Subpart Q.
ARCING can damage switch.
•Do not change Polarity switch position while welding or under load.
Arcing inside switch can damage contacts, causing switch to fail.
warn5.1* 2/93
1 Polarity Switch
Use switch to select polarity of weld output.
For Direct Current Electrode Nega- tive (DCEN), use Straight (Str) position.
For Direct Current Electrode Posi- tive (DCEP), use Reverse (Rev) position.
Ref.
