5-7. Dry Run Feature

The Dry Run feature allows a program to be verified by execut- ing it without actually establishing an arc. All timing and contact closures are performed without gas, high frequency, or power source contactor being activated.

The Dry Run feature is only available in the Automatic mode and Semi-Automatic 1 or 5 modes. When used in the Semi-Au- tomatic 1 or 5 modes, the weld time continues to increment until the Start/Increase on the Remote Pendant is pressed.

To use the Dry Run feature, proceed as follows:

1.Access the Dry Run display.

2.Press Start/Increase on the Remote Pendant to begin the dry run execution.

3.The microprocessor control will perform a dry run of the program. The dry run stops automatically when the programmed postflow time elapses. To stop the dry run before completion, press the Stop push button.

5-8. Stop Watch Feature

The Stop Watch feature is a part of Dry Run when Dry Run is used in the Automatic mode. Stop Watch allows the operator to define the end of weld time by pressing the Start/Increase push button. This enables the operator to observe fixturing during a dry run and define the end of weld time relative to actual posi- tions.

To use the Stop Watch feature, proceed as follows:

1.Enter a 0 (zero) for weld time when entering a program in the Automatic mode.

2.Carry out a dry run of the entered program (see Section 5-7).

3.When the desired end of weld time is reached, press Start/Increase on the Remote Pendant. The time dis- played when the push button is pressed becomes the weld time value in the program and remains so until changed.

5-9. Linking Programs

NOTE

The Link feature is only available in

the following modes: Automatic,


Semi-Automatic 1, and Semi-


Automatic 5.


Existing programs in the required modes can be linked togeth- er so that the next program in sequence begins when Start/Increase is pressed on the Remote Pendant. Up to four programs can be linked. All linked programs must be in the same mode of operation. The first program desired in the chain of programs is assigned to position one, the second desired program is assigned to position two, etc. A reset is assigned to the Link position following the last program to signal the end of the linked programs.

NOTE

If four programs are linked together, it

is not necessary for the user to


assign a reset. A reset is


permanently assigned to the fifth


Link position.


For example, to run program 2, then program 1, and finally pro- gram 4, program 2 would be assigned to link position one, program 1 would be assigned to position two and program 4

would be assigned to position three. A reset would be as- signed to position four to indicate the end of the linked programs.

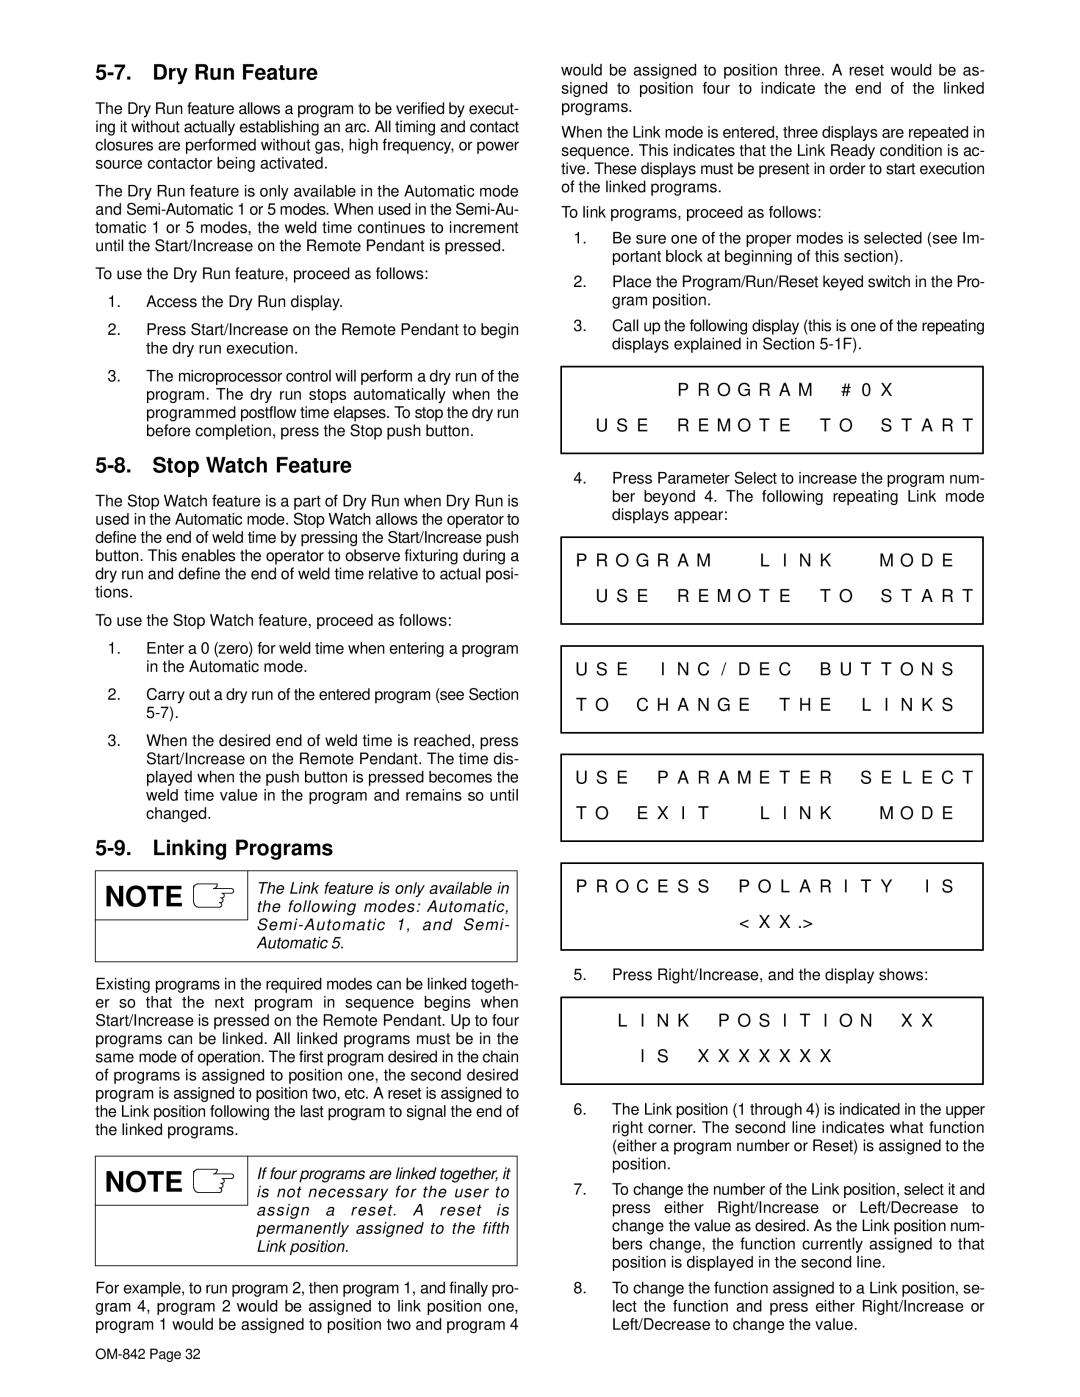
When the Link mode is entered, three displays are repeated in sequence. This indicates that the Link Ready condition is ac- tive. These displays must be present in order to start execution of the linked programs.

To link programs, proceed as follows:

1.Be sure one of the proper modes is selected (see Im- portant block at beginning of this section).

2.Place the Program/Run/Reset keyed switch in the Pro- gram position.

3.Call up the following display (this is one of the repeating displays explained in Section 5-1F).

P R O G R A M # 0 X

U S E R E M O T E T O S T A R T

4.Press Parameter Select to increase the program num- ber beyond 4. The following repeating Link mode displays appear:

P R O G R A M ” L I N K ” M O D E U S E R E M O T E T O S T A R T

U S E I N C / D E C B U T T O N S T O C H A N G E T H E L I N K S

U S E P A R A M E T E R S E L E C T T O E X I T ” L I N K ” M O D E

P R O C E S S P O L A R I T Y I S

<X X .>

5.Press Right/Increase, and the display shows:

L I N K P O S I T I O N X X

I S X X X X X X X

6.The Link position (1 through 4) is indicated in the upper right corner. The second line indicates what function (either a program number or Reset) is assigned to the position.

7.To change the number of the Link position, select it and press either Right/Increase or Left/Decrease to change the value as desired. As the Link position num- bers change, the function currently assigned to that position is displayed in the second line.

8.To change the function assigned to a Link position, se- lect the function and press either Right/Increase or Left/Decrease to change the value.

OM-842 Page 32

Page 36
Image 36
Miller Electric OM-842 manual Dry Run Feature, Stop Watch Feature, Linking Programs, N K P O S I T I O N X X X X X X X

OM-842 specifications

The Miller Electric OM-842 is a versatile and powerful multi-process welding machine designed for professional welders who demand efficiency and reliability on the job. This industrial-grade welder is capable of handling various welding processes, including MIG, TIG, stick, and flux-cored welding, making it an ideal choice for a wide range of applications.

One of the standout features of the OM-842 is its robust output capability. With a maximum output of 400 amps, it can tackle thick materials with ease while maintaining exceptional arc stability. This output range allows for adaptability in different welding scenarios, whether working on heavy fabrication projects or lighter home repairs.

The OM-842 is also equipped with advanced inverter technology. This technology enhances the machine's efficiency and reduces energy consumption. Inverter machines are known for their lightweight design compared to traditional transformer welders, which makes the OM-842 more portable and easier to transport between job sites.

User-friendliness is paramount in the design of the OM-842. Its intuitive control panel features a digital display that provides real-time information on parameters such as voltage and amperage. This allows users to make quick and precise adjustments on the fly, enhancing productivity and ensuring optimal welding results.

Additionally, the OM-842 offers sophisticated weld control features, such as Auto-Set, which simplifies the setup process for beginners and experienced users alike. This technology automatically selects optimal parameters based on the material type and thickness, minimizing trial and error during welding.

The machine also includes a durable and rugged design, suitable for tough working conditions. The protective case and high-quality components ensure longevity and reliability even in adverse environments.

Safety is another critical aspect of the OM-842, with features such as over-temperature protection and a built-in fan to prevent overheating during extended use.

With its powerful performance, advanced technology, and robust design, the Miller Electric OM-842 stands out as an exceptional choice for welders seeking reliability and versatility in their welding operations, ultimately creating high-quality welds across various applications. Whether in a shop or on a construction site, the OM-842 is engineered to deliver outstanding results every time.