Menu operation (continued)
How to set the menus:
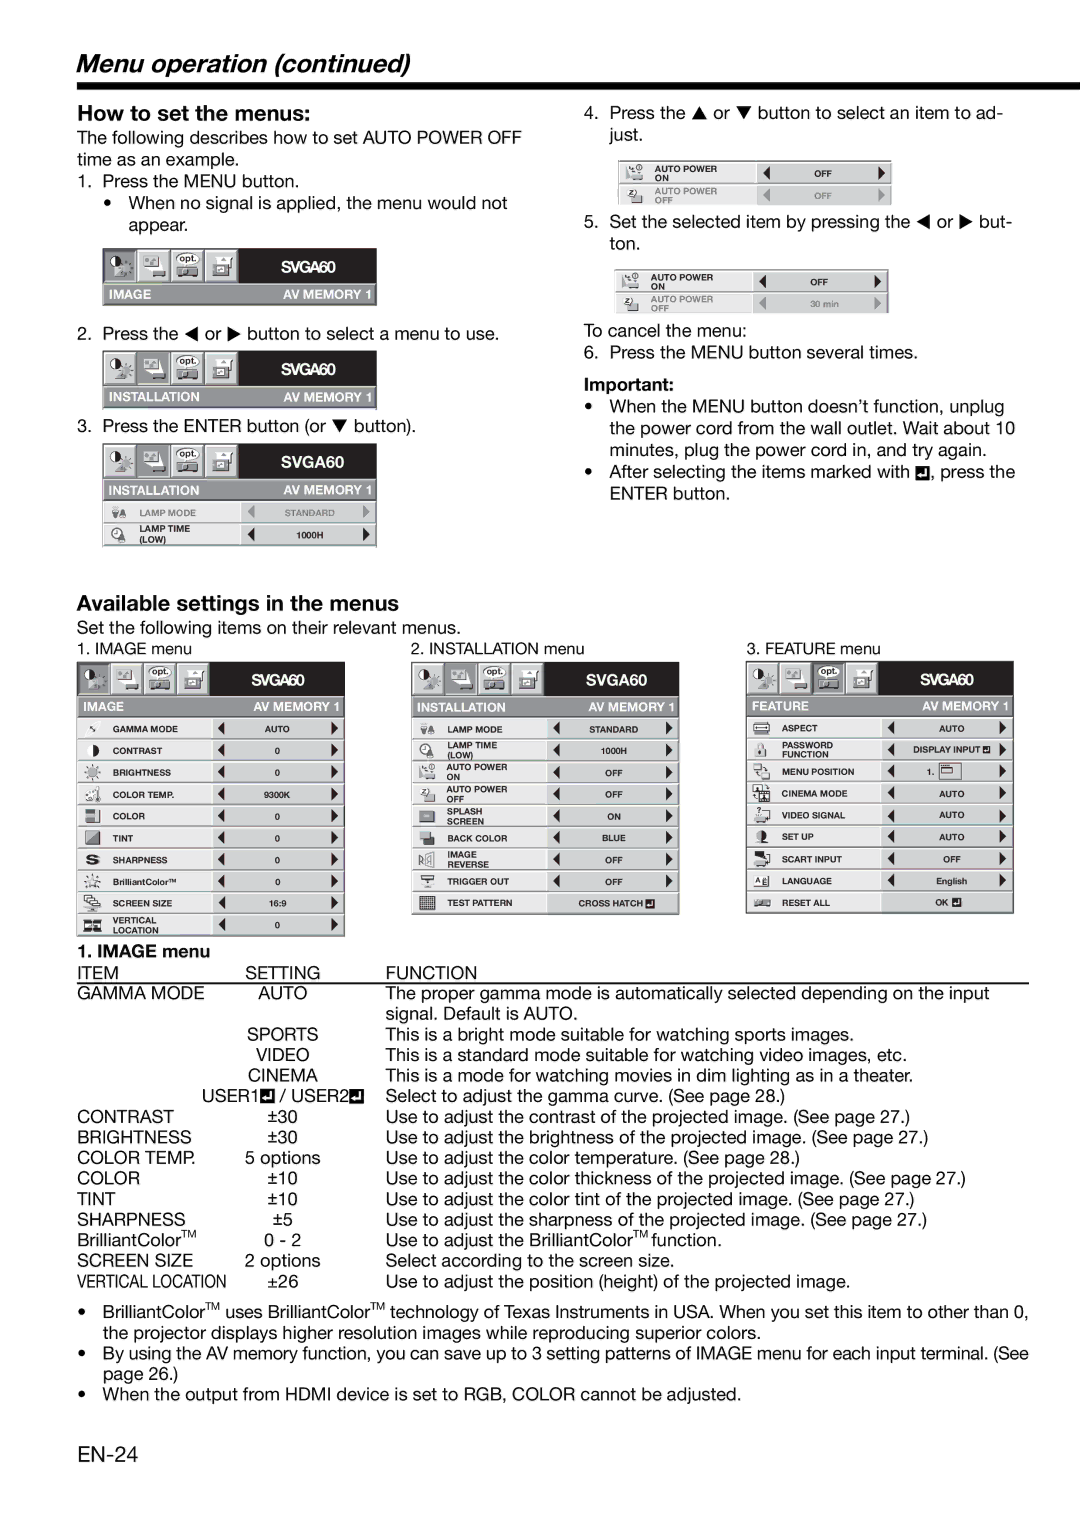
The following describes how to set AUTO POWER OFF time as an example.
1.Press the MENU button.
•When no signal is applied, the menu would not appear.
| opt. | SVGA60 |
|
| |
| IMAGE | AV MEMORY 1 |
2. | Press the or | button to select a menu to use. |
| opt. | SVGA60 |
|
| |
| INSTALLATION | AV MEMORY 1 |
3. | Press the ENTER button (or button). | |
| opt. | SVGA60 |
|
| |
| INSTALLATION | AV MEMORY 1 |
| LAMP MODE | STANDARD |
| LAMP TIME | 1000H |
| (LOW) | |
|
| |
4. | Press the | or | button to select an item to ad- | ||||
| just. |
|
|
| |||
|
|
|
|
|
|
| |
|
|
|
|
|
|
| |
|
|
|
| AUTO POWER | OFF |
| |
|
|
|
| ON |
|
| |
|
|
|
|
|
|
|
|
|
|
|
| AUTO POWER | OFF |
| |
|
|
|
| OFF |
|
| |
5. | Set the selected item by pressing the or but- | ||||||
| ton. |
|
|
| |||
|
| AUTO POWER | OFF |
|
| ON | |
|
|
|
|
|
| AUTO POWER | 30 min |
|
| OFF |
To cancel the menu:
6. Press the MENU button several times.
Important:
•When the MENU button doesn’t function, unplug the power cord from the wall outlet. Wait about 10 minutes, plug the power cord in, and try again.
•After selecting the items marked with ![]() , press the ENTER button.
, press the ENTER button.
Available settings in the menus
Set the following items on their relevant menus.
1. IMAGE menu | 2. INSTALLATION menu | 3. FEATURE menu |
opt. | opt. | opt. |
SVGA60 |
| SVGA60 |
IMAGE | AV MEMORY 1 | INSTALLATION | AV MEMORY 1 | FEATURE | |
GAMMA MODE | AUTO | LAMP MODE | STANDARD |
| ASPECT |
CONTRAST | 0 | LAMP TIME | 1000H |
| PASSWORD |
(LOW) |
| FUNCTION | |||
|
|
|
| ||
BRIGHTNESS | 0 | AUTO POWER | OFF |
| MENU POSITION |
ON |
| ||||
|
|
|
|
| |
COLOR TEMP. | 9300K | AUTO POWER | OFF |
| CINEMA MODE |
OFF |
| ||||
|
|
|
|
| |
COLOR | 0 | SPLASH | ON | ? | VIDEO SIGNAL |
ON |
| ||||
|
| SCREEN |
|
|
|
TINT | 0 | BACK COLOR | BLUE |
| SET UP |
SHARPNESS | 0 | IMAGE | OFF |
| SCART INPUT |
REVERSE |
| ||||
|
|
|
|
| |
BrilliantColorTM | 0 | TRIGGER OUT | OFF | A Ë LANGUAGE | |
SCREEN SIZE | 16:9 | TEST PATTERN | CROSS HATCH |
| RESET ALL |
VERTICAL | 0 |
|
|
|
|
LOCATION |
|
|
|
| |
|
|
|
|
| |
SVGA60
AV MEMORY 1
AUTO
DISPLAY INPUT ![]()
![]()
1.![]()
![]()
![]()
AUTO AUTO AUTO
OFF
English
OK ![]()
![]()
1. IMAGE menu |
|
|
|
|
|
ITEM | SETTING | FUNCTION | |||
GAMMA MODE | AUTO | The proper gamma mode is automatically selected depending on the input | |||
|
|
|
|
| signal. Default is AUTO. |
| SPORTS | This is a bright mode suitable for watching sports images. | |||
| VIDEO | This is a standard mode suitable for watching video images, etc. | |||
| CINEMA | This is a mode for watching movies in dim lighting as in a theater. | |||
USER1 |
| / USER2 |
| Select to adjust the gamma curve. (See page 28.) | |
|
| ||||
CONTRAST | ±30 |
| Use to adjust the contrast of the projected image. (See page 27.) | ||
BRIGHTNESS | ±30 |
| Use to adjust the brightness of the projected image. (See page 27.) | ||
COLOR TEMP. | 5 options | Use to adjust the color temperature. (See page 28.) | |||
COLOR | ±10 |
| Use to adjust the color thickness of the projected image. (See page 27.) | ||
TINT | ±10 |
| Use to adjust the color tint of the projected image. (See page 27.) | ||
SHARPNESS | ±5 |
| Use to adjust the sharpness of the projected image. (See page 27.) | ||
BrilliantColorTM | 0 - 2 |
| Use to adjust the BrilliantColorTM function. | ||
SCREEN SIZE | 2 options | Select according to the screen size. | |||
VERTICAL LOCATION | ±26 |
| Use to adjust the position (height) of the projected image. | ||
•BrilliantColorTM uses BrilliantColorTM technology of Texas Instruments in USA. When you set this item to other than 0, the projector displays higher resolution images while reproducing superior colors.
•By using the AV memory function, you can save up to 3 setting patterns of IMAGE menu for each input terminal. (See page 26.)
•When the output from HDMI device is set to RGB, COLOR cannot be adjusted.