Communications by Web Browser (continued)
Alarm List Search
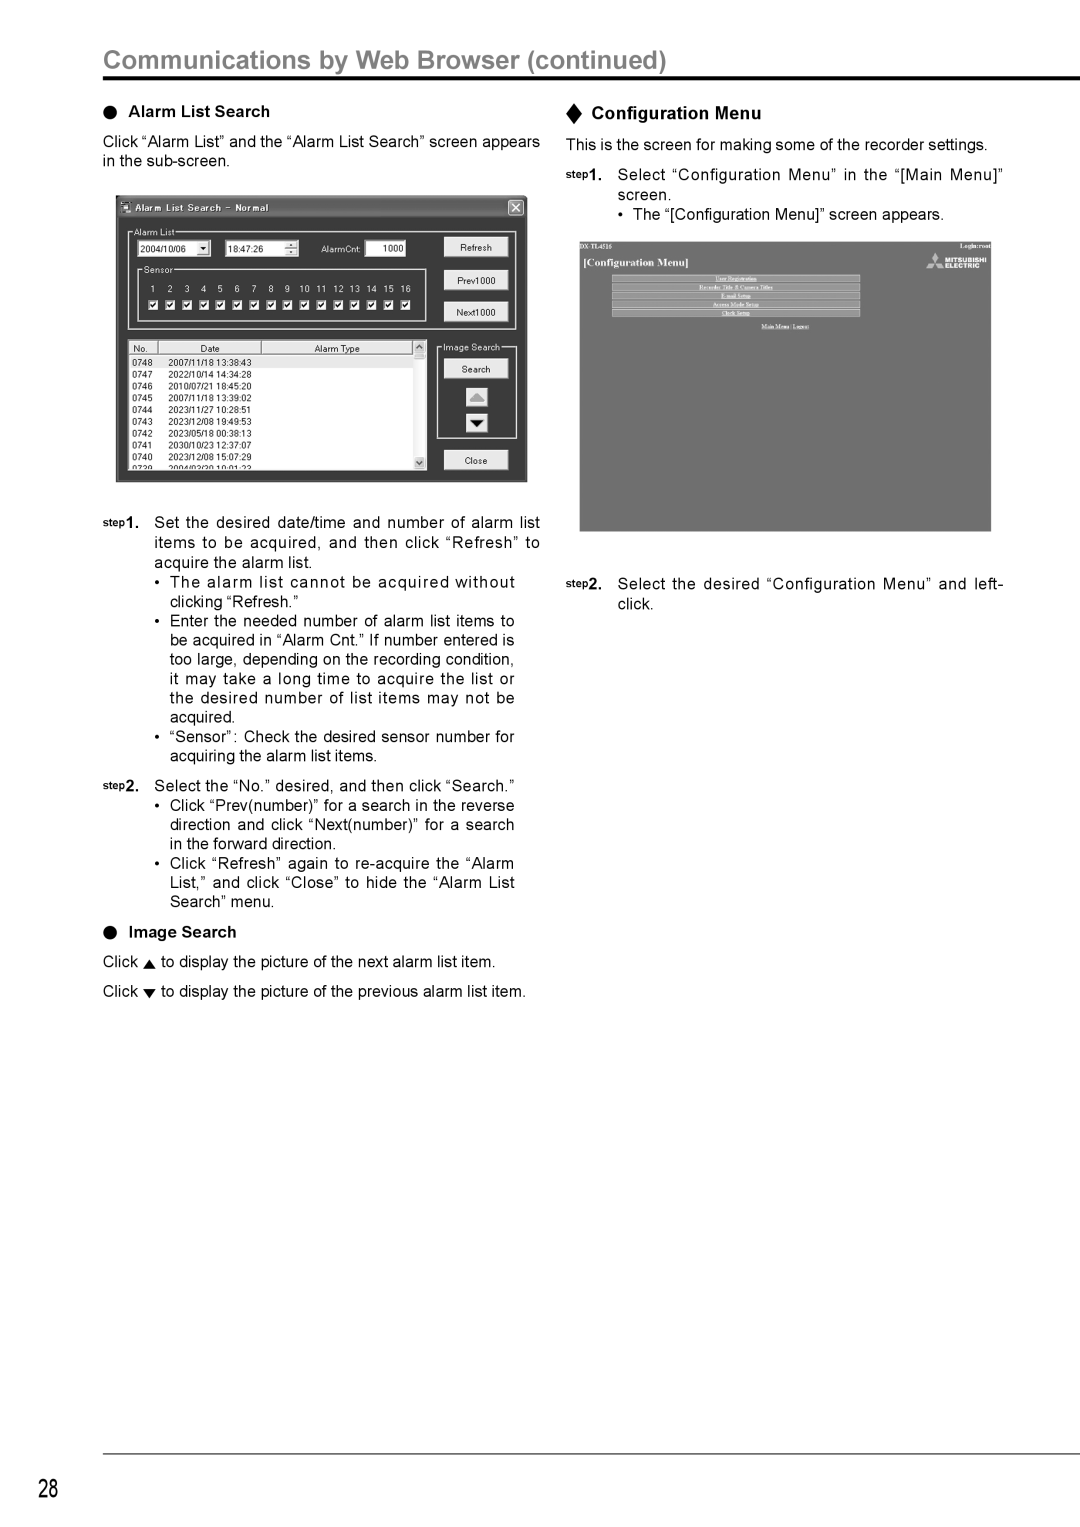
Click “Alarm List” and the “Alarm List Search” screen appears in the
step1. Set the desired date/time and number of alarm list items to be acquired, and then click “Refresh” to acquire the alarm list.
•The alarm list cannot be acquired without clicking “Refresh.”
•Enter the needed number of alarm list items to be acquired in “Alarm Cnt.” If number entered is too large, depending on the recording condition, it may take a long time to acquire the list or the desired number of list items may not be acquired.
•“Sensor” : Check the desired sensor number for acquiring the alarm list items.
step2. Select the “No.” desired, and then click “Search.”
•Click “Prev(number)” for a search in the reverse direction and click “Next(number)” for a search in the forward direction.
•Click “Refresh” again to
Image Search
Click ![]() to display the picture of the next alarm list item. Click
to display the picture of the next alarm list item. Click ![]() to display the picture of the previous alarm list item.
to display the picture of the previous alarm list item.
 Configuration Menu
This is the screen for making some of the recorder settings.
step1. Select “Configuration Menu” in the “[Main Menu]” screen.
• The “[Configuration Menu]” screen appears.
step2. Select the desired “Configuration Menu” and left- click.
28
