iv.Once set, access to the remote network operation page on this projector has been
v.Once set, access to the Tools page has been
![]() • After making the adjustments, press the Send button and the data will be saved in the projector.
• After making the adjustments, press the Send button and the data will be saved in the projector.
•Once the password is set, the Log Out button will display beside the Tools button.
•Write down your selected password in advance or right after the password is entered so that it is available to you should you ever forget it. If you forget the password, you will not be able to log in.
•The software is available in English language.
•When DHCP is turned on, there is a possibility of stopping the webpage connection. If this happens, please check the new IP address of the projector and enter the new address to connect again.
vi.Press Exit to go back to the remote network operation page.
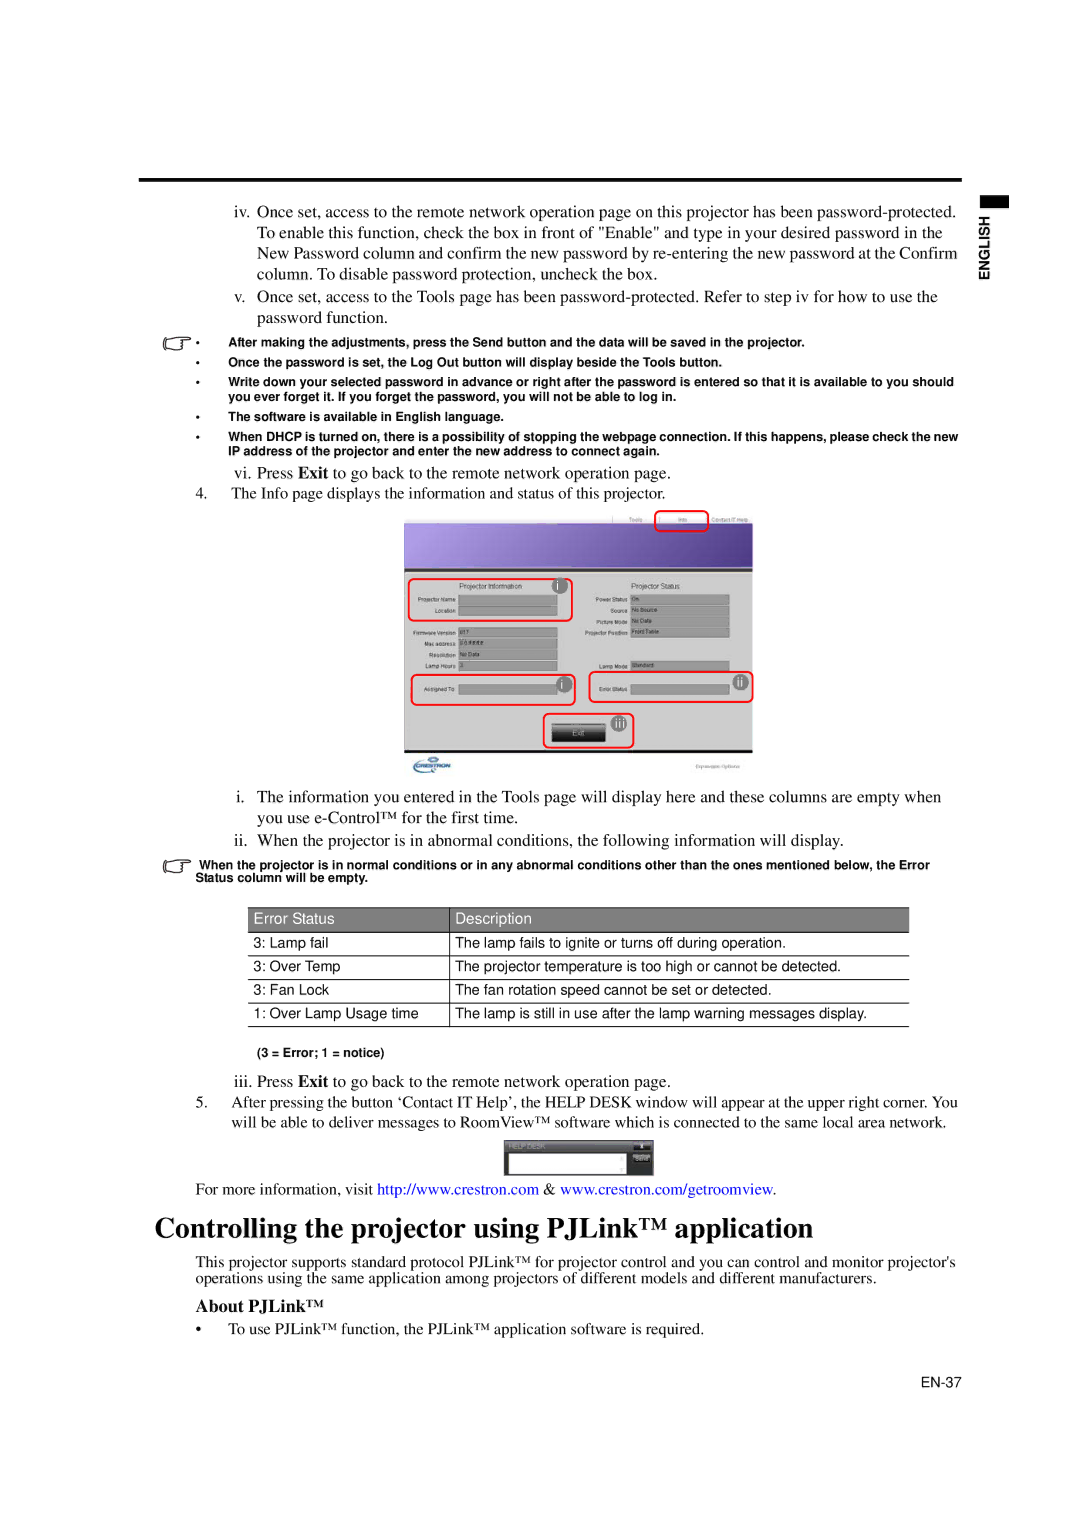
4.The Info page displays the information and status of this projector.
i
iii
iii
ENGLISH
i.The information you entered in the Tools page will display here and these columns are empty when you use
ii. When the projector is in abnormal conditions, the following information will display.
When the projector is in normal conditions or in any abnormal conditions other than the ones mentioned below, the Error Status column will be empty.
Error Status | Description |
3: Lamp fail | The lamp fails to ignite or turns off during operation. |
|
|
3: Over Temp | The projector temperature is too high or cannot be detected. |
|
|
3: Fan Lock | The fan rotation speed cannot be set or detected. |
|
|
1: Over Lamp Usage time | The lamp is still in use after the lamp warning messages display. |
|
|
(3 = Error; 1 = notice)
iii.Press Exit to go back to the remote network operation page.
5.After pressing the button ‘Contact IT Help’, the HELP DESK window will appear at the upper right corner. You will be able to deliver messages to RoomView™ software which is connected to the same local area network.
For more information, visit http://www.crestron.com & www.crestron.com/getroomview.
Controlling the projector using PJLink™ application
This projector supports standard protocol PJLink™ for projector control and you can control and monitor projector's operations using the same application among projectors of different models and different manufacturers.
About PJLink™
•To use PJLink™ function, the PJLink™ application software is required.
