Setting up your projector
Setting up the screen
Install the screen perpendicularly to the projector. If the screen can not be installed in such a way, adjust the projection angle of the projector. (See below.)
•Install the screen and projector so that the projector’s lens is placed at the same height and horizontal position of the screen center.
•Do not install the screen where it is exposed to direct sunlight or lighting. Light directly reflecting on the screen makes the projected images
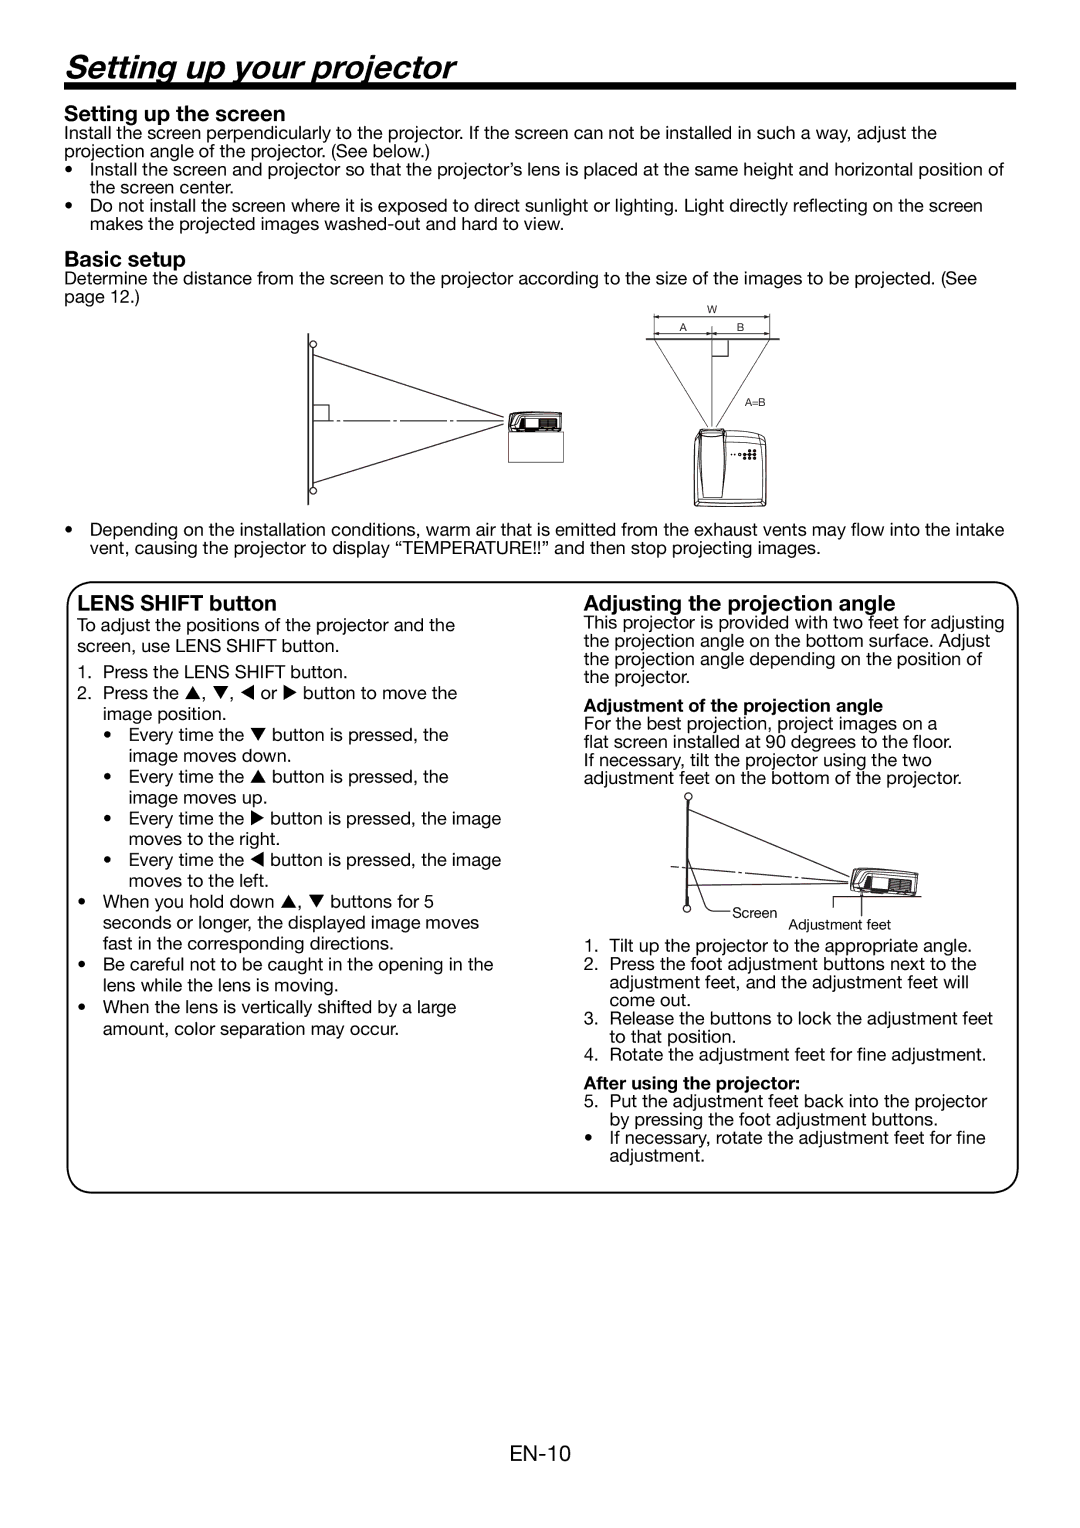
Basic setup
Determine the distance from the screen to the projector according to the size of the images to be projected. (See page 12.)
W
A B
A=B
•Depending on the installation conditions, warm air that is emitted from the exhaust vents may flow into the intake vent, causing the projector to display “TEMPERATURE!!” and then stop projecting images.
LENS SHIFT button
To adjust the positions of the projector and the screen, use LENS SHIFT button.
1.Press the LENS SHIFT button.
2.Press the S, T, W or X button to move the image position.
•Every time the T button is pressed, the image moves down.
•Every time the S button is pressed, the image moves up.
•Every time the X button is pressed, the image moves to the right.
•Every time the W button is pressed, the image moves to the left.
•When you hold down S, T buttons for 5 seconds or longer, the displayed image moves fast in the corresponding directions.
•Be careful not to be caught in the opening in the lens while the lens is moving.
•When the lens is vertically shifted by a large amount, color separation may occur.
Adjusting the projection angle
This projector is provided with two feet for adjusting the projection angle on the bottom surface. Adjust the projection angle depending on the position of the projector.
Adjustment of the projection angle
For the best projection, project images on a flat screen installed at 90 degrees to the floor. If necessary, tilt the projector using the two adjustment feet on the bottom of the projector.
Screen
Adjustment feet
1.Tilt up the projector to the appropriate angle.
2.Press the foot adjustment buttons next to the adjustment feet, and the adjustment feet will come out.
3.Release the buttons to lock the adjustment feet to that position.
4.Rotate the adjustment feet for fine adjustment.
After using the projector:
5.Put the adjustment feet back into the projector by pressing the foot adjustment buttons.
•If necessary, rotate the adjustment feet for fine adjustment.