Preparation/SetUp (continued)
Setting the IP address of the projector
Before setting the IP address, check that the projector has been
1 | Start the | |
• Select [Start] - [All Programs] - [Mitsubishi] - | ||
| ||
| [Mitsubishi Projector - Control Device Installer] (in | |
| the case of Windows® XP). |
2 | Click the Search button. | ||
• | Mitsubishi projector is recognized. | ||
| |||
| (Note) | ||
| When Mitsubishi projector isn’t recognized, check | ||
| the following. | ||
| • The firewall function has been disabled. (When it | ||
|
| has been enabled, search may not be conducted.) | |
| • The personal computer and the projector are on | ||
|
| the same network. (For preventing unauthorized | |
|
| access.) | |
| • More than one | ||
|
| isn’t running. | |
|
| ||
3 | Select a projector by clicking the line showing the | ||
projector and click the Assign IP button. | |||
| |||
Click here
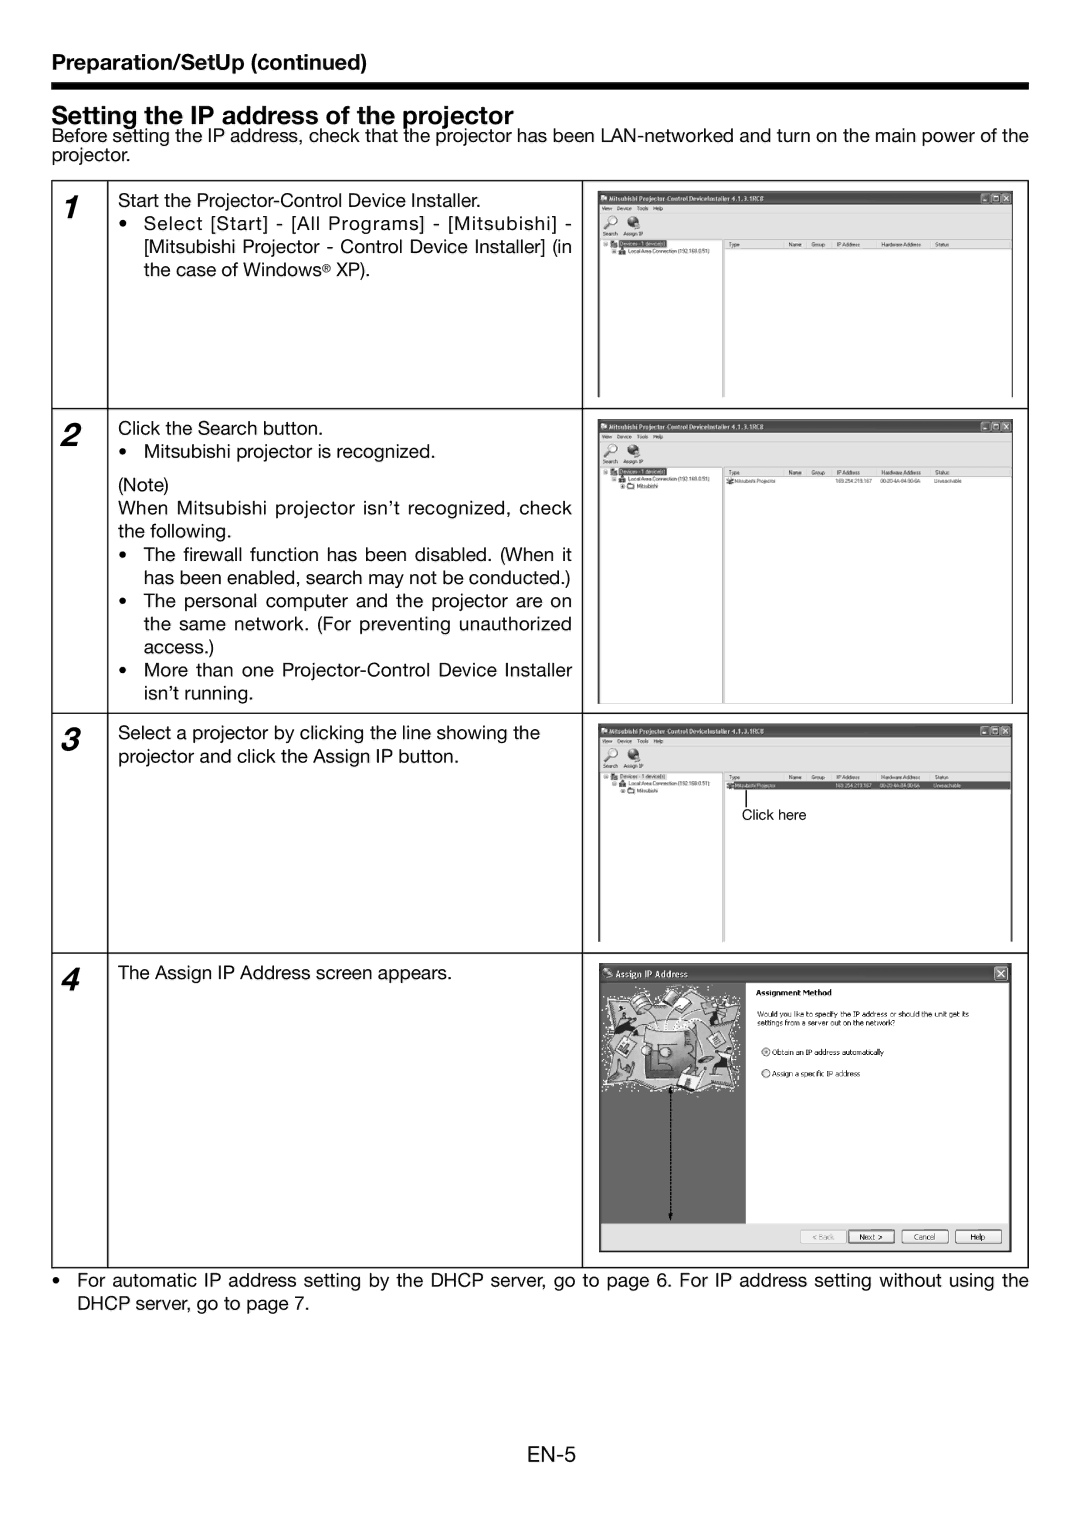
4
The Assign IP Address screen appears.
•For automatic IP address setting by the DHCP server, go to page 6. For IP address setting without using the DHCP server, go to page 7.