Preparation/SetUp (continued)
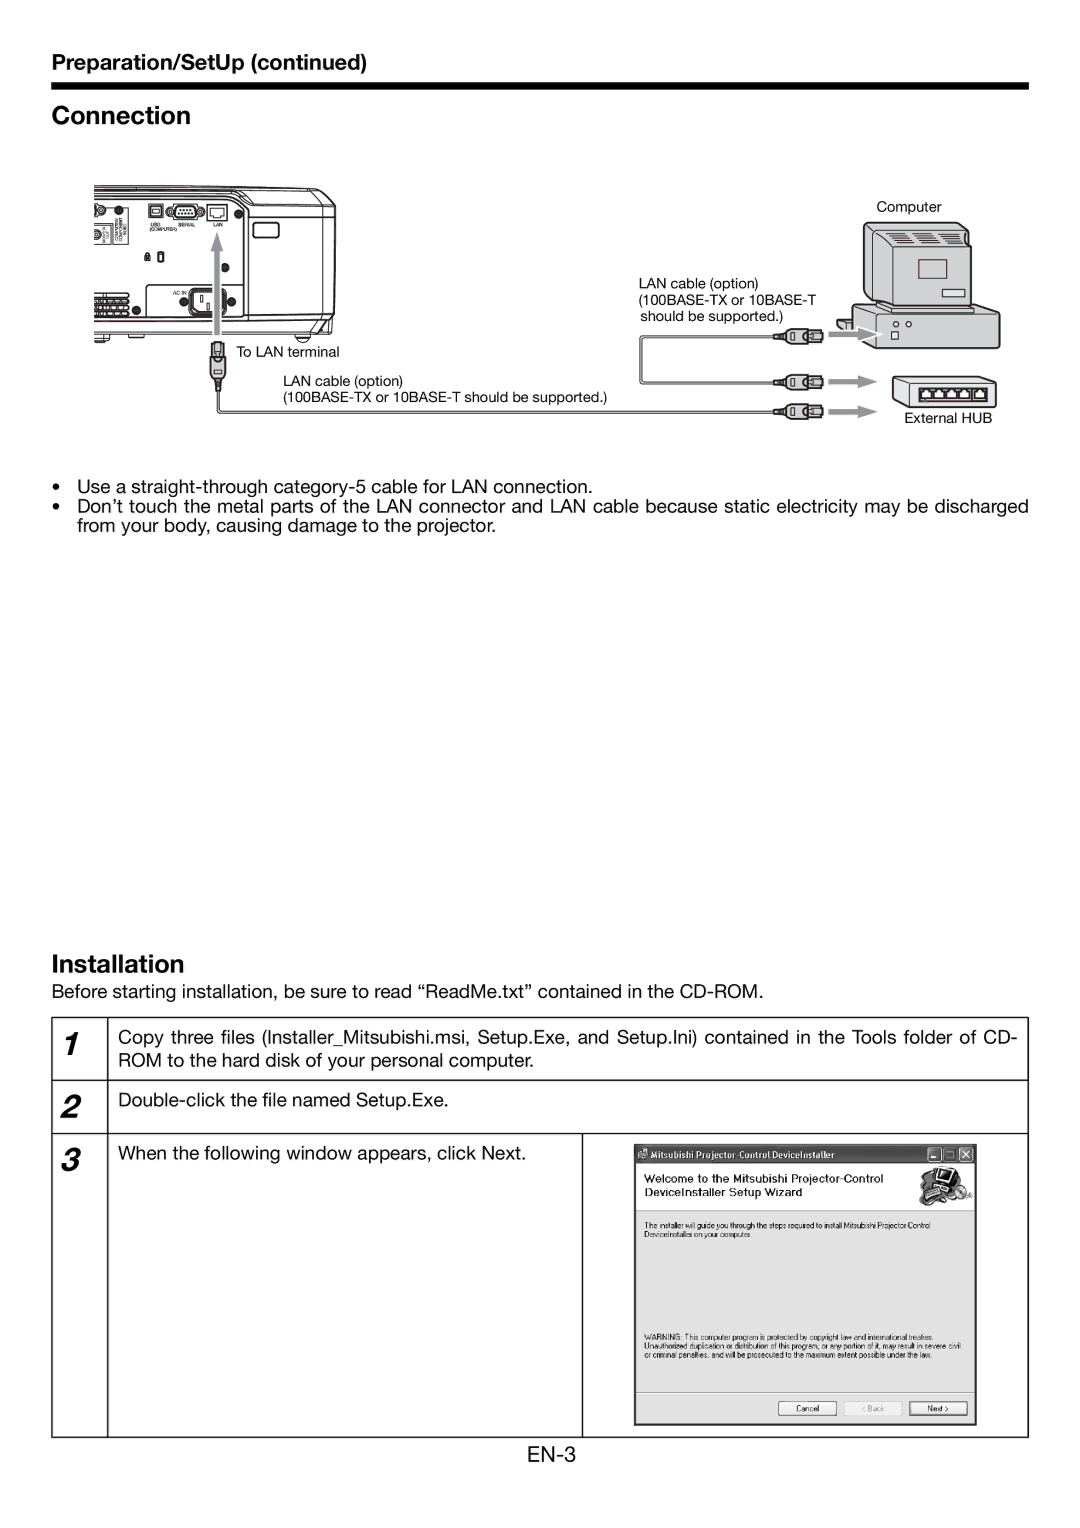
Connection
Computer
LAN cable (option)
To LAN terminal
LAN cable (option)
External HUB
•Use a
•Don’t touch the metal parts of the LAN connector and LAN cable because static electricity may be discharged from your body, causing damage to the projector.
Installation
Before starting installation, be sure to read “ReadMe.txt” contained in the
1 | Copy three files (Installer_Mitsubishi.msi, Setup.Exe, and Setup.Ini) contained in the Tools folder of CD- | ||
ROM to the hard disk of your personal computer. | |||
| |||
|
|
| |
2 | |||
|
| ||
|
|
| |
3 | When the following window appears, click Next. |
| |
|
| ||
|
|
| |