VIDEO SIGNAL ... | When AUTO is selected, the appropriate video format is automatically selected depending on the | ||
| input signal. If the image isn’t displayed correctly, select the desired video format manually. | ||
ANAMORPHIC .... | Select ON when playing DVD discs containing data of letterboxed images. | ||
LANGUAGE | Use to select the language used in the menus. ( | / English / Español / Deutsch / Français / | |
| Italiano / | ) |
|
RESET ALL | Use to reset the MENU settings (except LANGUAGE). | ||
ENGLISH
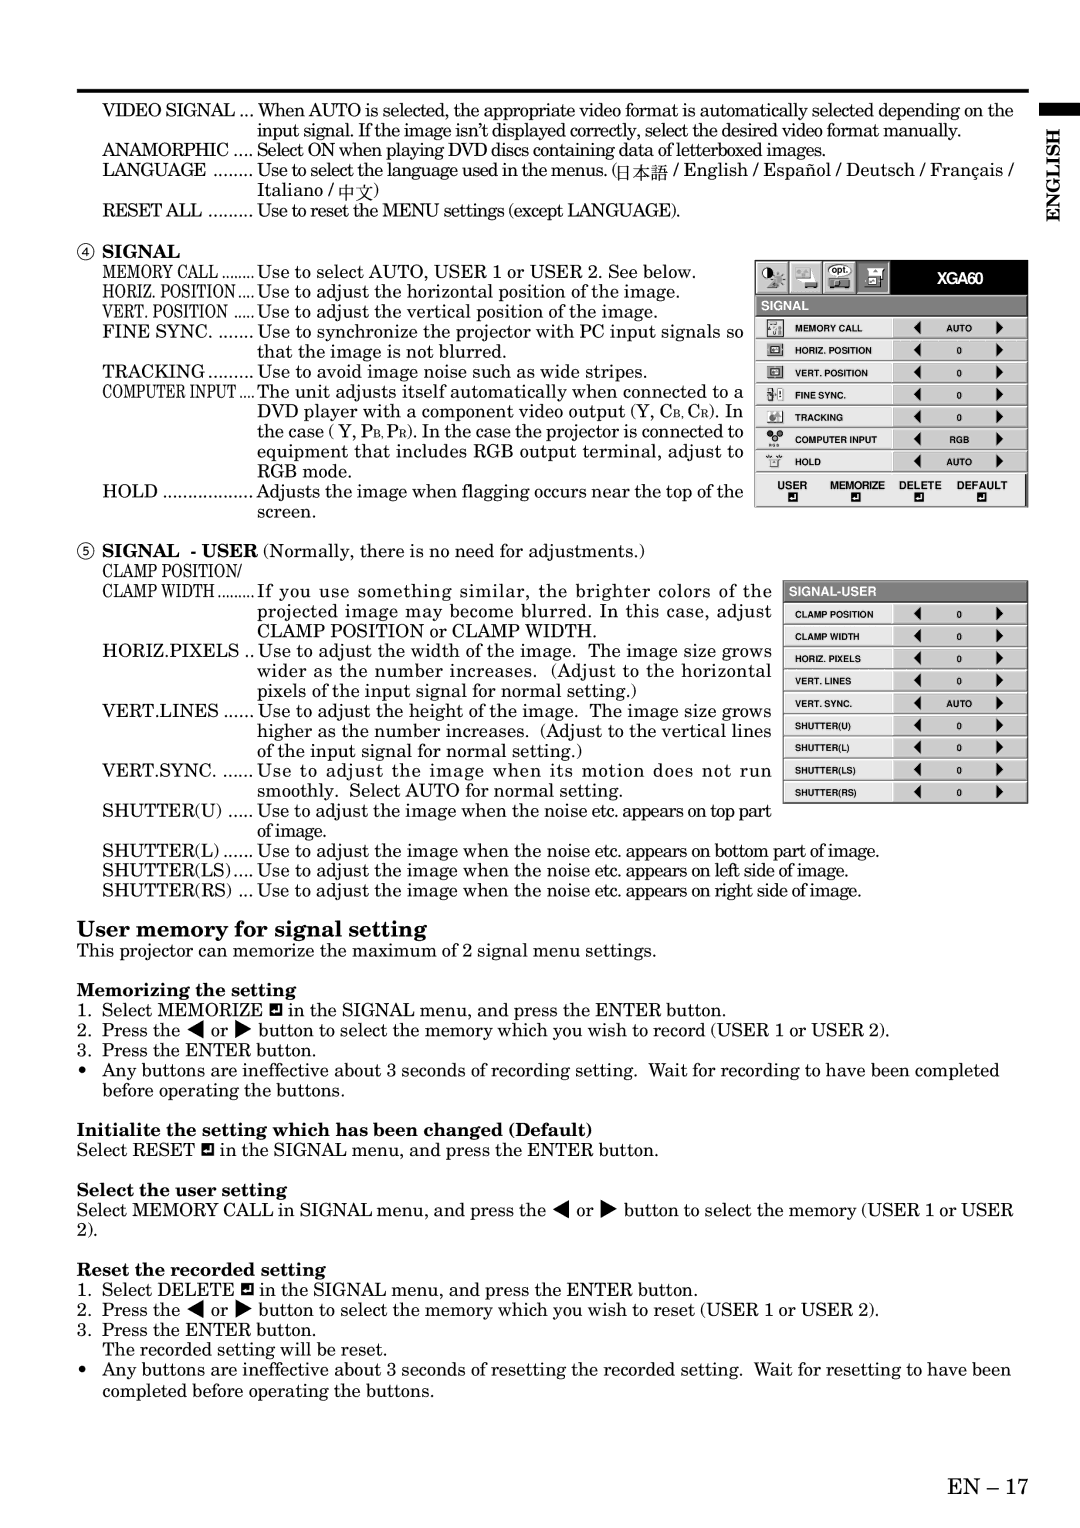
4 SIGNAL |
|
MEMORY CALL | Use to select AUTO, USER 1 or USER 2. See below. |
HORIZ. POSITION .... | Use to adjust the horizontal position of the image. |
VERT. POSITION | Use to adjust the vertical position of the image. |
opt.
SIGNAL
XGA60
FINE SYNC | Use to synchronize the projector with PC input signals so |
| that the image is not blurred. |
TRACKING | Use to avoid image noise such as wide stripes. |
COMPUTER INPUT .... | The unit adjusts itself automatically when connected to a |
| DVD player with a component video output (Y, CB, CR). In |
| the case ( Y, PB, PR). In the case the projector is connected to |
| equipment that includes RGB output terminal, adjust to |
| RGB mode. |
HOLD | Adjusts the image when flagging occurs near the top of the |
| screen. |
| A | MEMORY CALL | AUTO |
| U |
|
|
|
|
|
|
|
| HORIZ. POSITION | 0 |
|
|
|
|
|
| VERT. POSITION | 0 |
|
|
|
|
|
| FINE SYNC. | 0 |
|
|
|
|
|
| TRACKING | 0 |
|
|
|
|
| RRGGBB | COMPUTER INPUT | RGB |
|
|
|
|
|
| HOLD | AUTO |
|
|
|
|
USER MEMORIZE DELETE DEFAULT
5 SIGNAL - USER (Normally, there is no need for adjustments.)
CLAMP POSITION/ |
|
|
|
CLAMP WIDTH | If you use something similar, the brighter colors of the |
| |
| projected image may become blurred. In this case, adjust | CLAMP POSITION | 0 |
| CLAMP POSITION or CLAMP WIDTH. | CLAMP WIDTH | 0 |
HORIZ.PIXELS .. Use to adjust the width of the image. The image size grows | HORIZ. PIXELS | 0 | |
| wider as the number increases. (Adjust to the horizontal |
|
|
|
| VERT. LINES | 0 |
| pixels of the input signal for normal setting.) |
|
|
|
| VERT. SYNC. | AUTO |
VERT.LINES ...... Use to adjust the height of the image. The image size grows |
|
| |
|
| SHUTTER(U) | 0 |
| higher as the number increases. (Adjust to the vertical lines |
|
|
|
| SHUTTER(L) | 0 |
| of the input signal for normal setting.) |
|
|
|
| SHUTTER(LS) | 0 |
VERT.SYNC. ...... Use to adjust the image when its motion does not run |
|
| |
| smoothly. Select AUTO for normal setting. | SHUTTER(RS) | 0 |
SHUTTER(U) ..... Use to adjust the image when the noise etc. appears on top part |
|
| |
| of image. |
|
|
SHUTTER(L) ...... Use to adjust the image when the noise etc. appears on bottom part of image. |
| ||
SHUTTER(LS) .... Use to adjust the image when the noise etc. appears on left side of image. |
| ||
SHUTTER(RS) ... Use to adjust the image when the noise etc. appears on right side of image. |
| ||
User memory for signal setting |
|
| |
This projector can memorize the maximum of 2 signal menu settings. |
|
| |
Memorizing the setting
1.Select MEMORIZE ![]()
![]() in the SIGNAL menu, and press the ENTER button.
in the SIGNAL menu, and press the ENTER button.
2.Press the $ or % button to select the memory which you wish to record (USER 1 or USER 2).
3.Press the ENTER button.
•Any buttons are ineffective about 3 seconds of recording setting. Wait for recording to have been completed before operating the buttons.
Initialite the setting which has been changed (Default)
Select RESET ![]()
![]() in the SIGNAL menu, and press the ENTER button.
in the SIGNAL menu, and press the ENTER button.
Select the user setting
Select MEMORY CALL in SIGNAL menu, and press the $ or % button to select the memory (USER 1 or USER 2).
Reset the recorded setting
1.Select DELETE ![]()
![]() in the SIGNAL menu, and press the ENTER button.
in the SIGNAL menu, and press the ENTER button.
2.Press the $ or % button to select the memory which you wish to reset (USER 1 or USER 2).
3.Press the ENTER button.
The recorded setting will be reset.
•Any buttons are ineffective about 3 seconds of resetting the recorded setting. Wait for resetting to have been completed before operating the buttons.
EN – 17