Available settings in the menus
Set the following items on their relevant menus.
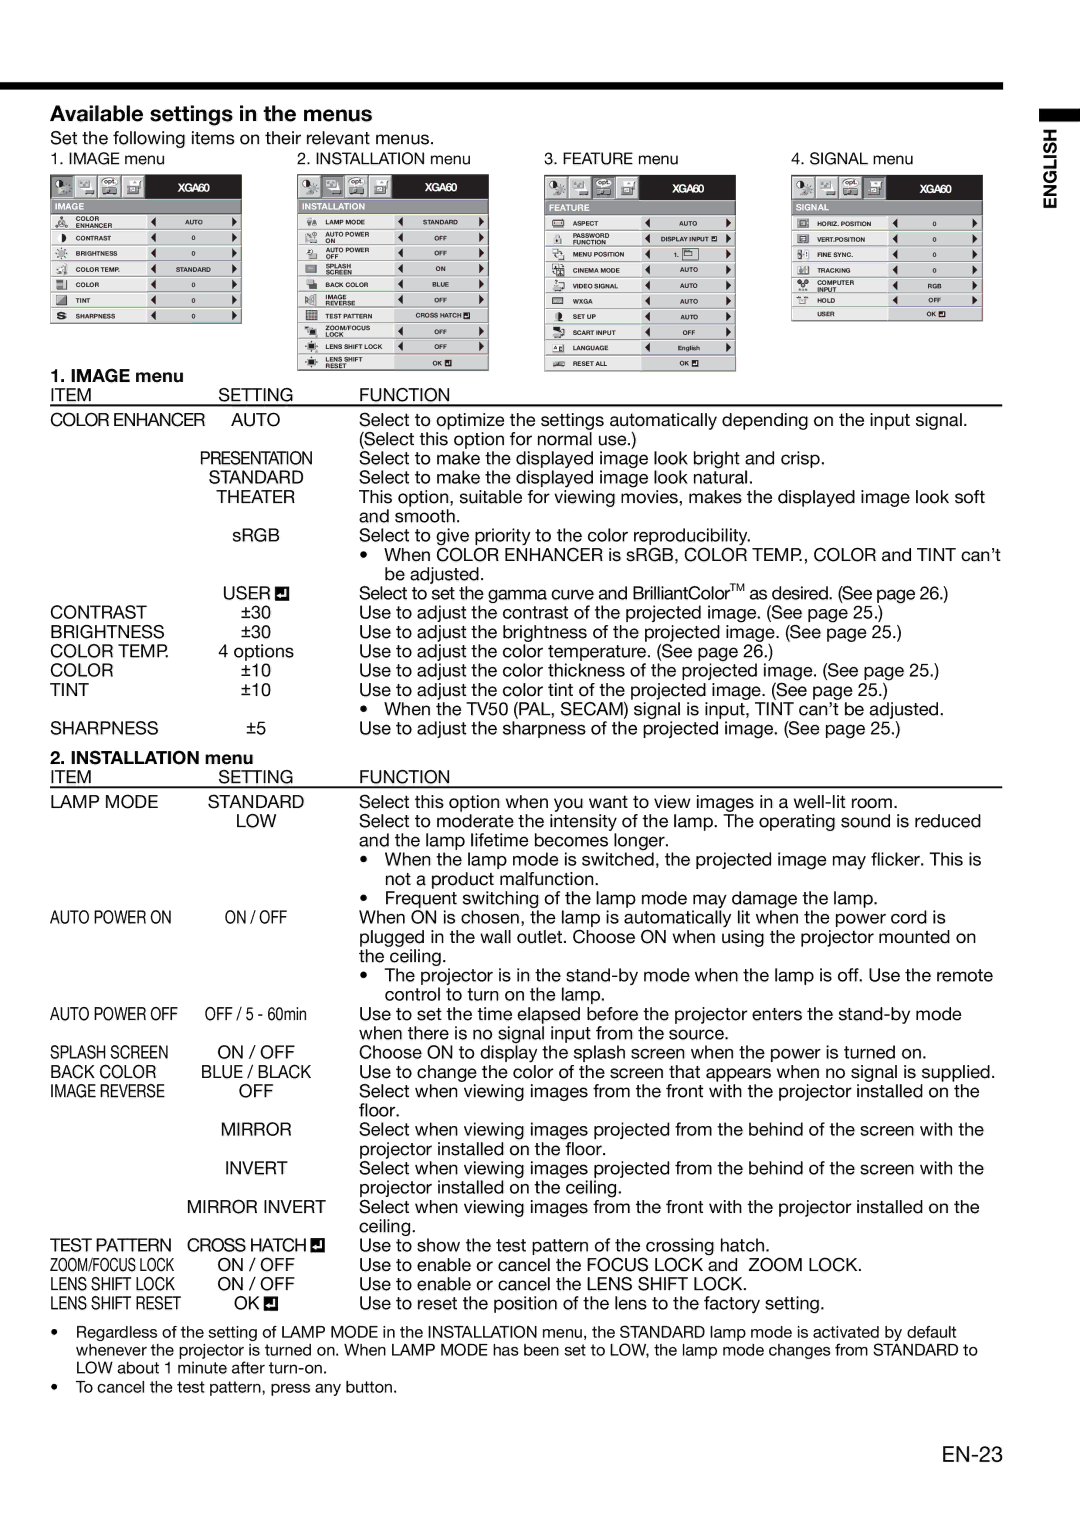
1. IMAGE menu | 2. INSTALLATION menu | 3. FEATURE menu | 4. SIGNAL menu |
opt. | opt. | opt. | opt. |
XGA60 | XGA60 | XGA60 | XGA60 |
IMAGE |
| INSTALLATION |
| FEATURE |
| SIGNAL |
| |
COLOR | AUTO | LAMP MODE | STANDARD | ASPECT | AUTO | HORIZ. POSITION | 0 | |
ENHANCER | ||||||||
|
|
|
|
|
|
| ||
CONTRAST | 0 | AUTO POWER | OFF | PASSWORD | DISPLAY INPUT | VERT.POSITION | 0 | |
ON | FUNCTION | |||||||
|
|
|
|
|
|
BRIGHTNESS | 0 | AUTO POWER | OFF | MENU POSITION | 1. | FINE SYNC. | 0 |
OFF |
COLOR TEMP. | STANDARD | ON | SPLASH | ON | CINEMA MODE | AUTO | TRACKING | 0 |
| SCREEN |
COLOR | 0 | BACK COLOR | BLUE | ? | VIDEO SIGNAL | AUTO |
| COMPUTER | RGB |
| R G B | INPUT | |||||||
|
|
|
|
|
|
| R G B |
|
TINT | 0 | IMAGE | OFF | WXGA WXGA | AUTO | HOLD | OFF |
REVERSE |
SHARPNESS | 0 | TEST PATTERN | CROSS HATCH | SET UP | AUTO | USER | OK |
|
|
|
| ZOOM/FOCUS | OFF |
|
|
| SCART INPUT | OFF |
|
| |||
|
|
|
| LOCK |
|
|
|
|
| ||||||
|
|
|
| LENS SHIFT LOCK | OFF |
|
|
|
|
|
|
|
|
| |
|
|
|
|
|
| A Ë | LANGUAGE | English |
| ||||||
|
|
|
| LENS SHIFT | OK |
|
|
|
|
|
|
|
|
| |
1. IMAGE menu |
|
|
| RESET |
|
|
|
| RESET ALL | OK |
|
|
| ||
|
|
|
|
|
|
|
|
|
|
|
|
|
|
| |
ITEM | SETTING | FUNCTION |
|
|
|
|
|
|
|
|
| ||||
COLOR ENHANCER | AUTO | Select to optimize the settings automatically depending on the input signal. | |||||||||||||
|
|
|
|
| (Select this option for normal use.) |
|
|
|
|
| |||||
PRESENTATION | Select to make the displayed image look bright and crisp. | ||||||||||||||
| STANDARD | Select to make the displayed image look natural. | |||||||||||||
| THEATER | This option, suitable for viewing movies, makes the displayed image look soft | |||||||||||||
|
|
|
|
| and smooth. |
|
|
|
|
|
|
|
|
| |
| sRGB | Select to give priority to the color reproducibility. | |||||||||||||
•When COLOR ENHANCER is sRGB, COLOR TEMP., COLOR and TINT can’t be adjusted.
| USER |
|
| Select to set the gamma curve and BrilliantColorTM as desired. (See page 26.) |
|
| |||
CONTRAST | ±30 |
|
| Use to adjust the contrast of the projected image. (See page 25.) |
BRIGHTNESS | ±30 |
|
| Use to adjust the brightness of the projected image. (See page 25.) |
COLOR TEMP. | 4 options | Use to adjust the color temperature. (See page 26.) | ||
COLOR | ±10 |
|
| Use to adjust the color thickness of the projected image. (See page 25.) |
TINT | ±10 |
|
| Use to adjust the color tint of the projected image. (See page 25.) |
| ±5 |
|
| • When the TV50 (PAL, SECAM) signal is input, TINT can’t be adjusted. |
SHARPNESS |
|
| Use to adjust the sharpness of the projected image. (See page 25.) | |
2. INSTALLATION menu |
| |||
ITEM | SETTING | FUNCTION | ||
LAMP MODE | STANDARD | Select this option when you want to view images in a | ||
| LOW | Select to moderate the intensity of the lamp. The operating sound is reduced | ||
|
|
|
| and the lamp lifetime becomes longer. |
•When the lamp mode is switched, the projected image may flicker. This is not a product malfunction.
•Frequent switching of the lamp mode may damage the lamp.
AUTO POWER ON | ON / OFF | When ON is chosen, the lamp is automatically lit when the power cord is |
|
| plugged in the wall outlet. Choose ON when using the projector mounted on |
|
| the ceiling. |
•The projector is in the
AUTO POWER OFF | OFF / 5 - 60min | Use to set the time elapsed before the projector enters the | ||||
|
|
|
|
|
| when there is no signal input from the source. |
SPLASH SCREEN | ON / OFF | Choose ON to display the splash screen when the power is turned on. | ||||
BACK COLOR | BLUE / BLACK | Use to change the color of the screen that appears when no signal is supplied. | ||||
IMAGE REVERSE | OFF | Select when viewing images from the front with the projector installed on the | ||||
|
|
|
|
|
| floor. |
| MIRROR | Select when viewing images projected from the behind of the screen with the | ||||
|
|
|
|
|
| projector installed on the floor. |
| INVERT | Select when viewing images projected from the behind of the screen with the | ||||
|
|
|
|
|
| projector installed on the ceiling. |
| MIRROR INVERT | Select when viewing images from the front with the projector installed on the | ||||
|
|
|
|
|
| ceiling. |
TEST PATTERN | CROSS HATCH |
|
| Use to show the test pattern of the crossing hatch. | ||
| ||||||
ZOOM/FOCUS LOCK | ON / OFF | Use to enable or cancel the FOCUS LOCK and ZOOM LOCK. | ||||
LENS SHIFT LOCK | ON / OFF | Use to enable or cancel the LENS SHIFT LOCK. | ||||
LENS SHIFT RESET | OK |
|
| Use to reset the position of the lens to the factory setting. | ||
| ||||||
•Regardless of the setting of LAMP MODE in the INSTALLATION menu, the STANDARD lamp mode is activated by default whenever the projector is turned on. When LAMP MODE has been set to LOW, the lamp mode changes from STANDARD to LOW about 1 minute after
•To cancel the test pattern, press any button.
ENGLISH