Image adjustment
To adjust the brightness (Contrast and Brightness):
You can make adjustments for the brightness of the projected image using the menu.
(See page 21 for menu setting.)
1.Display the Picture menu.
2.Select Contrast or Brightness by pressing the or button.
3.Adjust the selected item by pressing the or button.
To cancel the menu:
4. Press the MENU button.
Contrast
Select to adjust the contrast of the image. Every time the button is pressed, the image becomes brighter and more clearly defined. Every time the button is pressed, the image becomes darker and less clearly defined.
Brightness
Every time the button is pressed, the image becomes brighter. Every time the button is pressed, the image becomes darker.
To adjust the color (Color and Tint):
You can adjust the color of the projected image using the menu.
(See page 21 for menu setting.)
1.Display the Video Image menu.
2.Select Color or Tint by pressing the or button.
•Color and Tint is selectable only when the input signal is Video.
•Tint is selectable only when the NTSC or
4.43NTSC signal is inputted.
3.Adjust the selected item by pressing the or button.
To cancel the menu:
4. Press the MENU button.
To adjust the tone of white (Color Temp.):
You can select a preset color temperature (white tone) using the menu.
(See page 21 for menu setting.)
1.Display the Picture menu.
2.Select Color Temp. by pressing the or button.
3.Select your desired color temperature by pressing the or button.
To cancel the menu:
4. Press the MENU button.
To adjust the tone of white (To customize the color temperature):
To set (and store) a
(See page 21 for menu setting.)
1.Select Color Temp. in the Picture menu.
2.Press the or button to select User![]() .
.
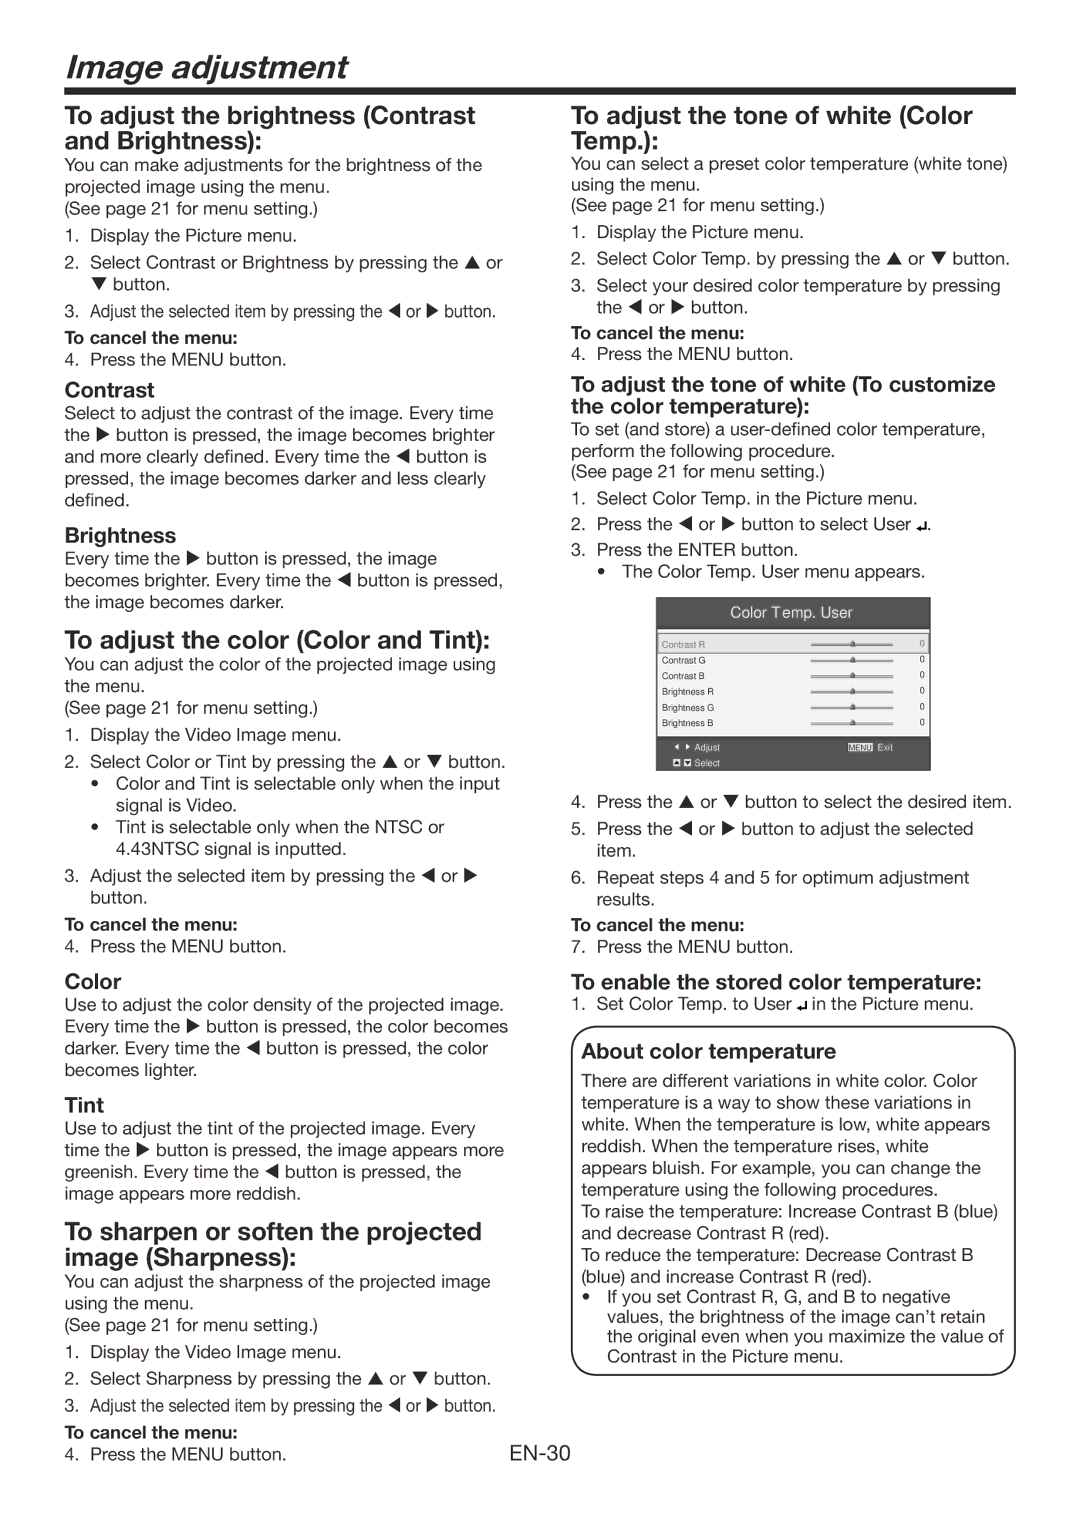
3.Press the ENTER button.
• The Color Temp. User menu appears.
|
|
|
| Color Temp. User | |||||||||
|
|
|
|
|
|
|
|
|
|
|
|
|
|
Contrast R |
|
|
|
| 0 | ||||||||
|
|
|
|
|
|
|
|
|
|
|
|
|
|
Contrast G |
|
|
|
|
|
|
| 0 | |||||
Contrast B |
|
|
|
|
| 0 | |||||||
Brightness R |
|
|
|
| 0 | ||||||||
Brightness G |
|
|
|
| 0 | ||||||||
Brightness B |
|
|
|
| 0 | ||||||||
|
|
|
|
|
|
|
|
|
|
|
|
|
|
|
|
|
|
|
|
|
|
|
|
|
|
|
|
|
|
| Adjust |
|
|
| MENU | Exit | |||||
|
|
| Select |
|
|
|
|
|
|
|
|
|
|
|
|
|
|
|
|
|
|
|
|
|
|
|
|
4.Press the or button to select the desired item.
5.Press the or button to adjust the selected item.
6.Repeat steps 4 and 5 for optimum adjustment results.
To cancel the menu:
7. Press the MENU button.
Color
Use to adjust the color density of the projected image. Every time the button is pressed, the color becomes darker. Every time the button is pressed, the color becomes lighter.
Tint
Use to adjust the tint of the projected image. Every time the button is pressed, the image appears more greenish. Every time the button is pressed, the image appears more reddish.
To sharpen or soften the projected image (Sharpness):
You can adjust the sharpness of the projected image using the menu.
(See page 21 for menu setting.)
1.Display the Video Image menu.
2.Select Sharpness by pressing the or button.
3.Adjust the selected item by pressing the or button.
To enable the stored color temperature:
1. Set Color Temp. to User ![]()
![]() in the Picture menu.
in the Picture menu.
About color temperature
There are different variations in white color. Color temperature is a way to show these variations in white. When the temperature is low, white appears reddish. When the temperature rises, white appears bluish. For example, you can change the temperature using the following procedures.
To raise the temperature: Increase Contrast B (blue) and decrease Contrast R (red).
To reduce the temperature: Decrease Contrast B (blue) and increase Contrast R (red).
•If you set Contrast R, G, and B to negative values, the brightness of the image can’t retain the original even when you maximize the value of Contrast in the Picture menu.
To cancel the menu: | |
4. Press the MENU button. |