Advanced display utilities (continued)
Operation
Starting USB Display projection
1.Select a USB Display input by pressing the USB DISP. button on the remote control or the COMPUTER button on the projector.
•Each time you press the COMPUTER button, the input source is switched between Computer1, Computer2, HDMI, LAN Display, USB Display and PC Less Presentation.
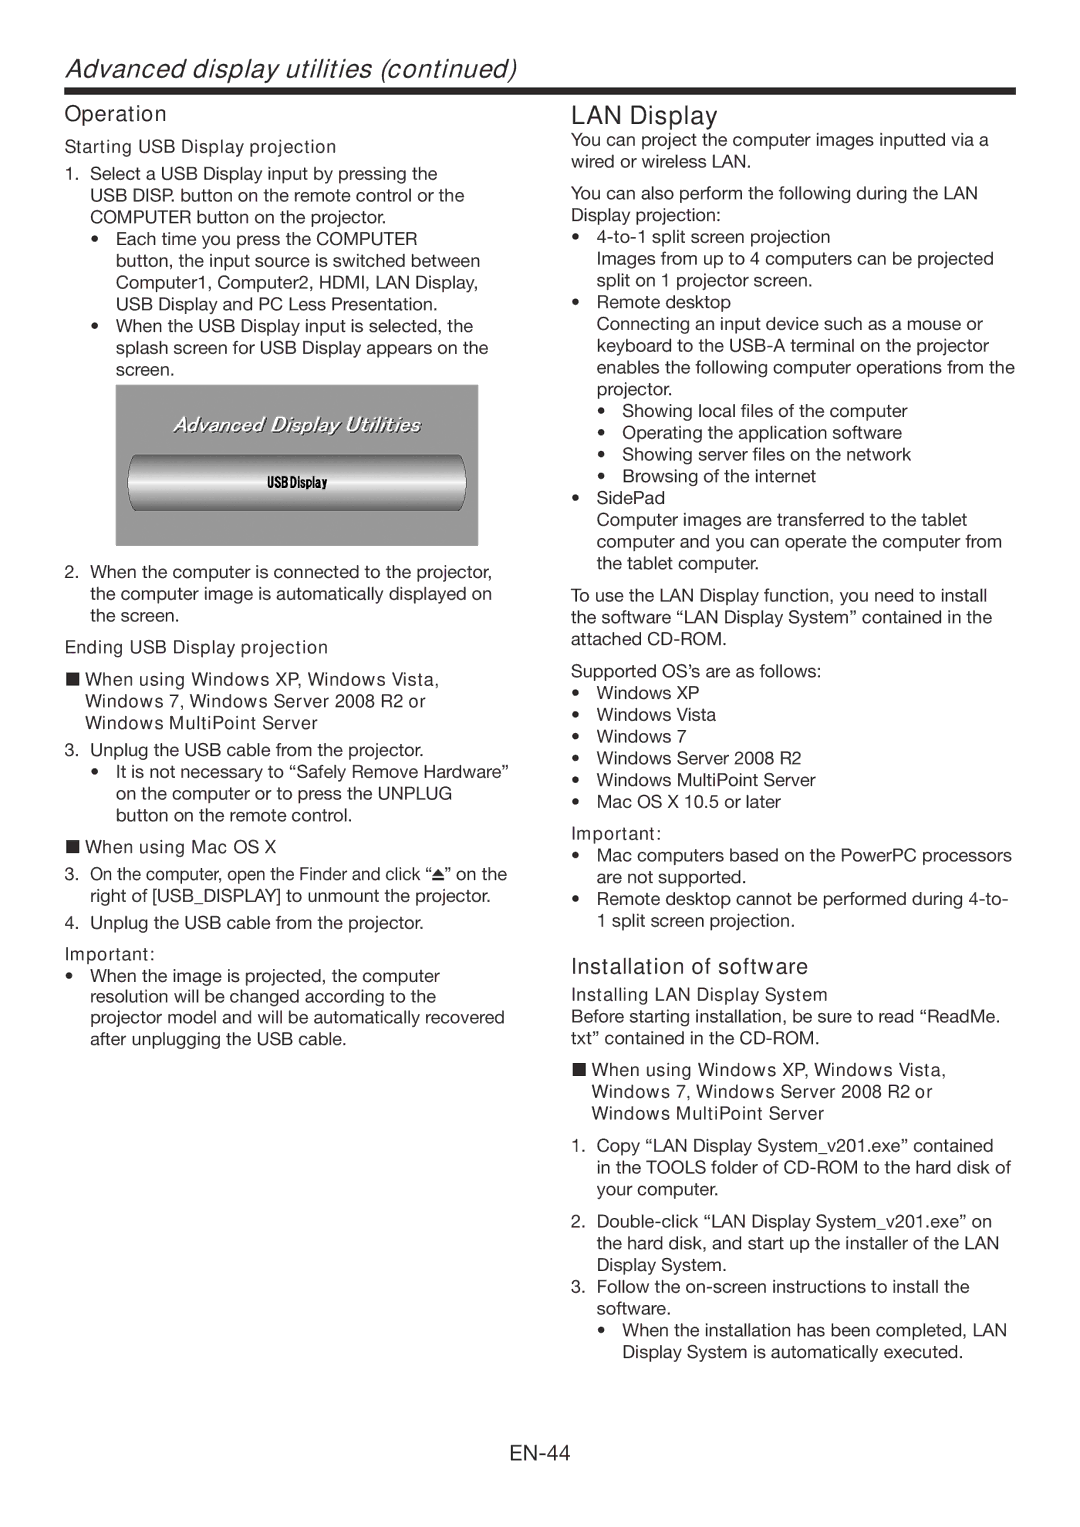
•When the USB Display input is selected, the splash screen for USB Display appears on the screen.
2.When the computer is connected to the projector, the computer image is automatically displayed on the screen.
Ending USB Display projection
When using Windows XP, Windows Vista, Windows 7, Windows Server 2008 R2 or Windows MultiPoint Server
3.Unplug the USB cable from the projector.
•It is not necessary to “Safely Remove Hardware” on the computer or to press the UNPLUG button on the remote control.
When using Mac OS X
3.On the computer, open the Finder and click “ ” on the right of [USB_DISPLAY] to unmount the projector.
4.Unplug the USB cable from the projector.
Important:
•When the image is projected, the computer resolution will be changed according to the projector model and will be automatically recovered after unplugging the USB cable.
LAN Display
You can project the computer images inputted via a wired or wireless LAN.
You can also perform the following during the LAN Display projection:
•
Images from up to 4 computers can be projected split on 1 projector screen.
•Remote desktop
Connecting an input device such as a mouse or keyboard to the
•Showing local files of the computer
•Operating the application software
•Showing server files on the network
•Browsing of the internet
•SidePad
Computer images are transferred to the tablet computer and you can operate the computer from the tablet computer.
To use the LAN Display function, you need to install the software “LAN Display System” contained in the attached
Supported OS’s are as follows:
•Windows XP
•Windows Vista
•Windows 7
•Windows Server 2008 R2
•Windows MultiPoint Server
•Mac OS X 10.5 or later
Important:
•Mac computers based on the PowerPC processors are not supported.
•Remote desktop cannot be performed during
1 split screen projection.
Installation of software
Installing LAN Display System
Before starting installation, be sure to read “ReadMe. txt” contained in the
When using Windows XP, Windows Vista, Windows 7, Windows Server 2008 R2 or Windows MultiPoint Server
1.Copy “LAN Display System_v201.exe” contained in the TOOLS folder of
2.
3.Follow the
•When the installation has been completed, LAN Display System is automatically executed.