Manuals
/
Motorola
/
TV and Video
/
TV Receiver
Motorola
manual
User Guide HDT100 High Definition Tuner
Models:
HDT100
1
1
48
48
Download
48 pages
23.44 Kb
1
2
3
4
5
6
7
8
Troubleshooting
Install
Error messages
Password
To set up your V-chip settings
Remote Control
Safety
Using Closed Captions
Page 1
Image 1
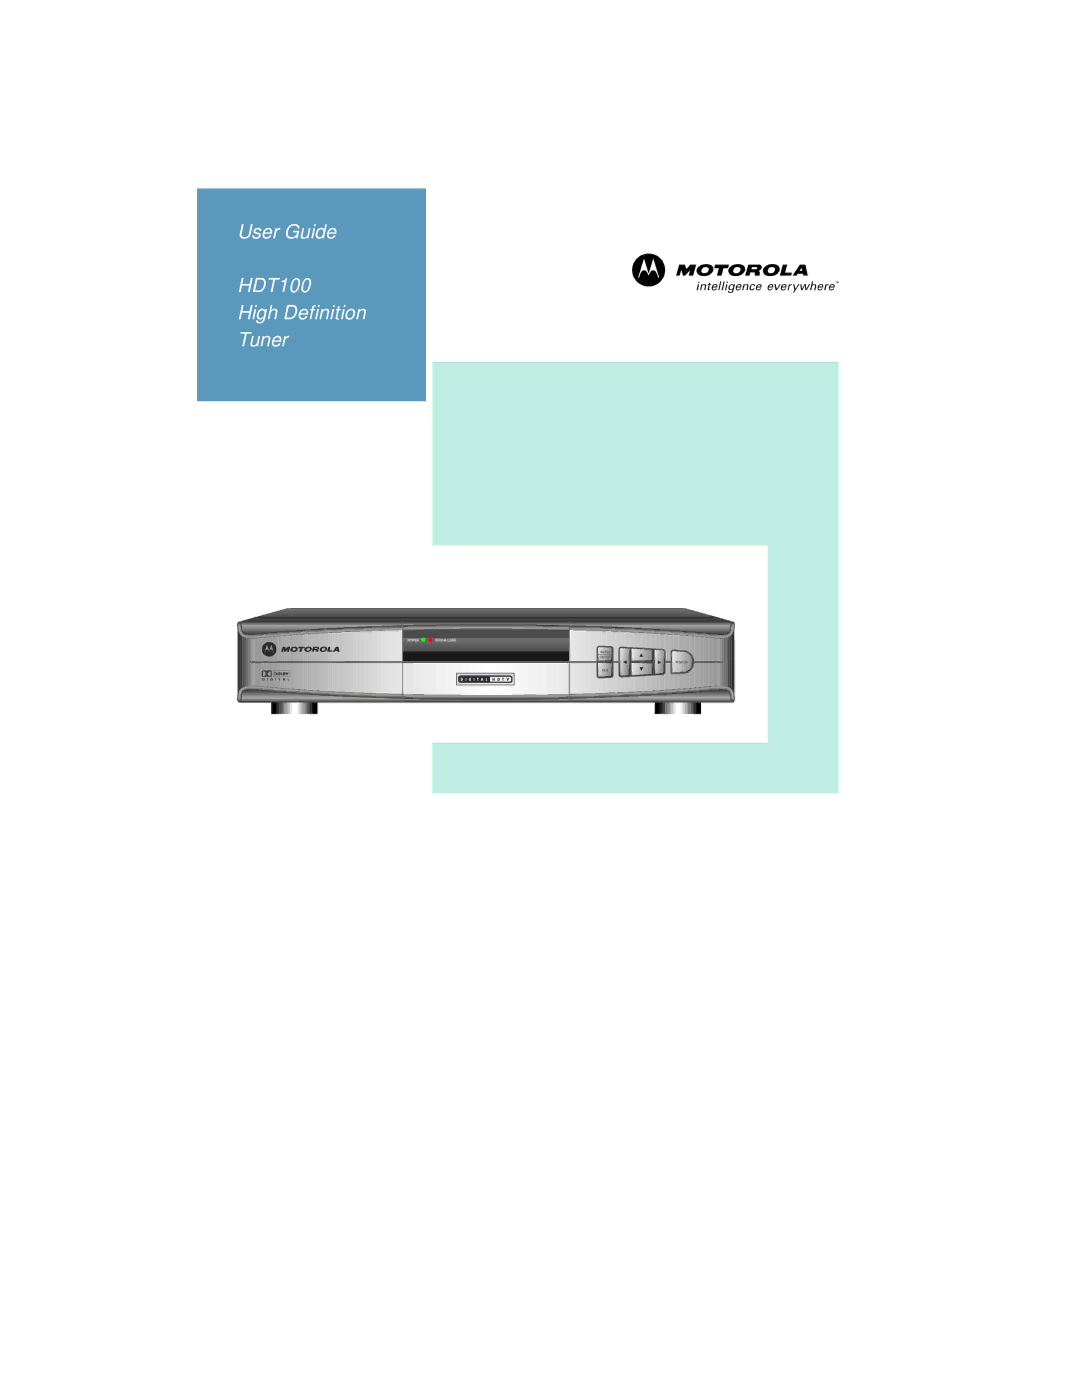
User Guide
HDT100
High Definition
Tuner
POWER
SIGNALLOSS
MENU
ENTER
POWER
EXIT
Page 1
Page 2
Page 1
Image 1
Page 1
Page 2
Contents
User Guide HDT100 High Definition Tuner
Important Safety Instructions
Important Safety Instructions
Regulatory Information
Contact Us
Contents
Finding Digital TV Stations in Your Area
Overview
What You’ll Need to Get Started
HDT100 Components
ItemDescription
Front Panel
Remote Control
Arrow keys CH +
Button Description
Installing the HDT100
Video Options
HDT100
To connect for component video
Connecting for Component Video YPbPr
Video cable Either / or
To connect for S-Video
Connecting for S-Video or Composite Video
To connect for composite video
Audio cable
To hook up your audio connections
Audio Connections
Wall outlet
Connecting the Antenna and Power Cord
To run auto scan
Auto Scan
Page
Page
Operation
Using the i-Banner to View Program Information
Page
Using Closed Captions
ON-SCREEN Menu
Selecting Favorite Channels
To set up your V-chip settings
Setting Parental Controls
To lock a channel
Changing Your Password
Setting Up the HDT100’s Clock for Your Time Zone
Adding a Channel
Customizing the On-Screen Menu and i-Banner
To configure how your i-Banner is displayed
To change the transparency of the on-screen menu
Connecting Other Devices to the HDT100
Connecting your VCR and Standard TV
Receiver
Connecting your A/V Receiver, VCR and High Definition TV
Stereo VCR Stereo TV
Connecting your A/V Receiver, VCR and Standard TV
Select Choose An Antenna
Finding Digital TV Stations in Your Area
Remote Control Key
Remote Control IR Information
HDT100 Menu Structure
HDT100 ON-SCREEN Menu Structure
Problem Possible Solution
Troubleshooting
Poor picture
Quality
Adding a channel
On-Screen Error Messages
Mgbi
Top
Page
Image
Contents