i500plus User’s Guide
Attaching and Charging the Battery
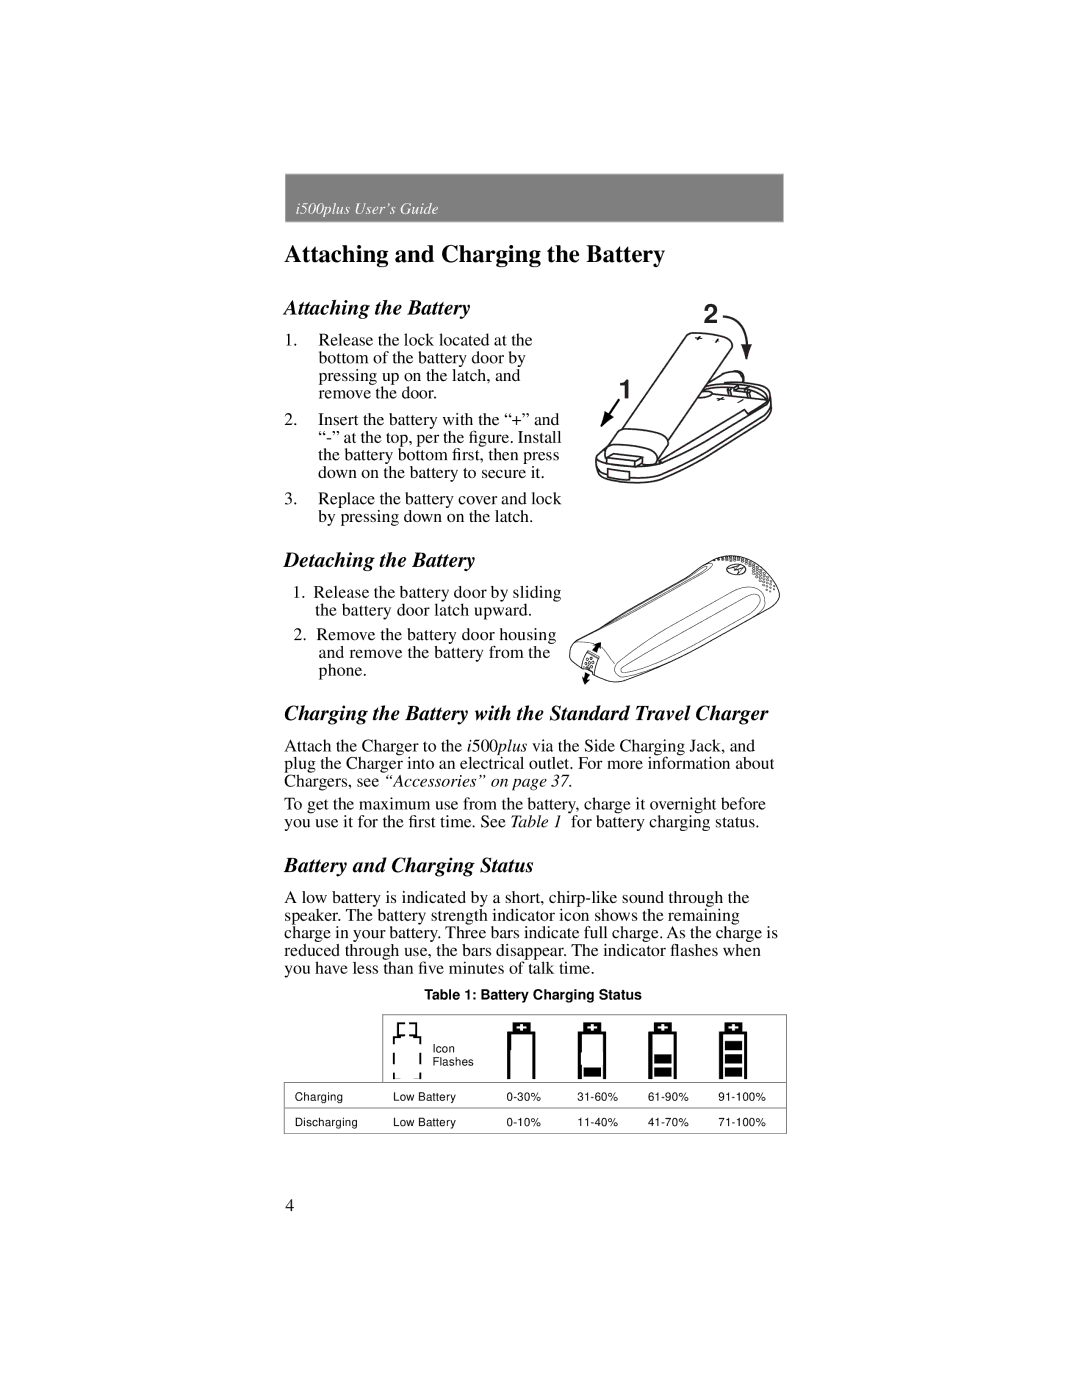
Attaching the Battery
1. | Release the lock located at the |
|
| bottom of the battery door by |
|
| pressing up on the latch, and | 1 |
| remove the door. | |
2. | Insert the battery with the “+” and |
|
|
| |
| the battery bottom first, then press |
|
| down on the battery to secure it. |
|
3.Replace the battery cover and lock by pressing down on the latch.
Detaching the Battery
1.Release the battery door by sliding the battery door latch upward.
2.Remove the battery door housing
and remove the battery from the phone.
2 + +
+ +
Charging the Battery with the Standard Travel Charger
Attach the Charger to the i500plus via the Side Charging Jack, and plug the Charger into an electrical outlet. For more information about Chargers, see “Accessories” on page 37.
To get the maximum use from the battery, charge it overnight before you use it for the first time. See Table 1 for battery charging status.
Battery and Charging Status
A low battery is indicated by a short,
Table 1: Battery Charging Status
Icon |
Flashes |
Charging | Low Battery | ||||
|
|
|
|
|
|
Discharging | Low Battery | ||||
|
|
|
|
|
|
4
