Introduction |
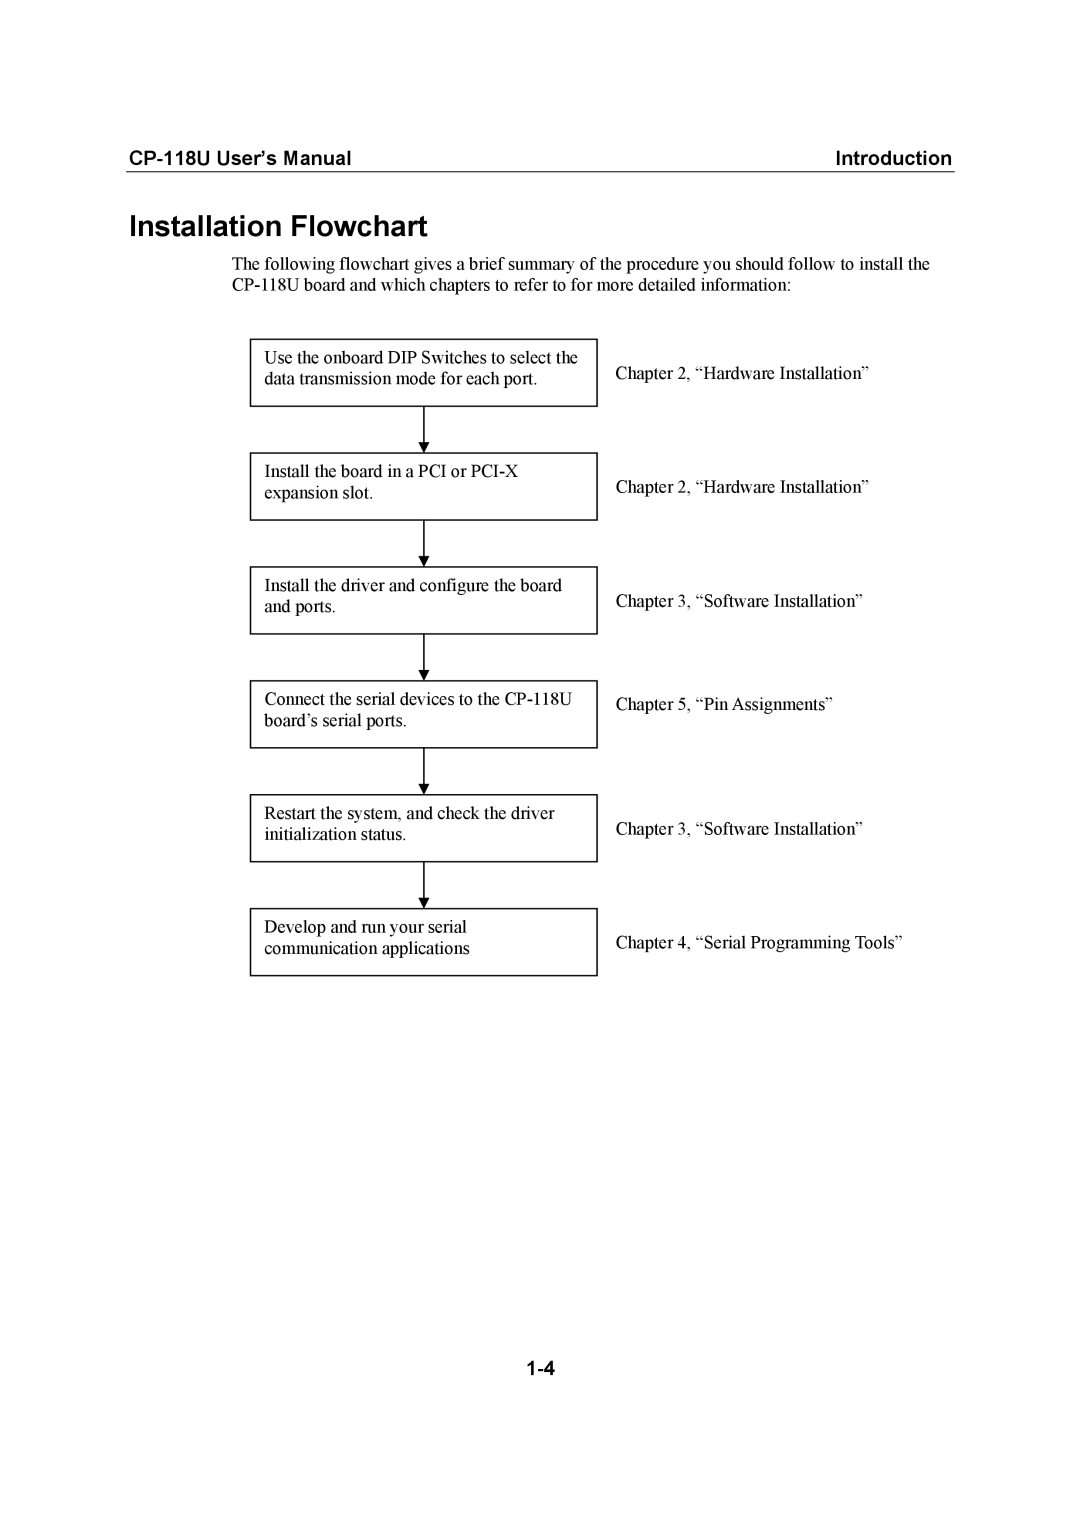
Installation Flowchart
The following flowchart gives a brief summary of the procedure you should follow to install the
Use the onboard DIP Switches to select the data transmission mode for each port.
Chapter 2, “Hardware Installation”
Install the board in a PCI or
Chapter 2, “Hardware Installation”
Install the driver and configure the board and ports.
Chapter 3, “Software Installation”
Connect the serial devices to the
Chapter 5, “Pin Assignments”
Restart the system, and check the driver initialization status.
Chapter 3, “Software Installation”
Develop and run your serial communication applications
Chapter 4, “Serial Programming Tools”