Enabling Auto Adjust [Auto Adjust]
When “Auto Adjust” is set to “On”, the projector automatically deter- mines the best resolution for the current RGB input signal to project an image using NEC’s Advanced AccuBlend Intelligent Pixel Blend- ing Technology.
The image can be automatically adjusted for position and stability; “Horizontal Position”, “Vertical Position”, “Clock” and “Phase”.
On | Automatically adjusts image “Horizontal Position”, |
| “Vertical Position”, “Clock” and “Phase”. |
Off | User can adjust the image display functions (“Hori- |
| zontal Position”, “Vertical Position”, “Clock” and |
| “Phase”) manually. |
NOTE: Selecting “Ceiling front” or “Ceiling rear” for “Orientation” will auto- matically turn on this feature.
Adjusting Position/Clock (when Auto Adjust is off)
This allows you to manually adjust the image horizontally and verti- cally, and adjust Clock and Phase.
<Horizontal/Vertical>
Adjusts the image location horizontally and vertically.
This adjustment is made automatically when the Auto Adjust is turned on.
<Clock>
Use this item with the “Auto Adjust off” to fine tune the computer image or to remove any vertical banding that might appear. This func- tion adjusts the clock frequencies that eliminate the horizontal band- ing in the image. This adjustment may be necessary when you con- nect your computer for the first time. This adjustment is made auto- matically when the Auto Adjust is turned on.
<Phase>
Use this item to adjust the clock phase or to reduce video noise, dot interference or cross talk. (This is evident when part of your image appears to be shimmering.)
Use “Phase” only after the “Clock” is complete.
This adjustment is made automatically when the Auto Adjust is turned on.
Selecting Communication Speed [Communication Speed]
This feature sets the baud rate of the PC Control port (DIN 8 Pin). It supports data rates from 4800 to 19200 bps.
The default is 19200 bps.
Select the appropriate baud rate for your equipment to be connected (depending on the equipment, a lower baud rate may be recommended for long cable runs).
Information
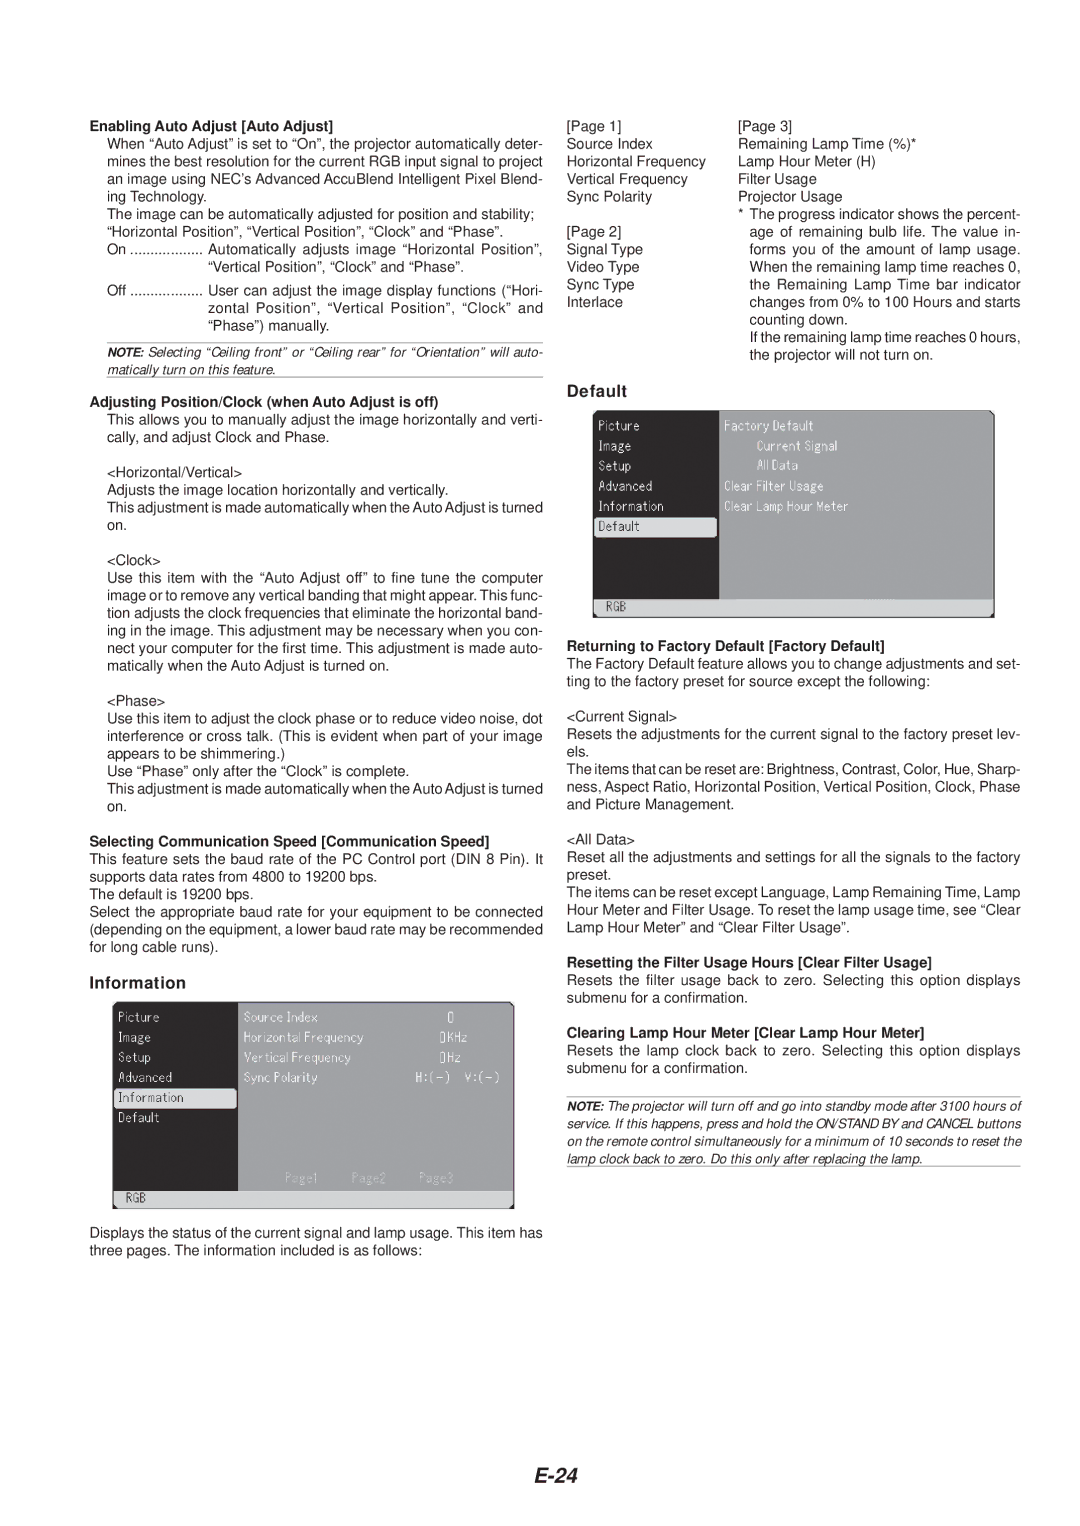
Displays the status of the current signal and lamp usage. This item has three pages. The information included is as follows:
[Page 1] | [Page 3] |
Source Index | Remaining Lamp Time (%)* |
Horizontal Frequency | Lamp Hour Meter (H) |
Vertical Frequency | Filter Usage |
Sync Polarity | Projector Usage |
| * The progress indicator shows the percent- |
[Page 2] | age of remaining bulb life. The value in- |
Signal Type | forms you of the amount of lamp usage. |
Video Type | When the remaining lamp time reaches 0, |
Sync Type | the Remaining Lamp Time bar indicator |
Interlace | changes from 0% to 100 Hours and starts |
| counting down. |
| If the remaining lamp time reaches 0 hours, |
| the projector will not turn on. |
Default
Returning to Factory Default [Factory Default]
The Factory Default feature allows you to change adjustments and set- ting to the factory preset for source except the following:
<Current Signal>
Resets the adjustments for the current signal to the factory preset lev- els.
The items that can be reset are: Brightness, Contrast, Color, Hue, Sharp- ness, Aspect Ratio, Horizontal Position, Vertical Position, Clock, Phase and Picture Management.
<All Data>
Reset all the adjustments and settings for all the signals to the factory preset.
The items can be reset except Language, Lamp Remaining Time, Lamp Hour Meter and Filter Usage. To reset the lamp usage time, see “Clear Lamp Hour Meter” and “Clear Filter Usage”.
Resetting the Filter Usage Hours [Clear Filter Usage]
Resets the filter usage back to zero. Selecting this option displays submenu for a confirmation.
Clearing Lamp Hour Meter [Clear Lamp Hour Meter]
Resets the lamp clock back to zero. Selecting this option displays submenu for a confirmation.
NOTE: The projector will turn off and go into standby mode after 3100 hours of service. If this happens, press and hold the ON/STAND BY and CANCEL buttons on the remote control simultaneously for a minimum of 10 seconds to reset the lamp clock back to zero. Do this only after replacing the lamp.
