Adjusting the Picture Size and Position
Place your projector on a flat level surface and ensure that the projector is square to the screen.
Lift the front edge of the projector to center the image vertically.
*If the projected image does not appear square to the screen then use the Keystone feature for proper adjustment. See page
Move the projector left to center the image horizontally on the screen.
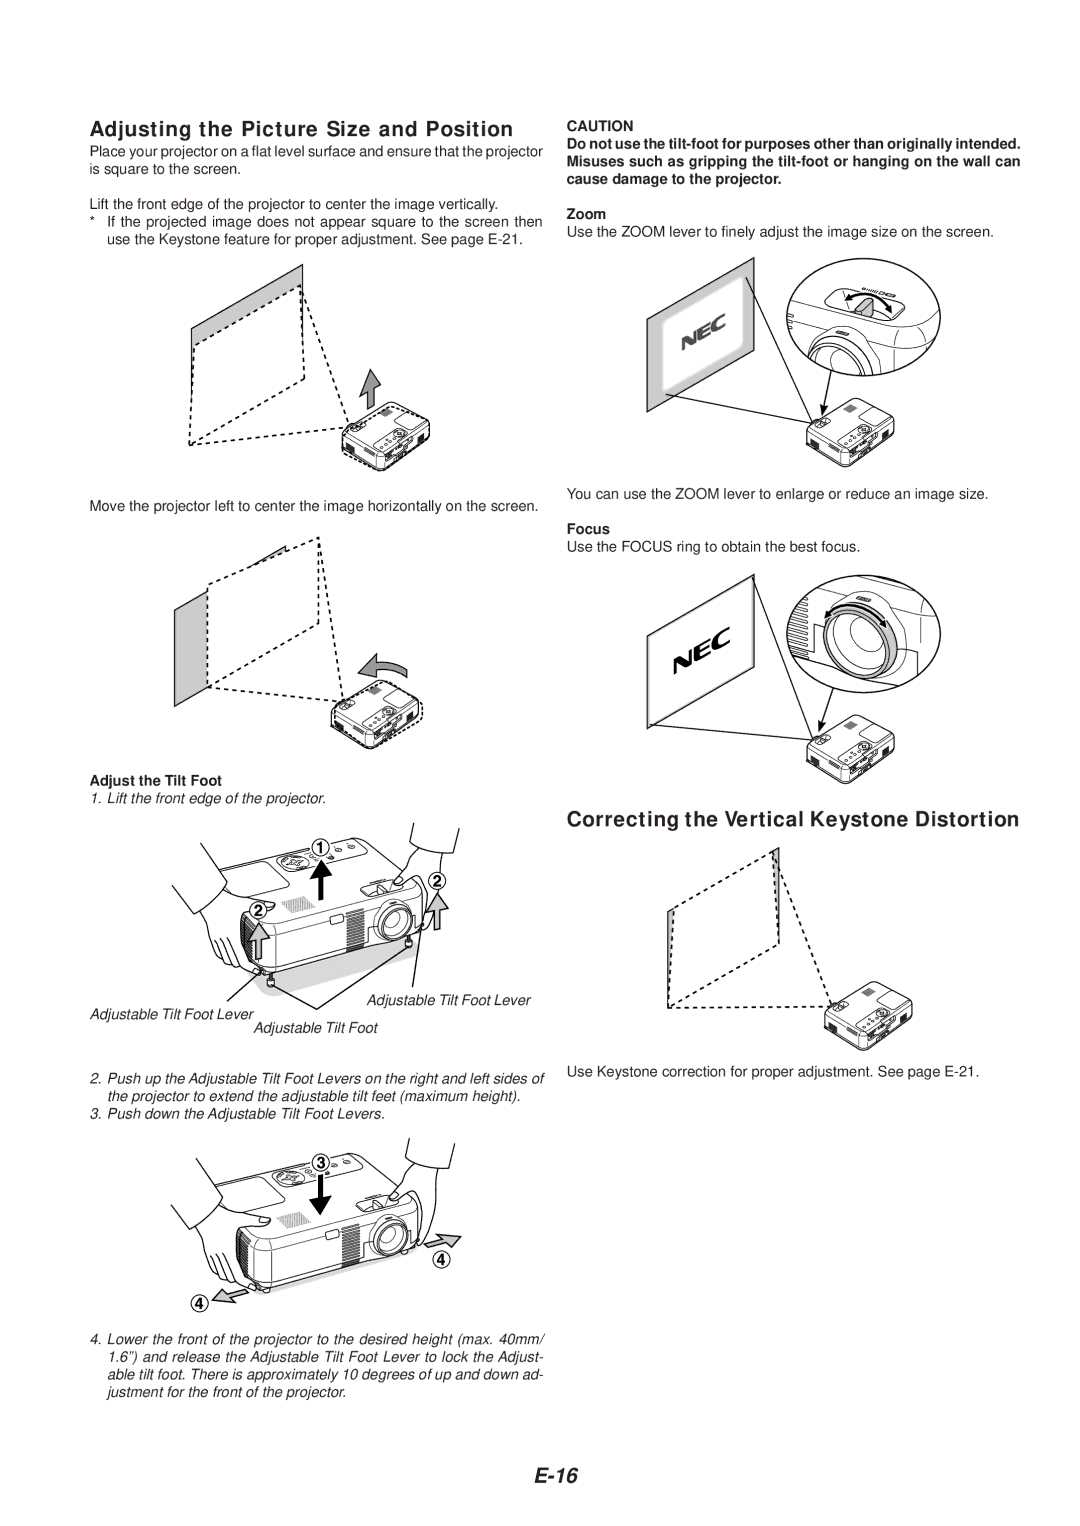
Adjust the Tilt Foot
1. Lift the front edge of the projector.
Adjustable Tilt Foot Lever
Adjustable Tilt Foot Lever
Adjustable Tilt Foot
2.Push up the Adjustable Tilt Foot Levers on the right and left sides of the projector to extend the adjustable tilt feet (maximum height).
3.Push down the Adjustable Tilt Foot Levers.
4.Lower the front of the projector to the desired height (max. 40mm/ 1.6”) and release the Adjustable Tilt Foot Lever to lock the Adjust- able tilt foot. There is approximately 10 degrees of up and down ad- justment for the front of the projector.
CAUTION
Do not use the
Zoom
Use the ZOOM lever to finely adjust the image size on the screen.
You can use the ZOOM lever to enlarge or reduce an image size.
Focus
Use the FOCUS ring to obtain the best focus.
Correcting the Vertical Keystone Distortion
Use Keystone correction for proper adjustment. See page