View Image – Java Mode
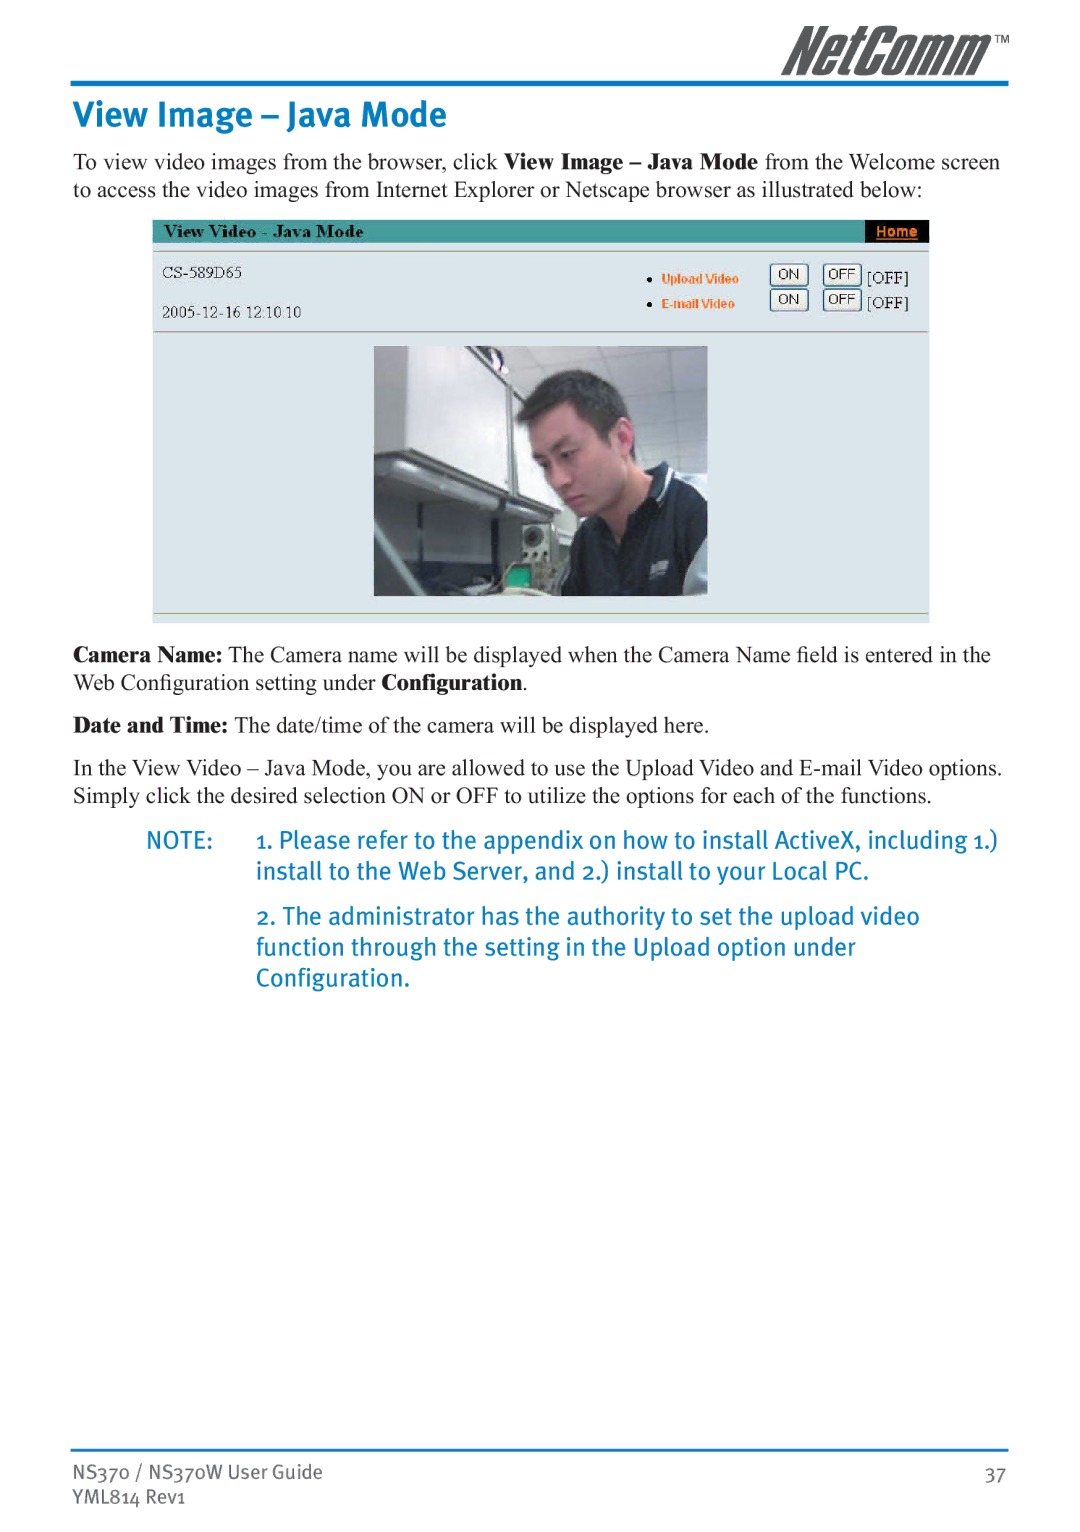
To view video images from the browser, click View Image – Java Mode from the Welcome screen to access the video images from Internet Explorer or Netscape browser as illustrated below:
Camera Name: The Camera name will be displayed when the Camera Name field is entered in the Web Configuration setting under Configuration.
Date and Time: The date/time of the camera will be displayed here.
In the View Video – Java Mode, you are allowed to use the Upload Video and
NOTE: | 1. Please refer to the appendix on how to install ActiveX, including 1.) |
| install to the Web Server, and 2.) install to your Local PC. |
| 2. The administrator has the authority to set the upload video |
| function through the setting in the Upload option under |
| Configuration. |
NS370 / NS370W User Guide | 37 |
YML814 Rev1 |
|