7. Advanced Setup
This chapter explains the advanced setup options for your Router:
7.1 Local Area Network (LAN)
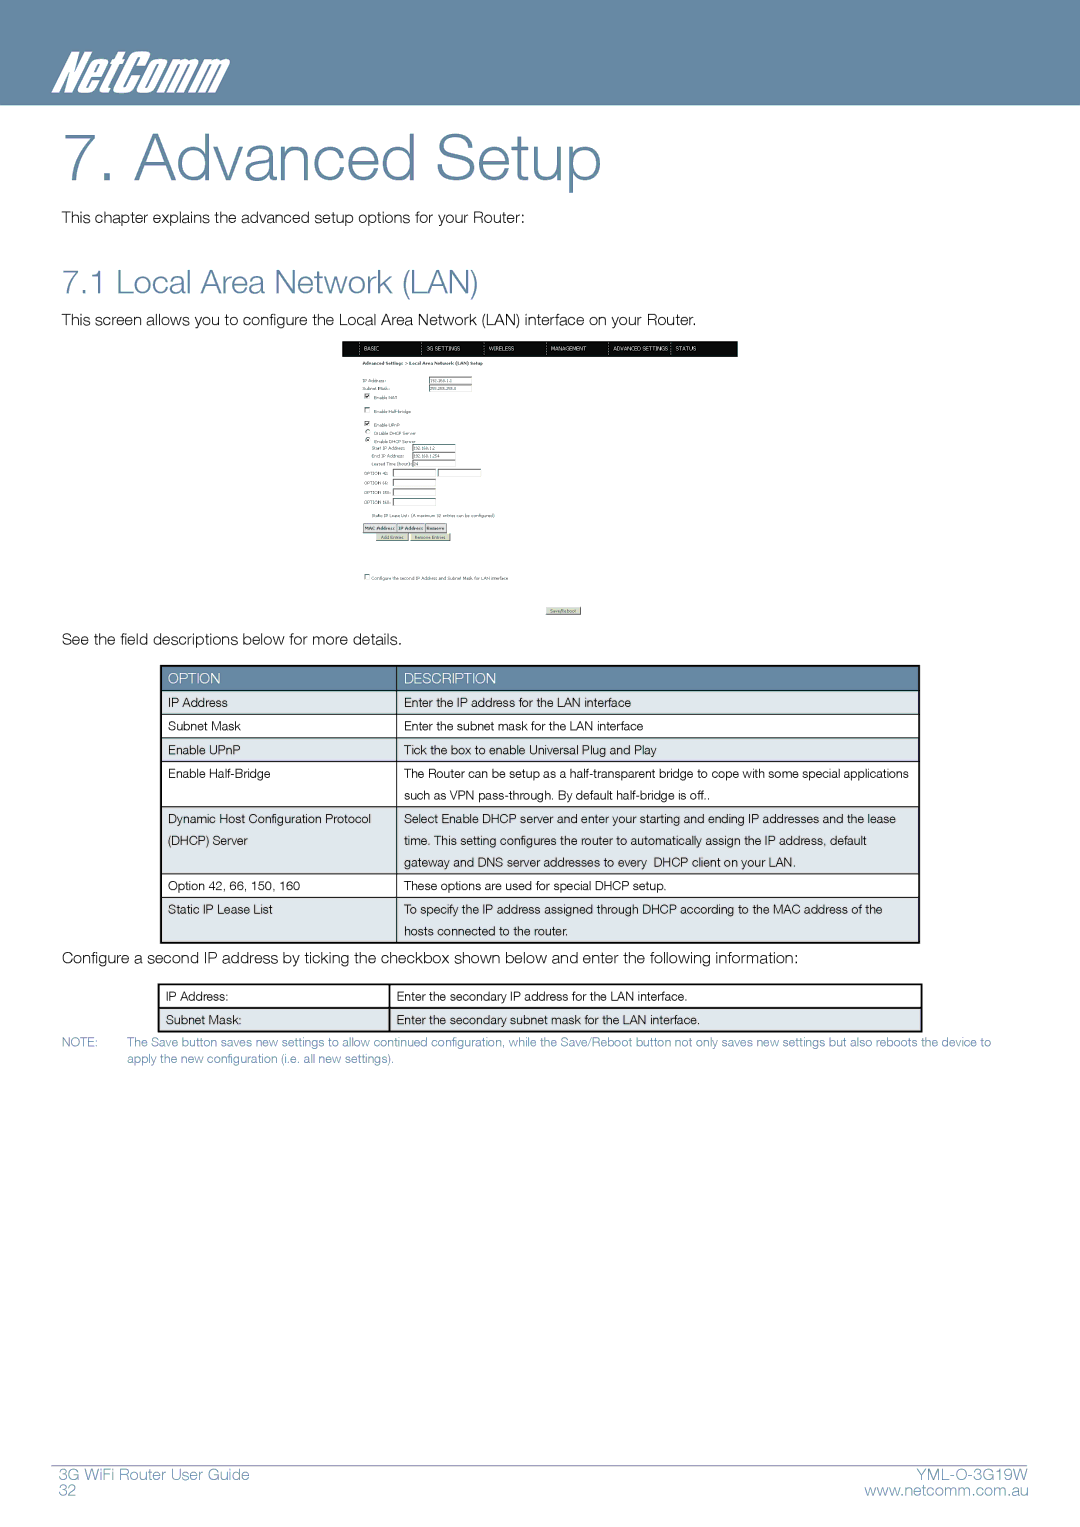
This screen allows you to configure the Local Area Network (LAN) interface on your Router.
See the field descriptions below for more details.
OPTION | DESCRIPTION |
|
|
IP Address | Enter the IP address for the LAN interface |
|
|
Subnet Mask | Enter the subnet mask for the LAN interface |
|
|
Enable UPnP | Tick the box to enable Universal Plug and Play |
|
|
Enable | The Router can be setup as a |
| such as VPN |
|
|
Dynamic Host Configuration Protocol | Select Enable DHCP server and enter your starting and ending IP addresses and the lease |
(DHCP) Server | time. This setting configures the router to automatically assign the IP address, default |
| gateway and DNS server addresses to every DHCP client on your LAN. |
|
|
Option 42, 66, 150, 160 | These options are used for special DHCP setup. |
|
|
Static IP Lease List | To specify the IP address assigned through DHCP according to the MAC address of the |
| hosts connected to the router. |
|
|
Configure a second IP address by ticking the checkbox shown below and enter the following information:
|
| IP Address: |
| Enter the secondary IP address for the LAN interface. |
|
|
|
|
|
|
|
|
| Subnet Mask: |
| Enter the secondary subnet mask for the LAN interface. |
|
|
|
|
|
| |
NOTE: | The Save button saves new settings to allow continued configuration, while the Save/Reboot button not only saves new settings but also reboots the device to | ||||
| apply the new configuration (i.e. all new settings). |
|
| ||
3G WiFi Router User Guide |
| |
32 | www.netcomm.com.au | |