How to set the menus
 Setting the menus
The operations of this unit can be set via a menu displayed on OUTPUT A monitor. You can select and set the menu by using the buttons on the front panel or using a USB mouse connected to the unit. When using the front panel buttons, the numbers
![]() The menu can only be displayed through OUTPUT A monitor. The menu cannot be displayed through OUTPUT B monitor.
The menu can only be displayed through OUTPUT A monitor. The menu cannot be displayed through OUTPUT B monitor.
 Setting the menu using a mouse
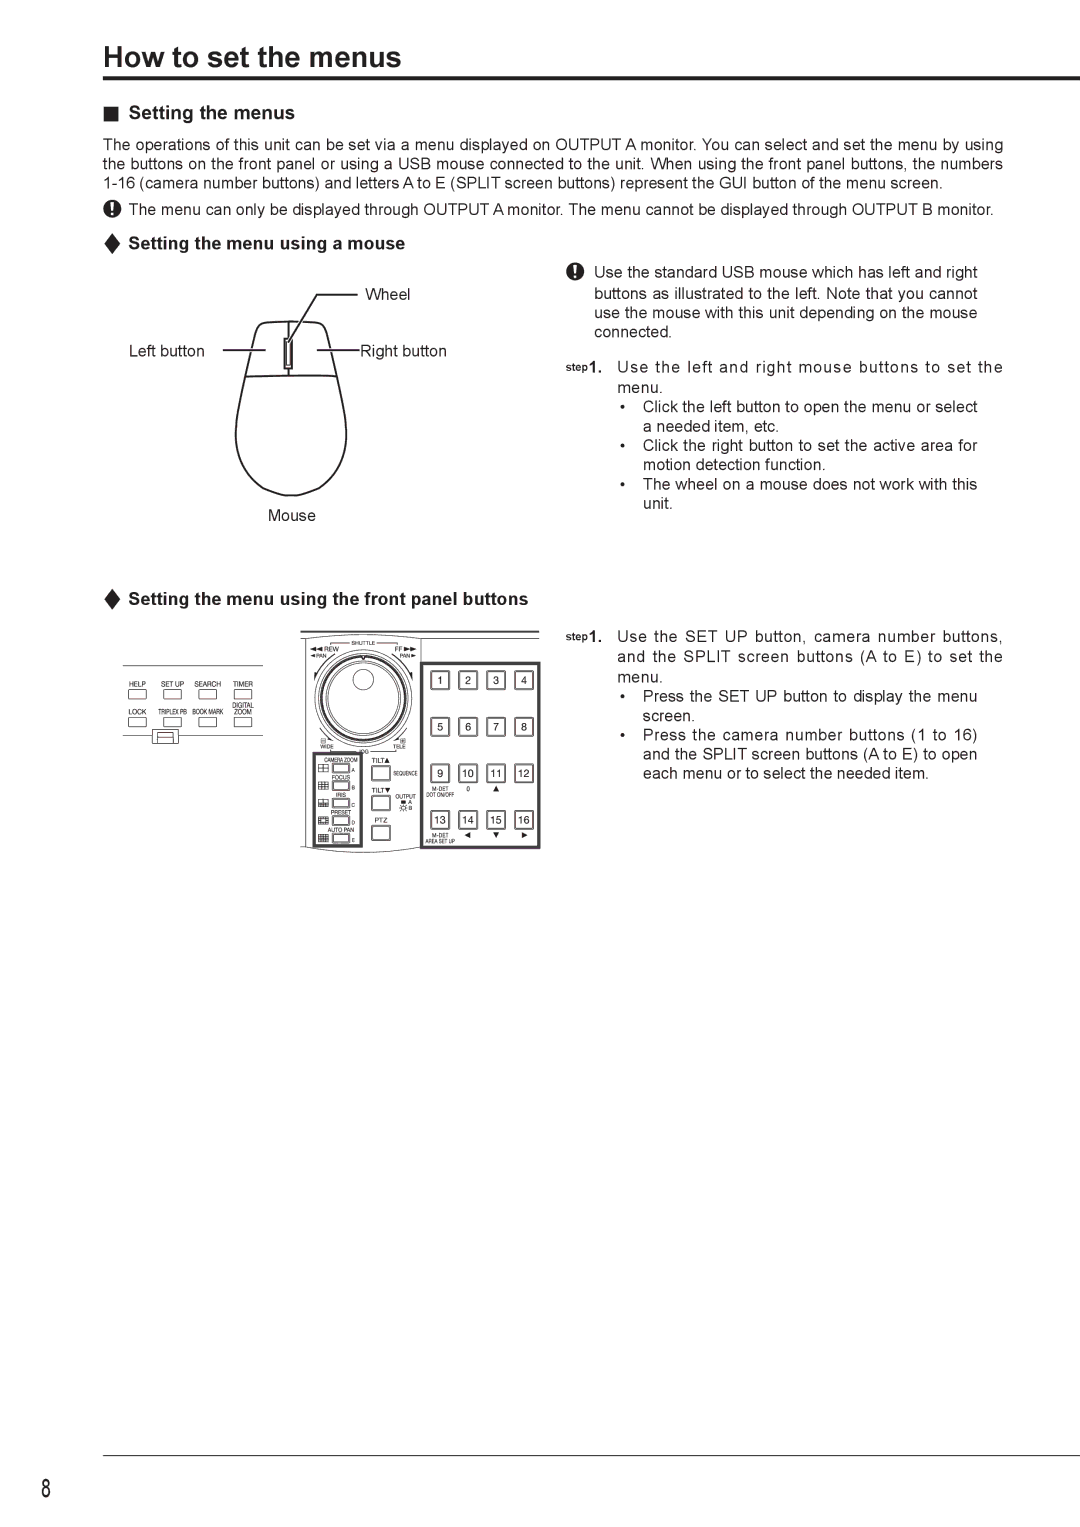
Wheel
Left button |
|
|
|
|
| Right button |
|
|
| ||||
|
|
|
|
|
|
|
Mouse
Use the standard USB mouse which has left and right buttons as illustrated to the left. Note that you cannot use the mouse with this unit depending on the mouse connected.
step1. Use the left and right mouse buttons to set the menu.
•Click the left button to open the menu or select a needed item, etc.
•Click the right button to set the active area for motion detection function.
•The wheel on a mouse does not work with this unit.
 Setting the menu using the front panel buttons
step1. Use the SET UP button, camera number buttons, and the SPLIT screen buttons (A to E) to set the menu.
• Press the SET UP button to display the menu screen.
• Press the camera number buttons (1 to 16) and the SPLIT screen buttons (A to E) to open each menu or to select the needed item.
8