C |
|
|
|
|
|
|
|
|
|
|
|
| |
|
|
|
|
| ||
|
|
|
| |||
a |
|
|
|
|
|
|
| Steps |
| Instructions | Explanatory Notes | ||
n |
|
|
| |||
|
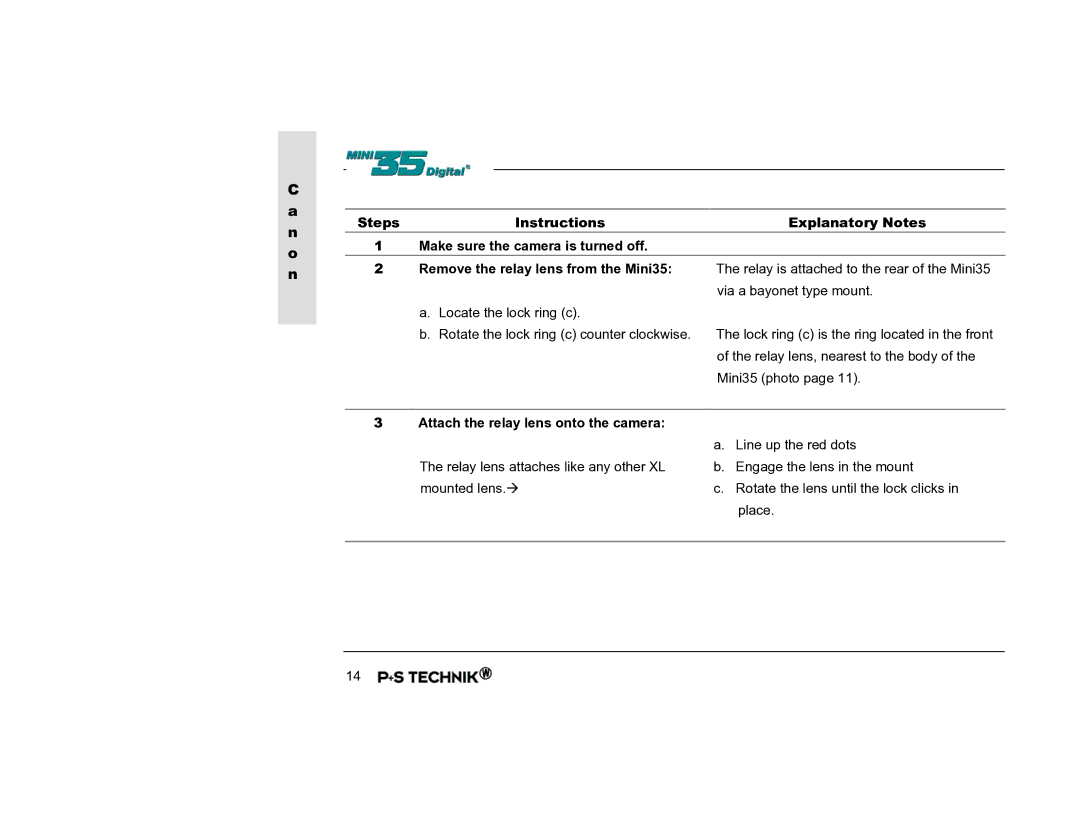
| 1 | Make sure the camera is turned off. |
| ||
o |
|
|
| |||
|
| 2 | Remove the relay lens from the Mini35: | The relay is attached to the rear of the Mini35 | ||
n |
| |||||
|
|
|
|
|
| via a bayonet type mount. |
|
|
|
| a. Locate the lock ring (c). |
| |
|
|
|
| b. Rotate the lock ring (c) counter clockwise. | The lock ring (c) is the ring located in the front | |
|
|
|
|
|
| of the relay lens, nearest to the body of the |
|
|
|
|
|
| Mini35 (photo page 11). |
|
|
|
|
|
| |
|
|
| 3 | Attach the relay lens onto the camera: |
| |
|
|
|
|
|
| a. Line up the red dots |
|
|
|
| The relay lens attaches like any other XL | b. Engage the lens in the mount | |
|
|
|
| mounted lens.Æ | c. Rotate the lens until the lock clicks in | |
|
|
|
|
|
| place. |
|
|
|
|
|
|
|
14
