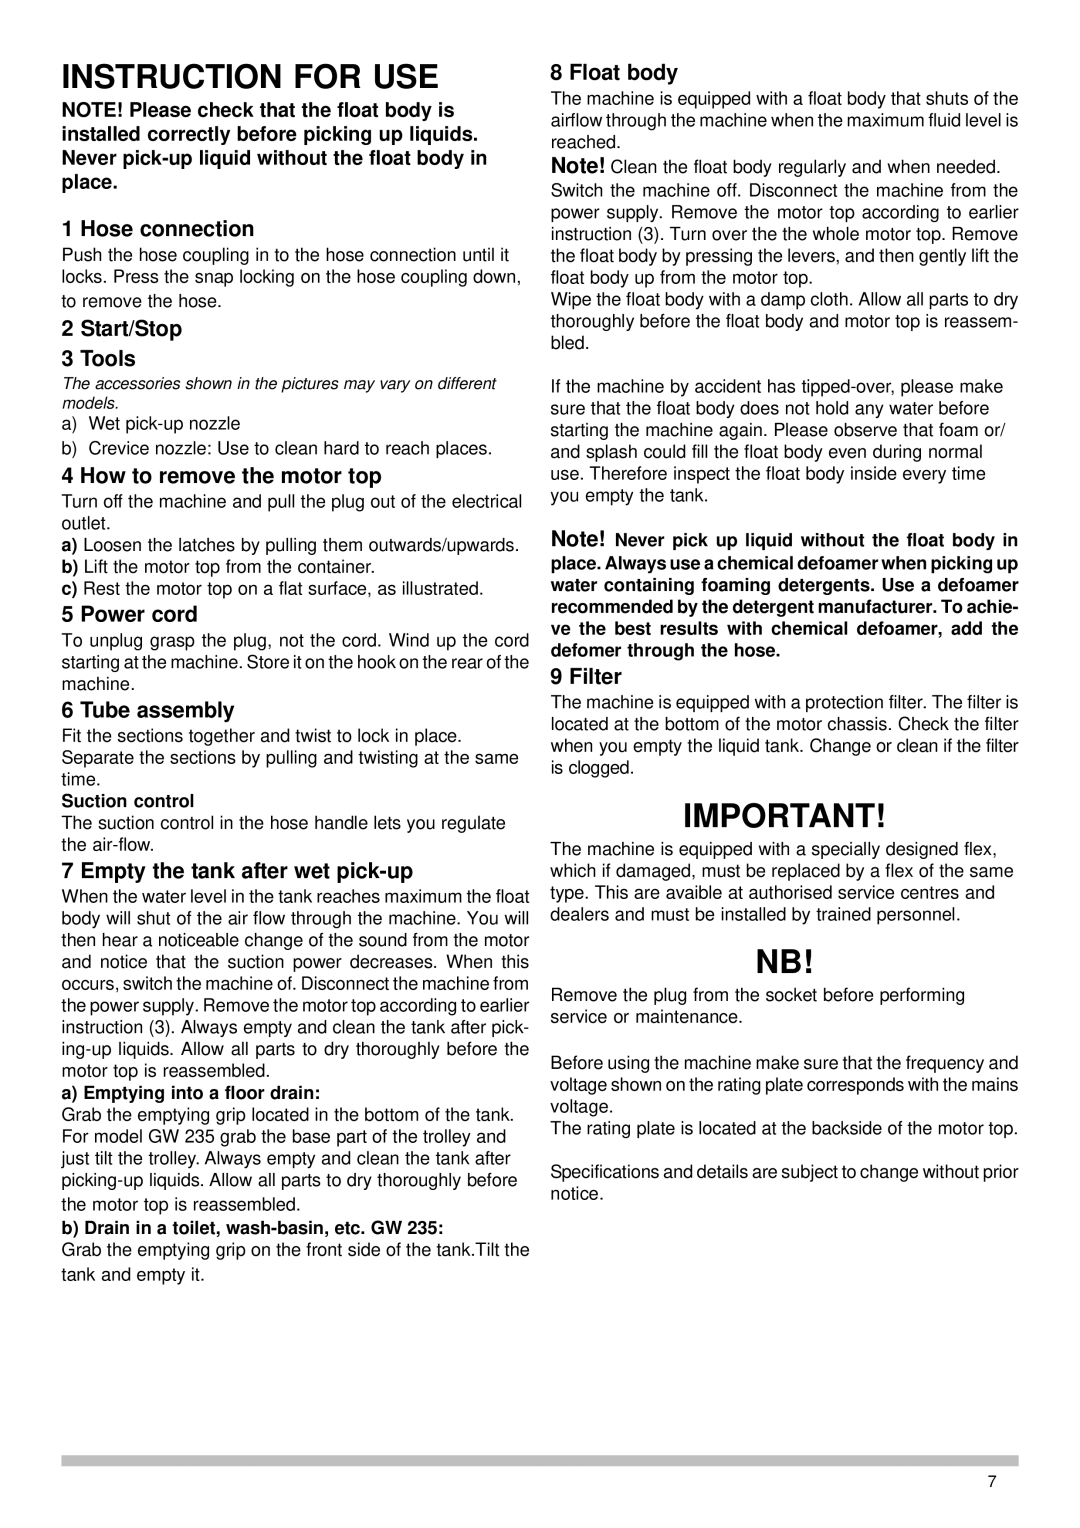
GW 220, GW 210, GW 235 specifications
Nilfisk-Advance America has long been a trusted name in the cleaning industry, and their GW series of industrial vacuum cleaners—comprising the GW 210, GW 220, and GW 235—exemplifies the company's commitment to efficiency and performance. Each model in this series is designed to tackle tough cleaning tasks in various environments, making them ideal for commercial spaces, construction sites, and facility maintenance.The GW 210 is the compact choice in the lineup, making it especially suitable for smaller facilities or areas where space is at a premium. It features a powerful motor that provides robust suction, ensuring thorough dust and debris collection. With an ergonomic design, the GW 210 can be easily maneuvered, allowing operators to clean efficiently in tight corners and around obstacles. This model includes a durable filter system that captures fine dust particles, providing cleaner air quality in the workspace.
The GW 220 builds on the strengths of the GW 210 while offering enhanced features suitable for more demanding tasks. It boasts a larger tank capacity, allowing for extended cleaning sessions without the need for frequent emptying. Additionally, the GW 220 incorporates advanced filtration technology, which includes HEPA options for those requiring high-level filtration efficiency. This model is designed for heavy-duty cleaning, making it a great choice for environments exposed to fine particles and allergens.
Meanwhile, the GW 235 stands out with even greater performance capabilities. This model is engineered for industrial applications that require maximum power and efficiency. It is equipped with a high-performance motor and a larger dust container, which significantly reduces downtime and increases productivity. The GW 235’s features include an advanced noise reduction system, enabling quieter operation, which is especially beneficial in noise-sensitive environments.
All models in the GW series prioritize user comfort and practicality. They all come with adjustable suction power control, allowing users to switch settings based on the specific cleaning needs of the environment. Built-in accessory storage facilitates easy access to tools, ensuring that operators have everything they need on hand. The robust construction of these vacuums means they can withstand the rigors of industrial use while remaining easy to maintain.
In summary, the Nilfisk-Advance America GW 210, GW 220, and GW 235 are designed to meet varying demands, combining powerful suction, advanced filtration technologies, and user-friendly features. These models represent the perfect blend of performance, efficiency, and reliability, making them invaluable assets in maintaining clean and safe work environments.
