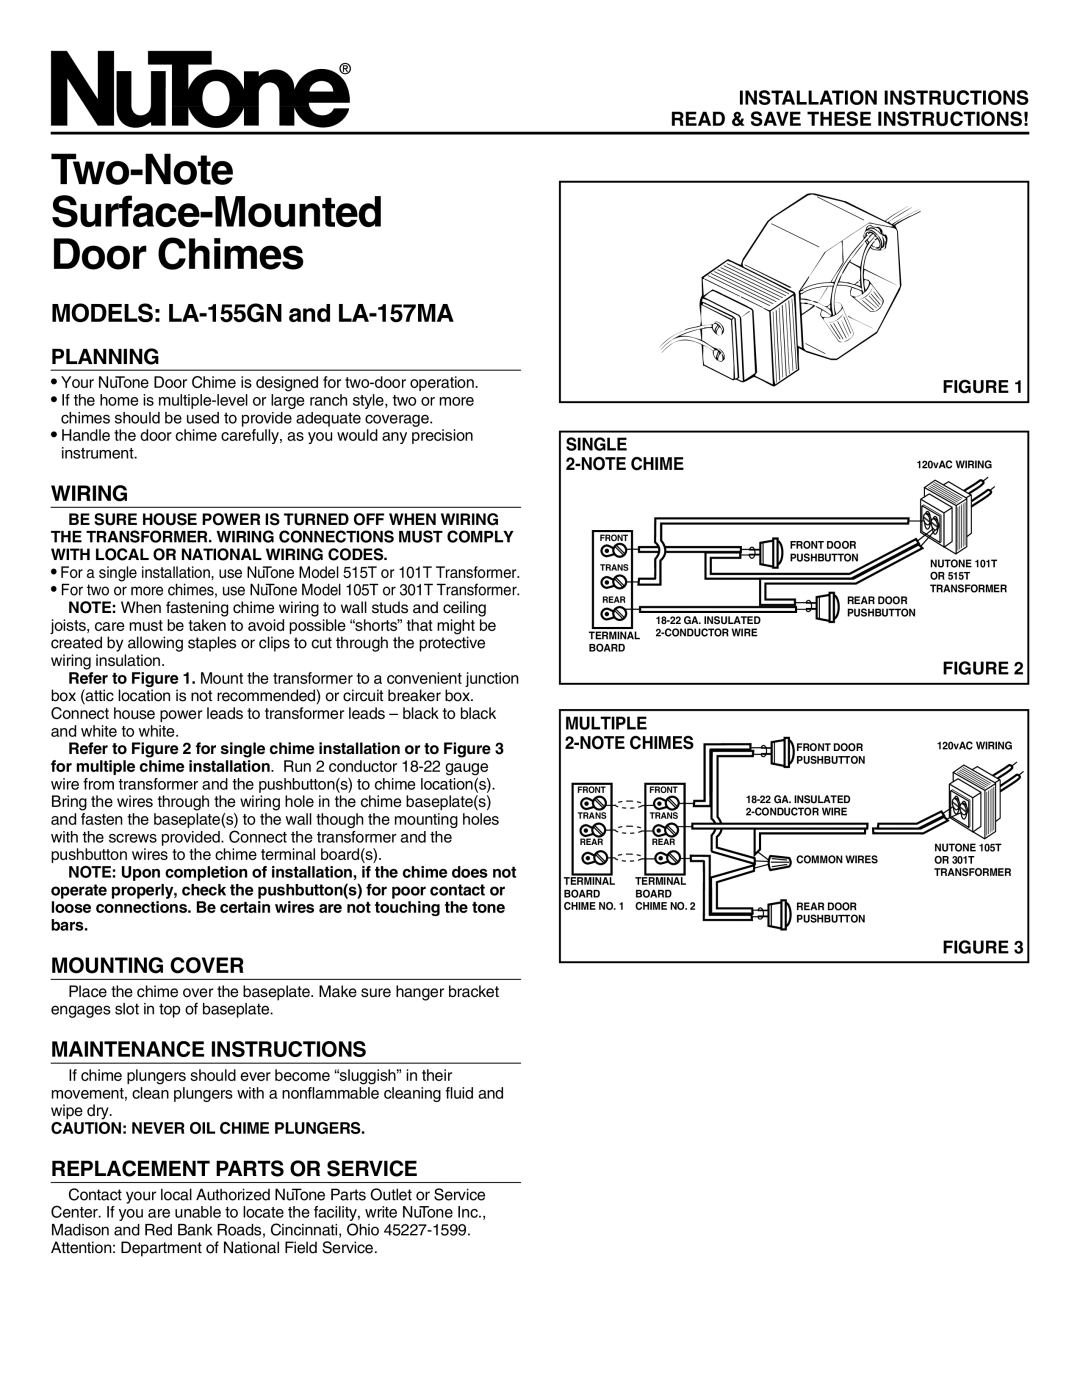
LA-155GN, LA-157MA specifications
The NuTone LA-155GN and LA-157MA are advanced speaker designs that represent the intersection of quality sound performance and sophisticated aesthetics for today's modern home. Both speakers are engineered to cater to a variety of applications, making them versatile additions to any audio system.The LA-155GN is a robust, lightweight model that features a sleek, low-profile grille design. One of its standout characteristics is the high-fidelity sound reproduction, providing clear vocals and rich bass tones. With an ability to deliver a wide frequency response, this speaker performs exceptionally well in both music and vocal applications. Its unique design allows for easy installation either on-wall or in-ceiling, providing flexibility in placement without compromising sound quality.
On the other hand, the LA-157MA enhances the audio experience with its integrated 15-watt amplifier, delivering exceptional sound clarity and power in a compact unit. This model also features a high-efficiency driver that captures and amplifies a broad spectral range of sounds. The LA-157MA is designed for easy connectivity with various devices, making it suitable for home theater setups, multimedia presentations, or background music in living spaces.
Both models incorporate innovative technologies that support seamless integration into existing audio systems. The NuTone system is engineered with built-in protection circuits that prevent damage from overheating, ensuring longevity and reliability in performance. Furthermore, they utilize a hook-up system that allows for straightforward installation and modification, which appeals to both home users and professionals.
The aesthetic appeal of these speakers is significant, featuring a contemporary design that complements various interior decors. The LA-155GN is available in a versatile green finish, while the LA-157MA sports a modern matte aluminum look. This attention to design allows these speakers to blend seamlessly into both casual and formal environments.
Overall, the NuTone LA-155GN and LA-157MA are excellent choices for anyone looking to enhance their audio experience through stylish, powerful, and versatile speakers. With their cutting-edge features and reliable performance, they symbolize NuTone's commitment to quality and innovation in home audio design.

