2. Set-up
2-1 Connecting the printer cable
CAUTION: ALWAYS turn the main switch to the printer OFF (O) BEFORE connecting the printer cable.
1 | Turn the main switch located on the right side of the printer |
OFF (O) and then turn the power off to your computer as |
well.
2-2 Installing the software
Perform the following procedure to install into your computer the printer driver and other software that is appropriate to the operating system in use in that computer. For information on installing the required software, refer to the
2
3
4
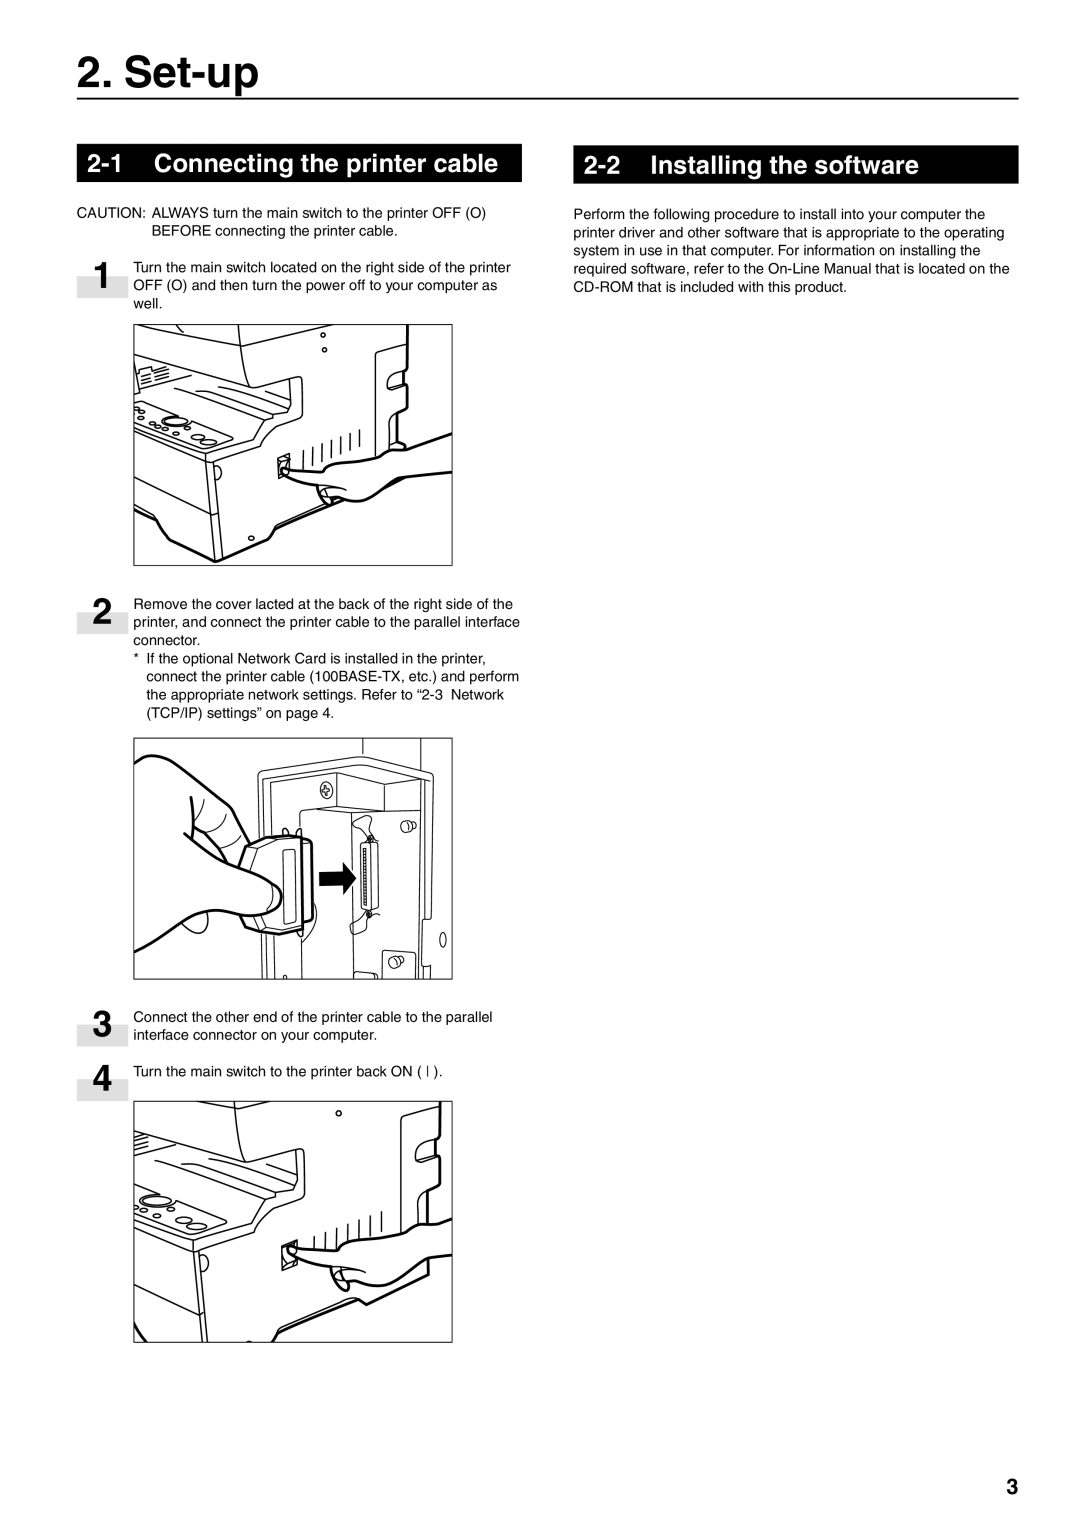
Remove the cover lacted at the back of the right side of the printer, and connect the printer cable to the parallel interface connector.
*If the optional Network Card is installed in the printer, connect the printer cable
Connect the other end of the printer cable to the parallel interface connector on your computer.
Turn the main switch to the printer back ON ( ).
3