Notes
•Press the direct print button only after the image you had selected was displayed.
•We recommend using the digital camera with the AC power adapter.
•It may take longer to print the photo recorded in HQ mode than other modes of
To stop continuous printing
Set the dial of the automatic feeder to 1. The printer stops after the current printing.
Tips
•Besides the above standard print,
Random print, Multi print, Mirror print, Index print, and Date print are available. See the instruction manual of the digital camera for details.
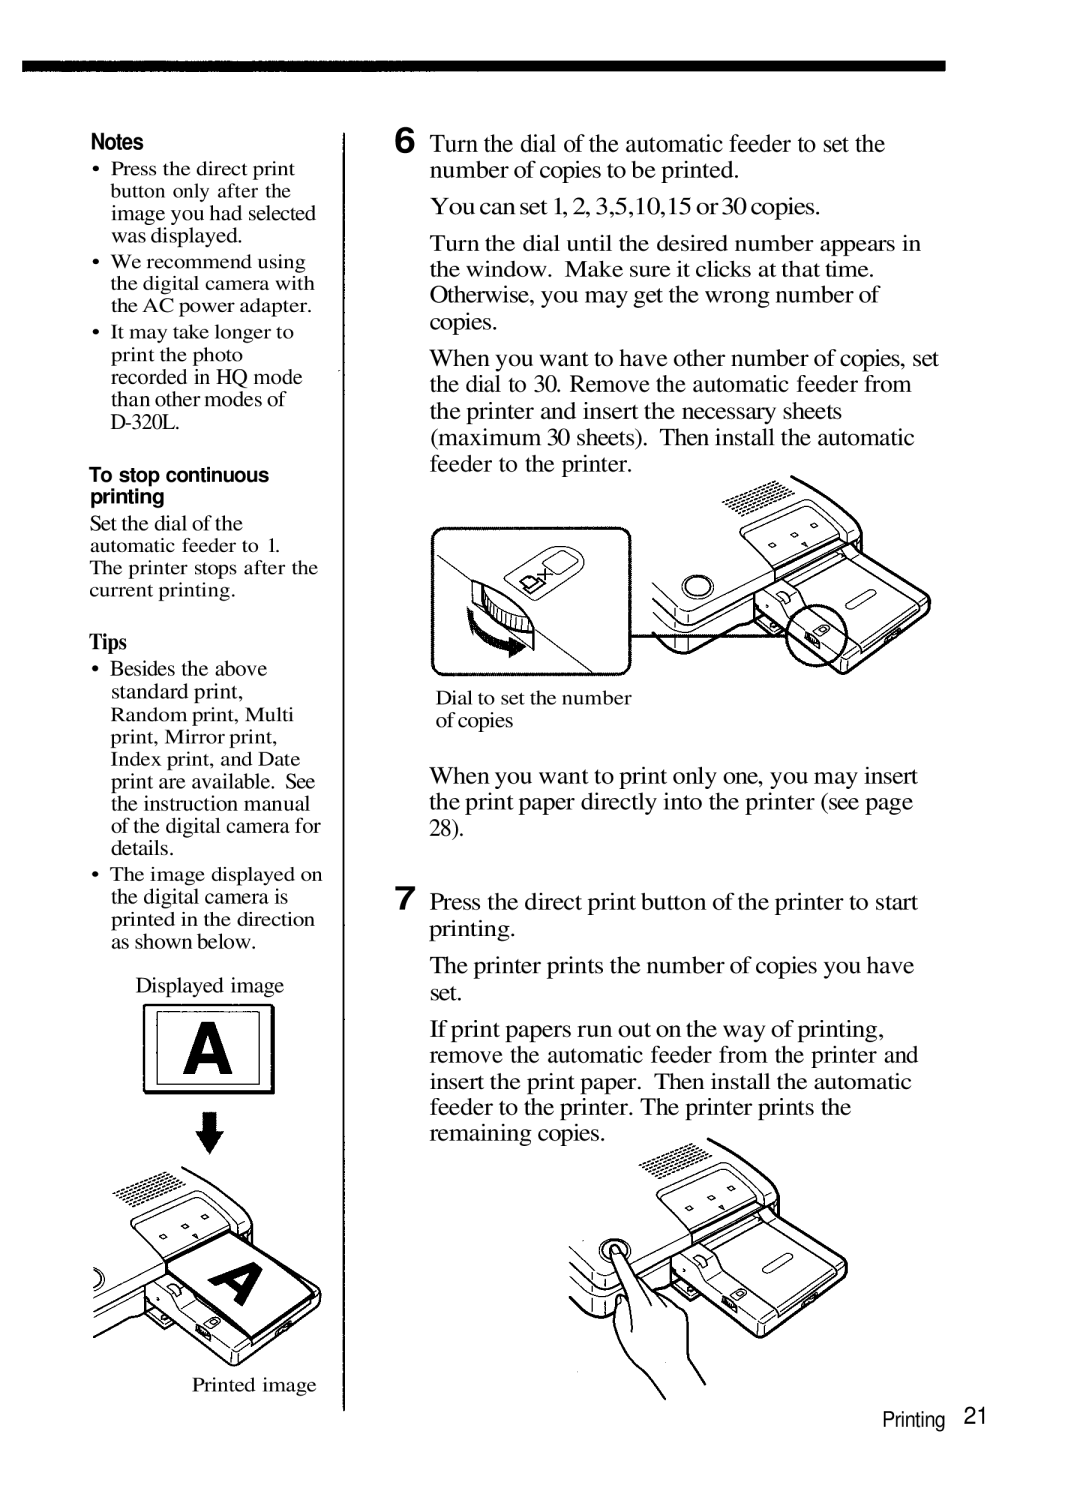
•The image displayed on the digital camera is printed in the direction as shown below.
Displayed image
Printed image
6 Turn the dial of the automatic feeder to set the
number of copies to be printed.
You can set 1, 2, 3,5,10,15 or 30 copies.
Turn the dial until the desired number appears in the window. Make sure it clicks at that time.
Otherwise, you may get the wrong number of copies.
When you want to have other number of copies, set the dial to 30. Remove the automatic feeder from the printer and insert the necessary sheets (maximum 30 sheets). Then install the automatic feeder to the printer.
Dial to set the number
of copies
When you want to print only one, you may insert the print paper directly into the printer (see page 28).
7 Press the direct print button of the printer to start
printing.
The printer prints the number of copies you have set.
If print papers run out on the way of printing, remove the automatic feeder from the printer and
insert the print paper. Then install the automatic
feeder to the printer. The printer prints the remaining copies.
