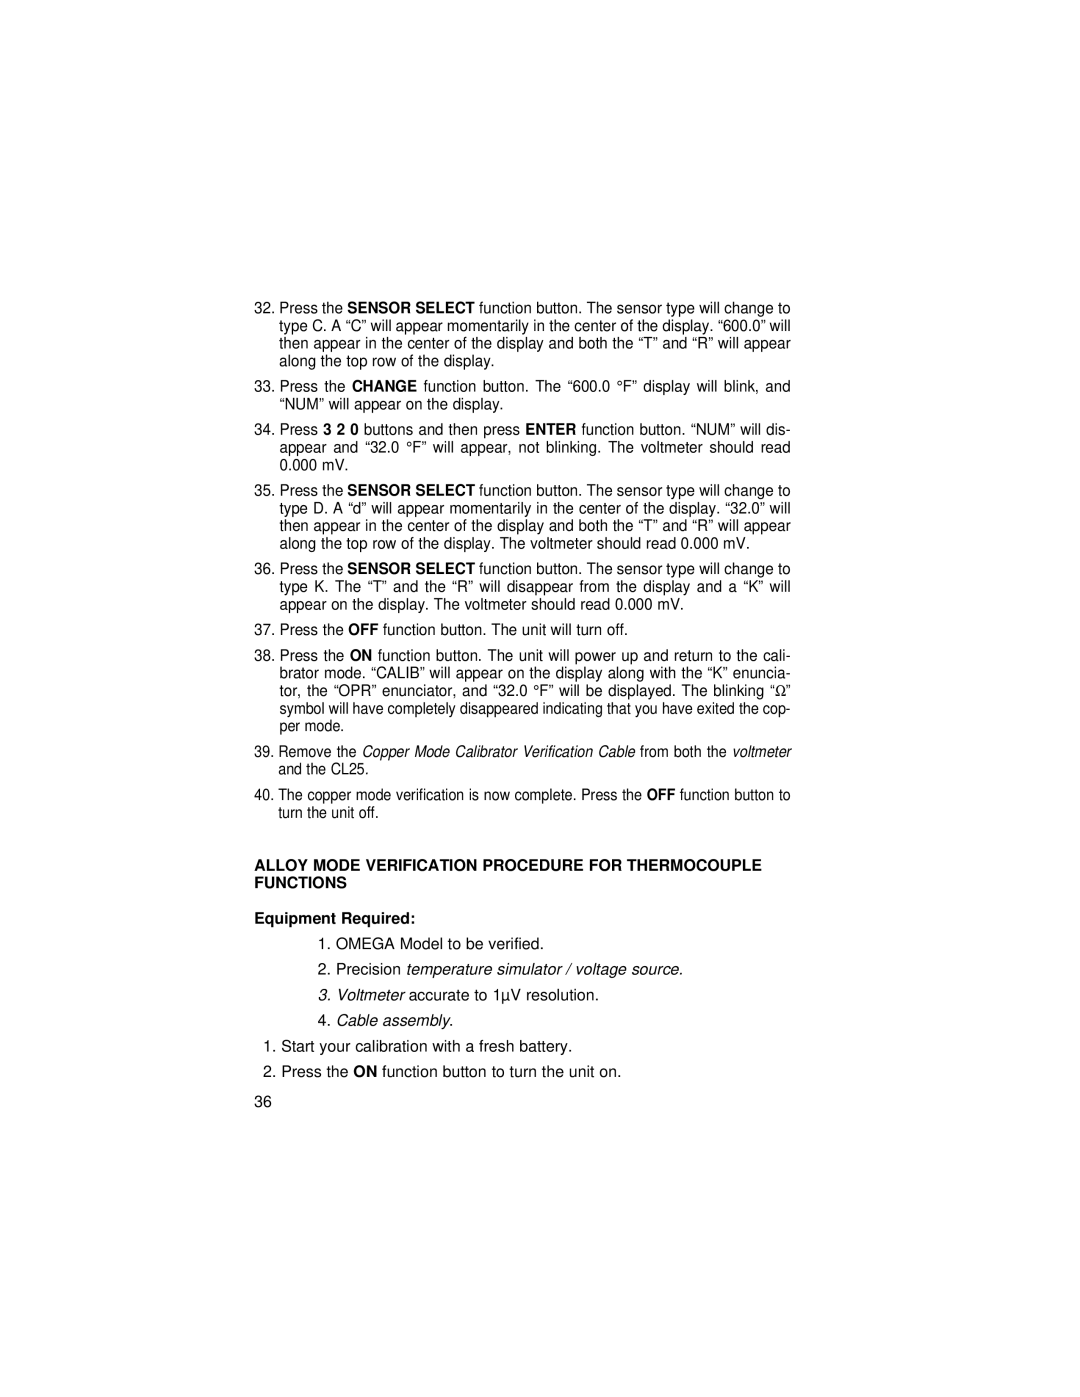
32.Press the SENSOR SELECT function button. The sensor type will change to type C. A “C” will appear momentarily in the center of the display. “600.0” will then appear in the center of the display and both the “T” and “R” will appear along the top row of the display.
33.Press the CHANGE function button. The “600.0 °F” display will blink, and “NUM” will appear on the display.
34.Press 3 2 0 buttons and then press ENTER function button. “NUM” will dis- appear and “32.0 °F” will appear, not blinking. The voltmeter should read 0.000 mV.
35.Press the SENSOR SELECT function button. The sensor type will change to type D. A “d” will appear momentarily in the center of the display. “32.0” will then appear in the center of the display and both the “T” and “R” will appear along the top row of the display. The voltmeter should read 0.000 mV.
36.Press the SENSOR SELECT function button. The sensor type will change to type K. The “T” and the “R” will disappear from the display and a “K” will appear on the display. The voltmeter should read 0.000 mV.
37.Press the OFF function button. The unit will turn off.
38.Press the ON function button. The unit will power up and return to the cali-
brator mode. “CALIB” will appear on the display along with the “K” enuncia- tor, the “OPR” enunciator, and “32.0 °F” will be displayed. The blinking“Ω ” symbol will have completely disappeared indicating that you have exited the cop- per mode.
39.Remove the Copper Mode Calibrator Verification Cable from both the voltmeter and the CL25.
40.The copper mode verification is now complete. Press the OFF function button to turn the unit off.
ALLOY MODE VERIFICATION PROCEDURE FOR THERMOCOUPLE FUNCTIONS
Equipment Required:
1.OMEGA Model to be verified.
2.Precision temperature simulator / voltage source.
3.Voltmeter accurate to 1µV resolution.
4.Cable assembly.
1.Start your calibration with a fresh battery.
2.Press the ON function button to turn the unit on.
36
