AastraLink Pro 160 Administrator Guide
Restoring AastraLink Factory Default Settings
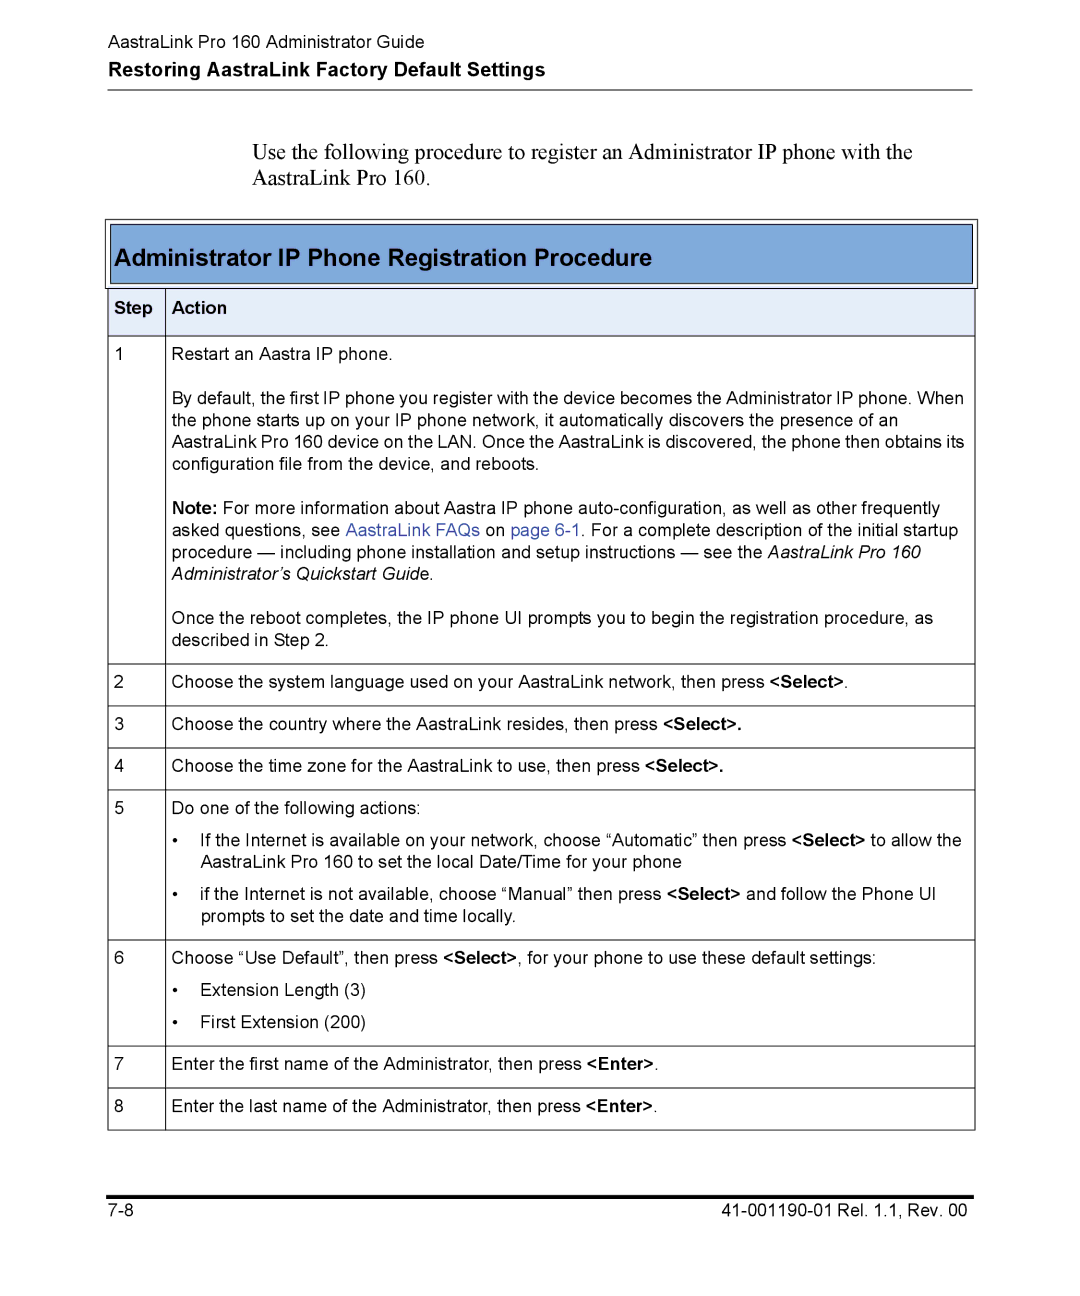
Use the following procedure to register an Administrator IP phone with the AastraLink Pro 160.

 Administrator IP Phone Registration Procedure
Step | Action | |
|
| |
1 | Restart an Aastra IP phone. | |
| By default, the first IP phone you register with the device becomes the Administrator IP phone. When | |
| the phone starts up on your IP phone network, it automatically discovers the presence of an | |
| AastraLink Pro 160 device on the LAN. Once the AastraLink is discovered, the phone then obtains its | |
| configuration file from the device, and reboots. | |
| Note: For more information about Aastra IP phone | |
| asked questions, see AastraLink FAQs on page | |
| procedure — including phone installation and setup instructions — see the AastraLink Pro 160 | |
| Administrator’s Quickstart Guide. | |
| Once the reboot completes, the IP phone UI prompts you to begin the registration procedure, as | |
| described in Step 2. | |
|
| |
2 | Choose the system language used on your AastraLink network, then press <Select>. | |
|
| |
3 | Choose the country where the AastraLink resides, then press <Select>. | |
|
| |
4 | Choose the time zone for the AastraLink to use, then press <Select>. | |
|
| |
5 | Do one of the following actions: | |
| • If the Internet is available on your network, choose “Automatic” then press <Select> to allow the | |
|
| AastraLink Pro 160 to set the local Date/Time for your phone |
| • if the Internet is not available, choose “Manual” then press <Select> and follow the Phone UI | |
|
| prompts to set the date and time locally. |
|
| |
6 | Choose “Use Default”, then press <Select>, for your phone to use these default settings: | |
| • | Extension Length (3) |
| • | First Extension (200) |
|
| |
7 | Enter the first name of the Administrator, then press <Enter>. | |
|
| |
8 | Enter the last name of the Administrator, then press <Enter>. | |