Remote Office Configuration of the IP Phone (Phone-Side)
Connecting To The IP Phone Network From a Remote Office
Connecting To The IP Phone Network From a Remote Office
After registering the IP phone at the central site, use the following procedure to connect to the IP phone network from a remote office.
Warning: On remote phones connected to the AastraLink Pro 160, the following emergency
related message displays: “E911 calls are not available from this phone.” Remote IP phone users should not make emergency calls using the AastraLink Pro 160, because the location information will be incorrect. E911 regulations in the United States require street address location information be transmitted to the Public Safety Answering Point (PSAP). This information is provided by the telco, using the location of the analogue line connected to the AastraLink Pro 160 Lifeline port (FXO Line 1).
Step | Action |
|
|
1 | Connect the Aastra IP phone to your Ethernet Hub/Router. |
| Note: See your AastraLink Pro 160 Quick Start User’s Guide for instructions on setting up and |
| installing your Aastra IP phone. |
| Your Aastra IP phone powers up, completes its diagnostics, and searches for the AastraLink |
| Pro 160 on the network. |
|
|
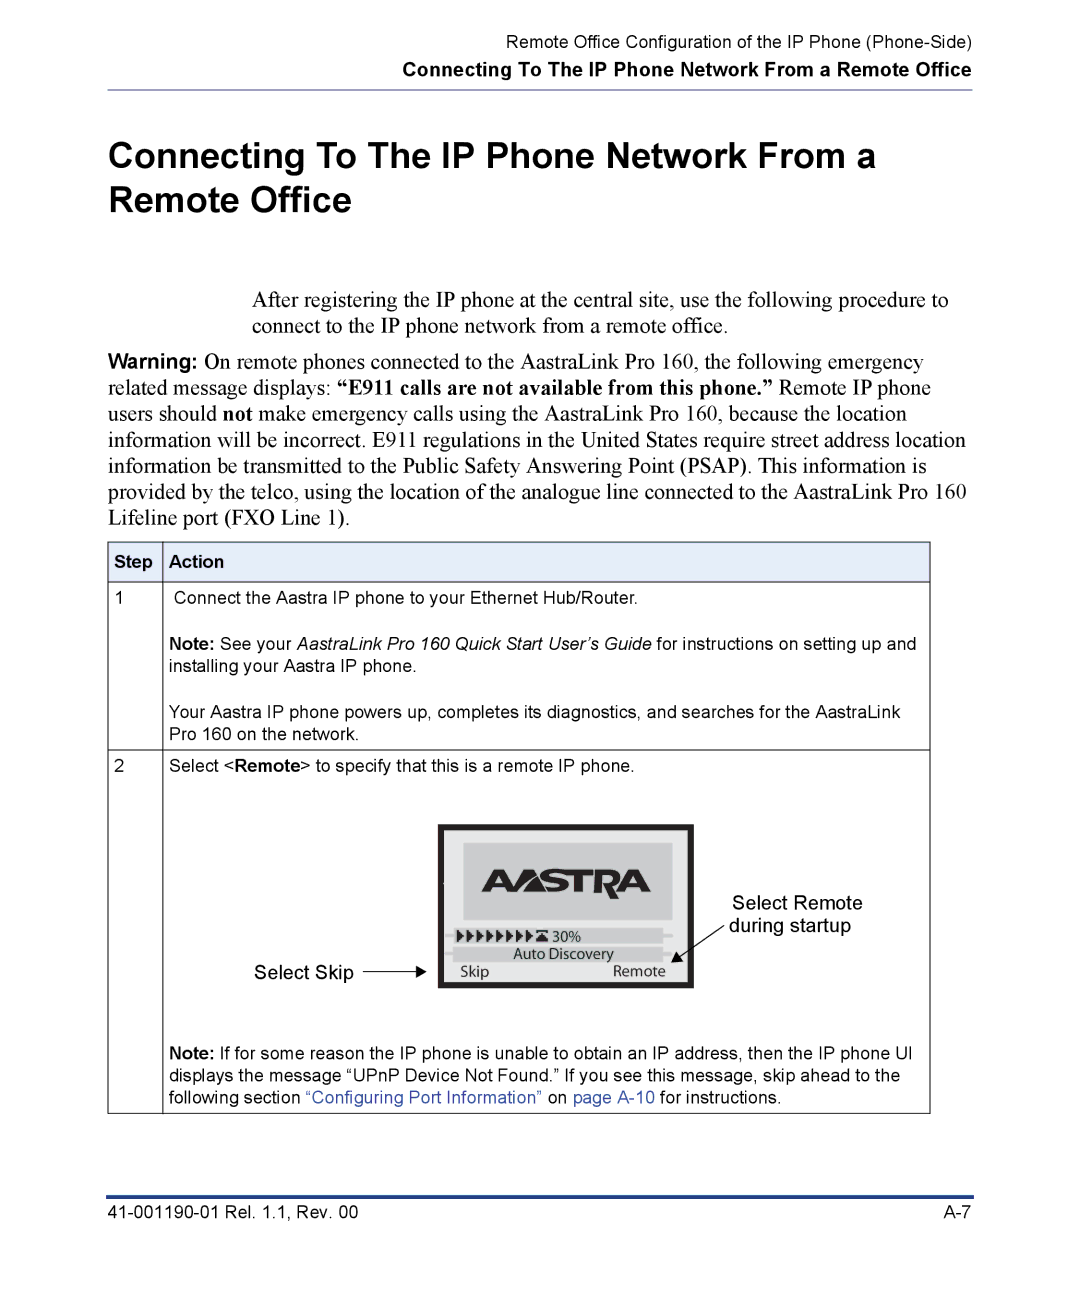
2 | Select <Remote> to specify that this is a remote IP phone. |
![]()
![]()
![]()
![]()
![]() 30% Auto Discovery
30% Auto Discovery
Select Remote during startup
Select Skip |
| Skip | Remote |
|
Note: If for some reason the IP phone is unable to obtain an IP address, then the IP phone UI displays the message “UPnP Device Not Found.” If you see this message, skip ahead to the following section “Configuring Port Information” on page