AastraLink Pro 160 Administrator Guide
Configuring VoIP Settings
Adding a SIP DID
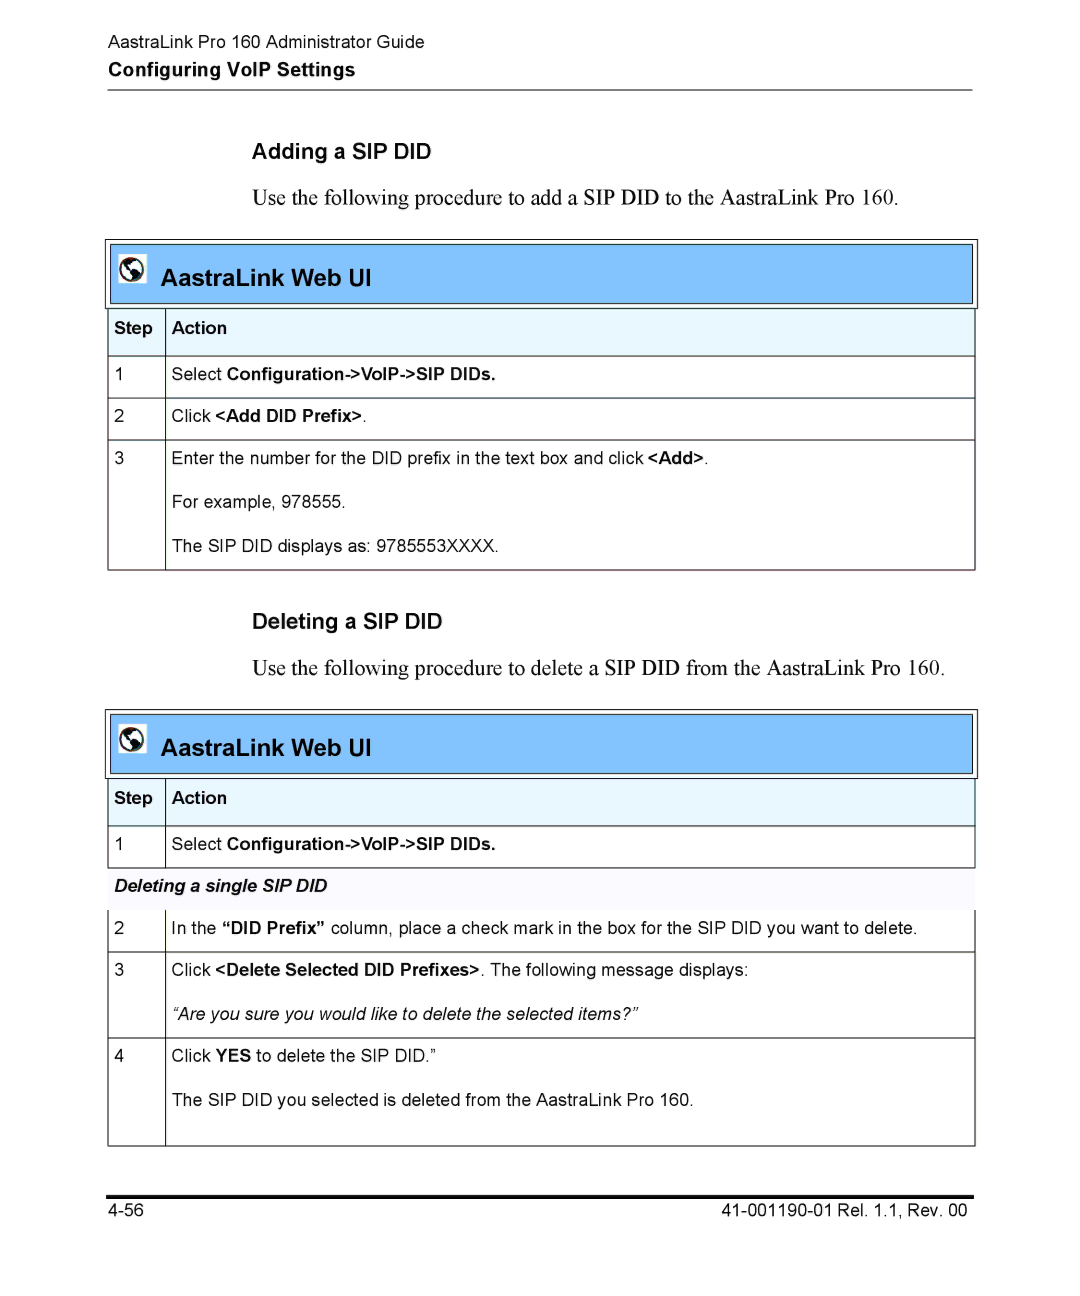
Use the following procedure to add a SIP DID to the AastraLink Pro 160.
AastraLink Web UI
Step Action
1Select
2Click <Add DID Prefix>.
3Enter the number for the DID prefix in the text box and click <Add>. For example, 978555.
The SIP DID displays as: 9785553XXXX.
Deleting a SIP DID
Use the following procedure to delete a SIP DID from the AastraLink Pro 160.
AastraLink Web UI
Step Action
1Select Configuration->VoIP->SIP DIDs.
Deleting a single SIP DID
2
3
4
In the “DID Prefix” column, place a check mark in the box for the SIP DID you want to delete.
Click <Delete Selected DID Prefixes>. The following message displays: “Are you sure you would like to delete the selected items?”
Click YES to delete the SIP DID.”
The SIP DID you selected is deleted from the AastraLink Pro 160.
