Troubleshooting Solutions
Restoring AastraLink Factory Default Settings

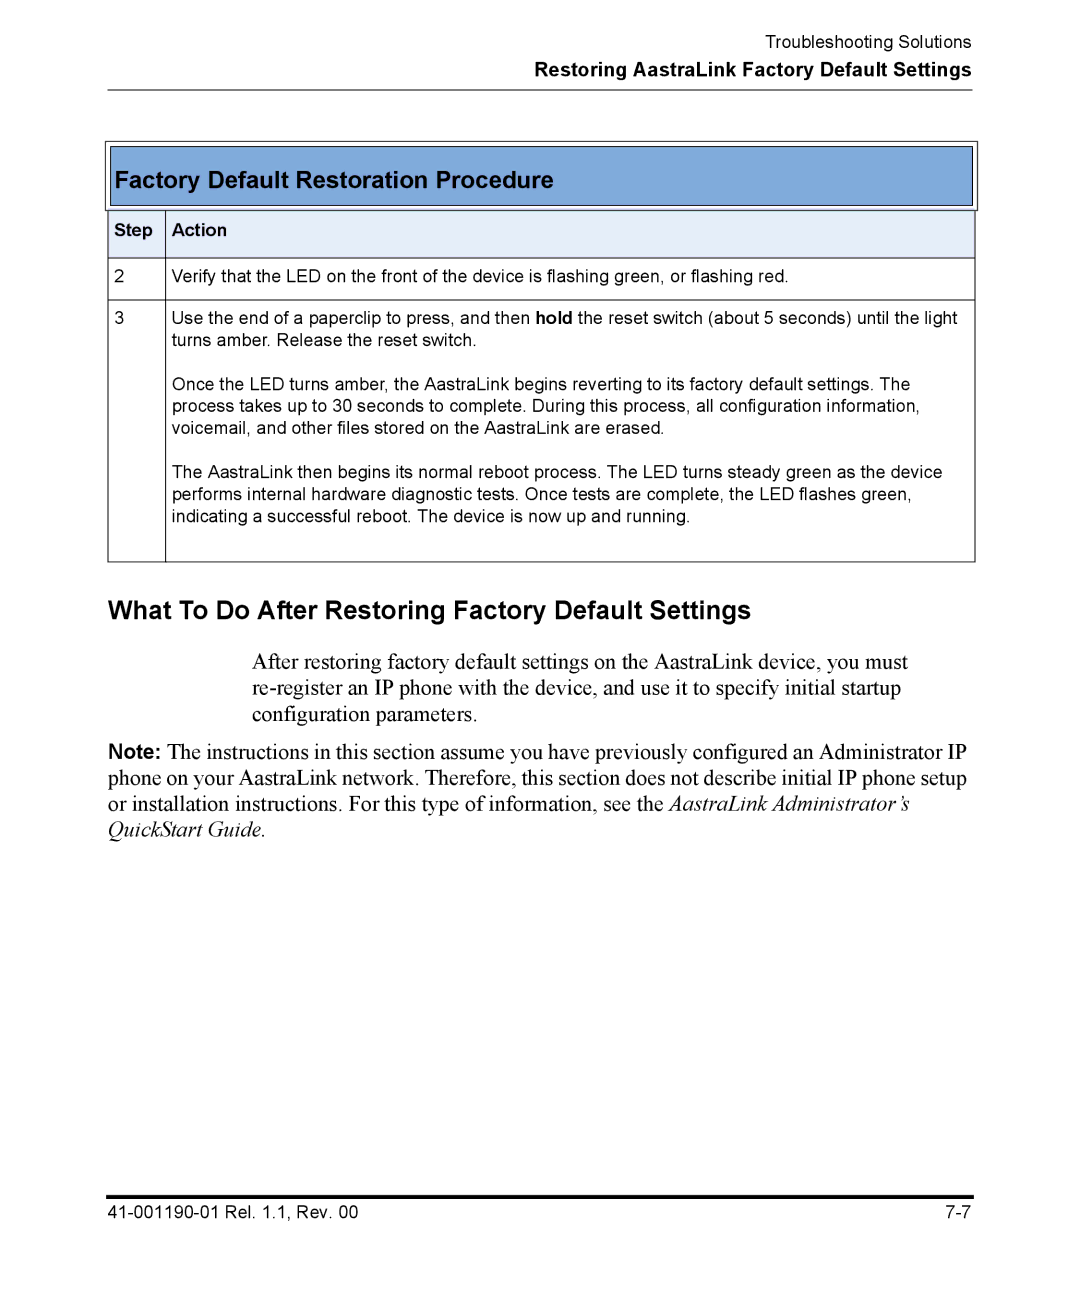
 Factory Default Restoration Procedure
Step Action
2Verify that the LED on the front of the device is flashing green, or flashing red.
3Use the end of a paperclip to press, and then hold the reset switch (about 5 seconds) until the light turns amber. Release the reset switch.
Once the LED turns amber, the AastraLink begins reverting to its factory default settings. The process takes up to 30 seconds to complete. During this process, all configuration information, voicemail, and other files stored on the AastraLink are erased.
The AastraLink then begins its normal reboot process. The LED turns steady green as the device performs internal hardware diagnostic tests. Once tests are complete, the LED flashes green, indicating a successful reboot. The device is now up and running.
What To Do After Restoring Factory Default Settings
After restoring factory default settings on the AastraLink device, you must
Note: The instructions in this section assume you have previously configured an Administrator IP phone on your AastraLink network. Therefore, this section does not describe initial IP phone setup or installation instructions. For this type of information, see the AastraLink Administrator’s QuickStart Guide.