Configuring AastraLink Pro 160 System and Network Parameters
Configuring VoIP Settings
AastraLink Web UI
Step Action
8Specify values for these parameters only if required by your service provider: Realm, Authorization Name, Outbound Proxy, Outbound Proxy Port.
Otherwise, leave these fields blank.
9Click <Save> to save your changes.
Clearing a SIP Trunk
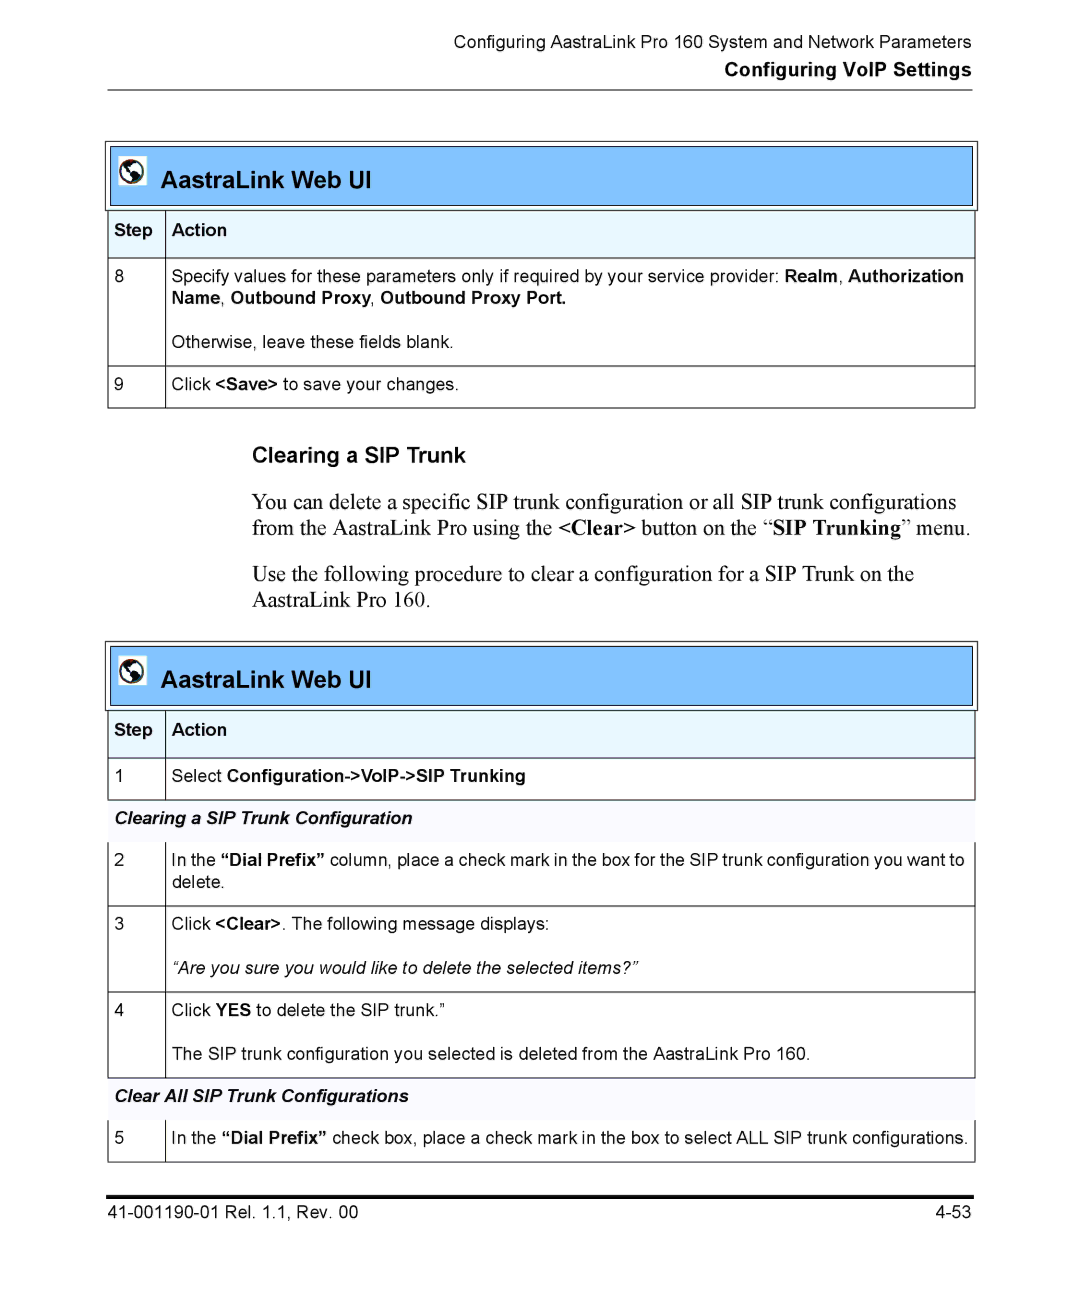
You can delete a specific SIP trunk configuration or all SIP trunk configurations from the AastraLink Pro using the <Clear> button on the “SIP Trunking” menu.
Use the following procedure to clear a configuration for a SIP Trunk on the AastraLink Pro 160.
AastraLink Web UI
Step Action
1Select
Clearing a SIP Trunk Configuration
2
3
4
In the “Dial Prefix” column, place a check mark in the box for the SIP trunk configuration you want to delete.
Click <Clear>. The following message displays:
“Are you sure you would like to delete the selected items?”
Click YES to delete the SIP trunk.”
The SIP trunk configuration you selected is deleted from the AastraLink Pro 160.
Clear All SIP Trunk Configurations
5
In the “Dial Prefix” check box, place a check mark in the box to select ALL SIP trunk configurations.
