For High Scale) to set the desired TARE number. Once the desired TARE value is displayed, push SETUP key to enter that value and go to setup Setpoint.
Setup For Setpoint
After setting a channel's TARE, the next parameter to be set is channel's SETPOINT. SETPOINT is used in Deviation Display mode. In this mode the display is given as
When setting SETPOINT, the display will first show 'CHx SP', and then the current SETPOINT value. Use SDIGT key (ref. Setup For High Scale) to get the desired SETPOINT value. Once the desired SETPOINT value is displayed, push SETUP key to enter that value and go on to setup channel 1's operational mode.
Setup for Universal Relay (Channel 1 Relay)
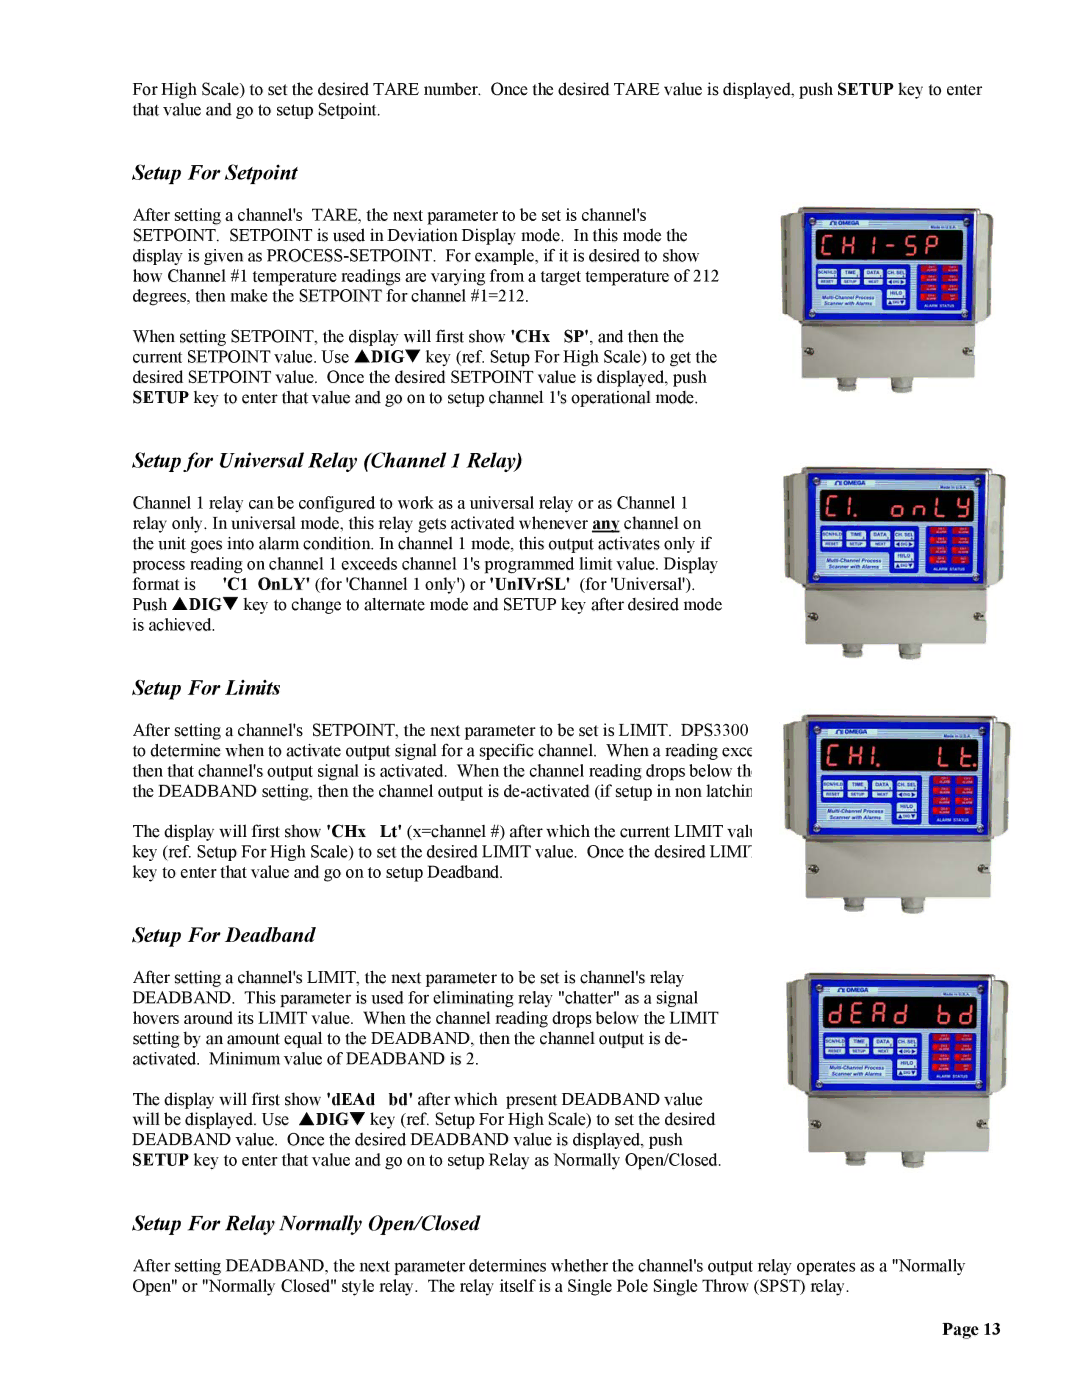
Channel 1 relay can be configured to work as a universal relay or as Channel 1 relay only. In universal mode, this relay gets activated whenever any channel on the unit goes into alarm condition. In channel 1 mode, this output activates only if process reading on channel 1 exceeds channel 1's programmed limit value. Display format is 'C1 OnLY' (for 'Channel 1 only') or 'UnIVrSL' (for 'Universal'). Push SDIGT key to change to alternate mode and SETUP key after desired mode is achieved.
Setup For Limits
After setting a channel's SETPOINT, the next parameter to be set is LIMIT. DPS3300 Series uses the LIMIT parameter to determine when to activate output signal for a specific channel. When a reading exceeds the LIMIT for that channel, then that channel's output signal is activated. When the channel reading drops below the LIMIT setting by the amount of the DEADBAND setting, then the channel output is
The display will first show 'CHx Lt' (x=channel #) after which the current LIMIT value will be displayed. Use SDIGT key (ref. Setup For High Scale) to set the desired LIMIT value. Once the desired LIMIT value is displayed, push SETUP key to enter that value and go on to setup Deadband.
Setup For Deadband
After setting a channel's LIMIT, the next parameter to be set is channel's relay DEADBAND. This parameter is used for eliminating relay "chatter" as a signal hovers around its LIMIT value. When the channel reading drops below the LIMIT setting by an amount equal to the DEADBAND, then the channel output is de- activated. Minimum value of DEADBAND is 2.
The display will first show 'dEAd bd' after which present DEADBAND value will be displayed. Use SDIGT key (ref. Setup For High Scale) to set the desired DEADBAND value. Once the desired DEADBAND value is displayed, push SETUP key to enter that value and go on to setup Relay as Normally Open/Closed.
Setup For Relay Normally Open/Closed
After setting DEADBAND, the next parameter determines whether the channel's output relay operates as a "Normally Open" or "Normally Closed" style relay. The relay itself is a Single Pole Single Throw (SPST) relay.
Page 13