Setup Examples
Example #1: Use of the OFFSET Parameter
Setup for a
DECIMAL POINT | = 999.9 |
HIGH SCALE | = 500.0 |
LOW SCALE | = 000.0 |
OFFSET | = 4.000 |
TARE | = 0.000 |
Example #2: Use of the LOW SCALE Parameter
Setup for a
DECIMAL POINT | = 9999 |
HIGH SCALE | = 2000 |
LOW SCALE | = 500 |
OFFSET | = 4.00 |
TARE | = 0.000 |
Example #3: Use of the TARE Parameter
Setup for a
DECIMAL POINT | = 99.99 |
HIGH SCALE | = 10.00 |
LOW SCALE | = 00.00 |
OFFSET | = 0.00 |
TARE | = 0.50 |
SYSTEM CONFIGURATION
After entering the correct
that affect all the channels or the instrument in general.
Setup For Display Options
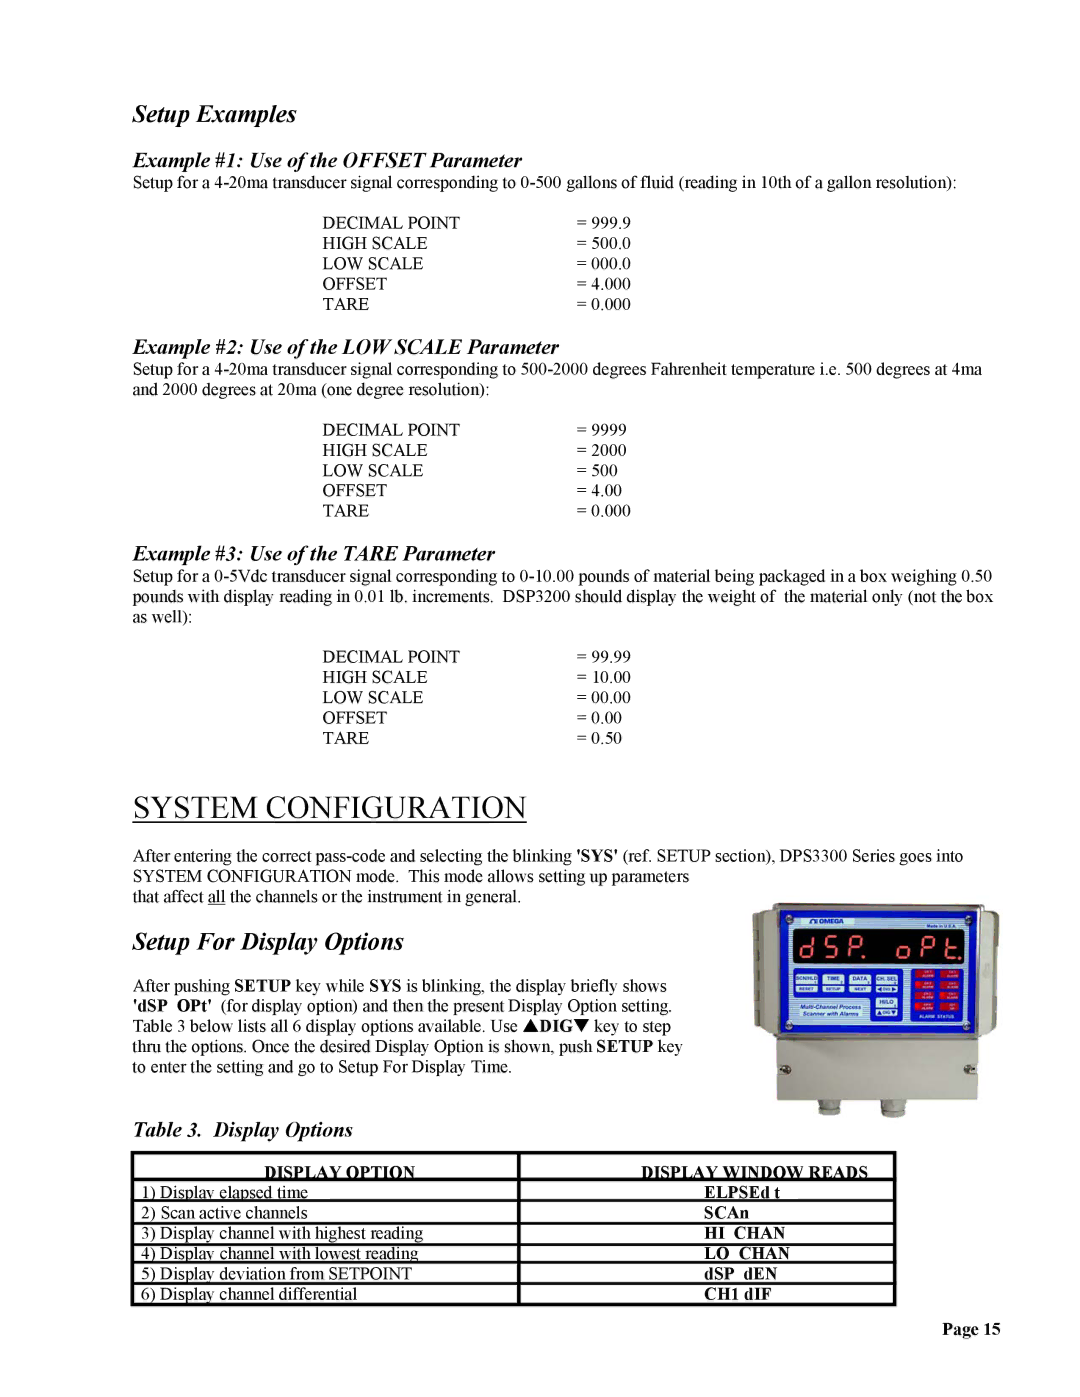
After pushing SETUP key while SYS is blinking, the display briefly shows 'dSP OPt' (for display option) and then the present Display Option setting. Table 3 below lists all 6 display options available. Use SDIGT key to step thru the options. Once the desired Display Option is shown, push SETUP key to enter the setting and go to Setup For Display Time.
Table 3. Display Options
| DISPLAY OPTION | DISPLAY WINDOW READS |
1) | Display elapsed time | ELPSEd t |
2) | Scan active channels | SCAn |
3) | Display channel with highest reading | HI CHAN |
4) | Display channel with lowest reading | LO CHAN |
5) | Display deviation from SETPOINT | dSP dEN |
6) | Display channel differential | CH1 dIF |
Page 15
