Connecting the Power/Turning on the DV-L55
Before connecting
•Make sure that all the connections on pages 16 – 21 are complete (the connection to a TV is required).
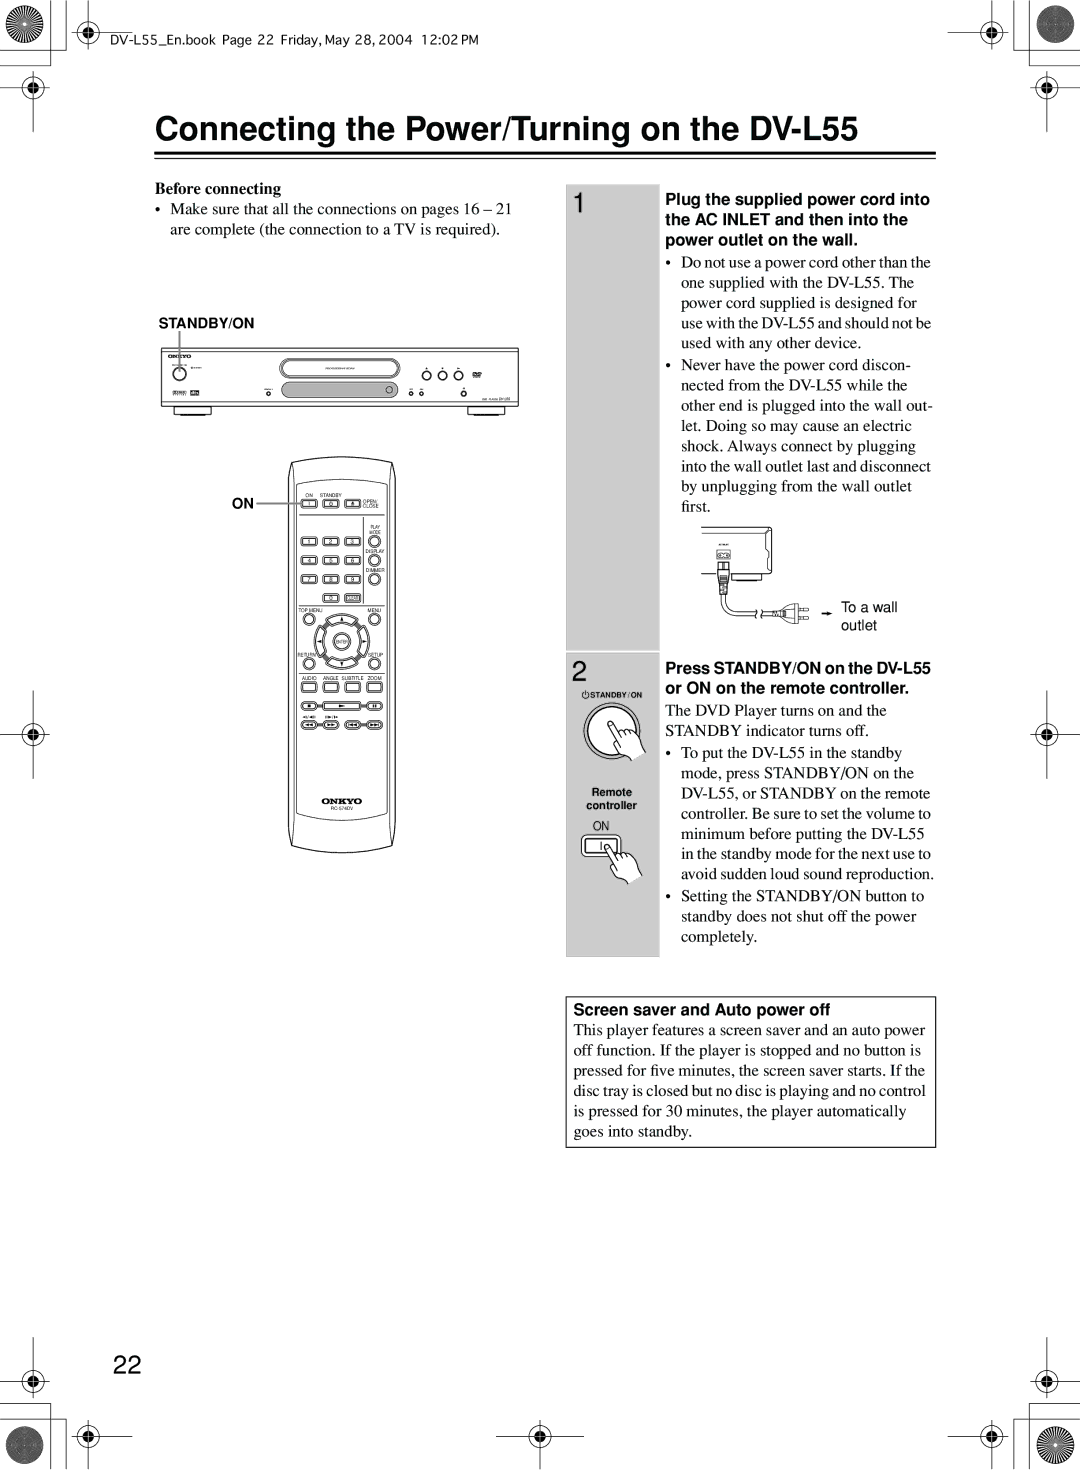
STANDBY/ON
STANDBY / ON
DISPLAY
ON | ON STANDBY |
OPEN/ | |
| CLOSE |
PLAY
MODE
1 2 3
DISPLAY
4 5 6
DIMMER
7 8 9
0CLEAR
TOP MENU | MENU |
ENTER
RETURNSETUP
1 | Plug the supplied power cord into |
| |
| the AC INLET and then into the |
| power outlet on the wall. |
| • Do not use a power cord other than the |
| one supplied with the |
| power cord supplied is designed for |
| use with the |
| used with any other device. |
| • Never have the power cord discon- |
| nected from the |
| other end is plugged into the wall out- |
| let. Doing so may cause an electric |
| shock. Always connect by plugging |
| into the wall outlet last and disconnect |
| by unplugging from the wall outlet |
| first. |
To a wall outlet
AUDIO ANGLE SUBTITLE ZOOM
2
![]() STANDBY / ON
STANDBY / ON
Remote
controller
ON
Press STANDBY/ON on the
The DVD Player turns on and the STANDBY indicator turns off.
•To put the
•Setting the STANDBY/ON button to standby does not shut off the power completely.
Screen saver and Auto power off
This player features a screen saver and an auto power off function. If the player is stopped and no button is pressed for five minutes, the screen saver starts. If the disc tray is closed but no disc is playing and no control is pressed for 30 minutes, the player automatically goes into standby.
22