HT-R390 specifications
The Onkyo HT-R390 is a versatile and powerful home theater receiver designed to bring an exceptional audio experience to your living space. Known for its combination of affordability and performance, the HT-R390 seamlessly integrates into any home entertainment setup, providing a wide range of features and technologies that enhance both sound quality and usability.One of the standout features of the Onkyo HT-R390 is its robust power output, delivering up to 100 watts per channel across a 5.1-channel configuration. This ensures that users can experience rich, dynamic sound whether they are watching movies, listening to music, or playing video games. The receiver also supports various surround sound formats, including Dolby TrueHD and DTS-HD Master Audio, allowing for an immersive audio experience that complements high-definition video.
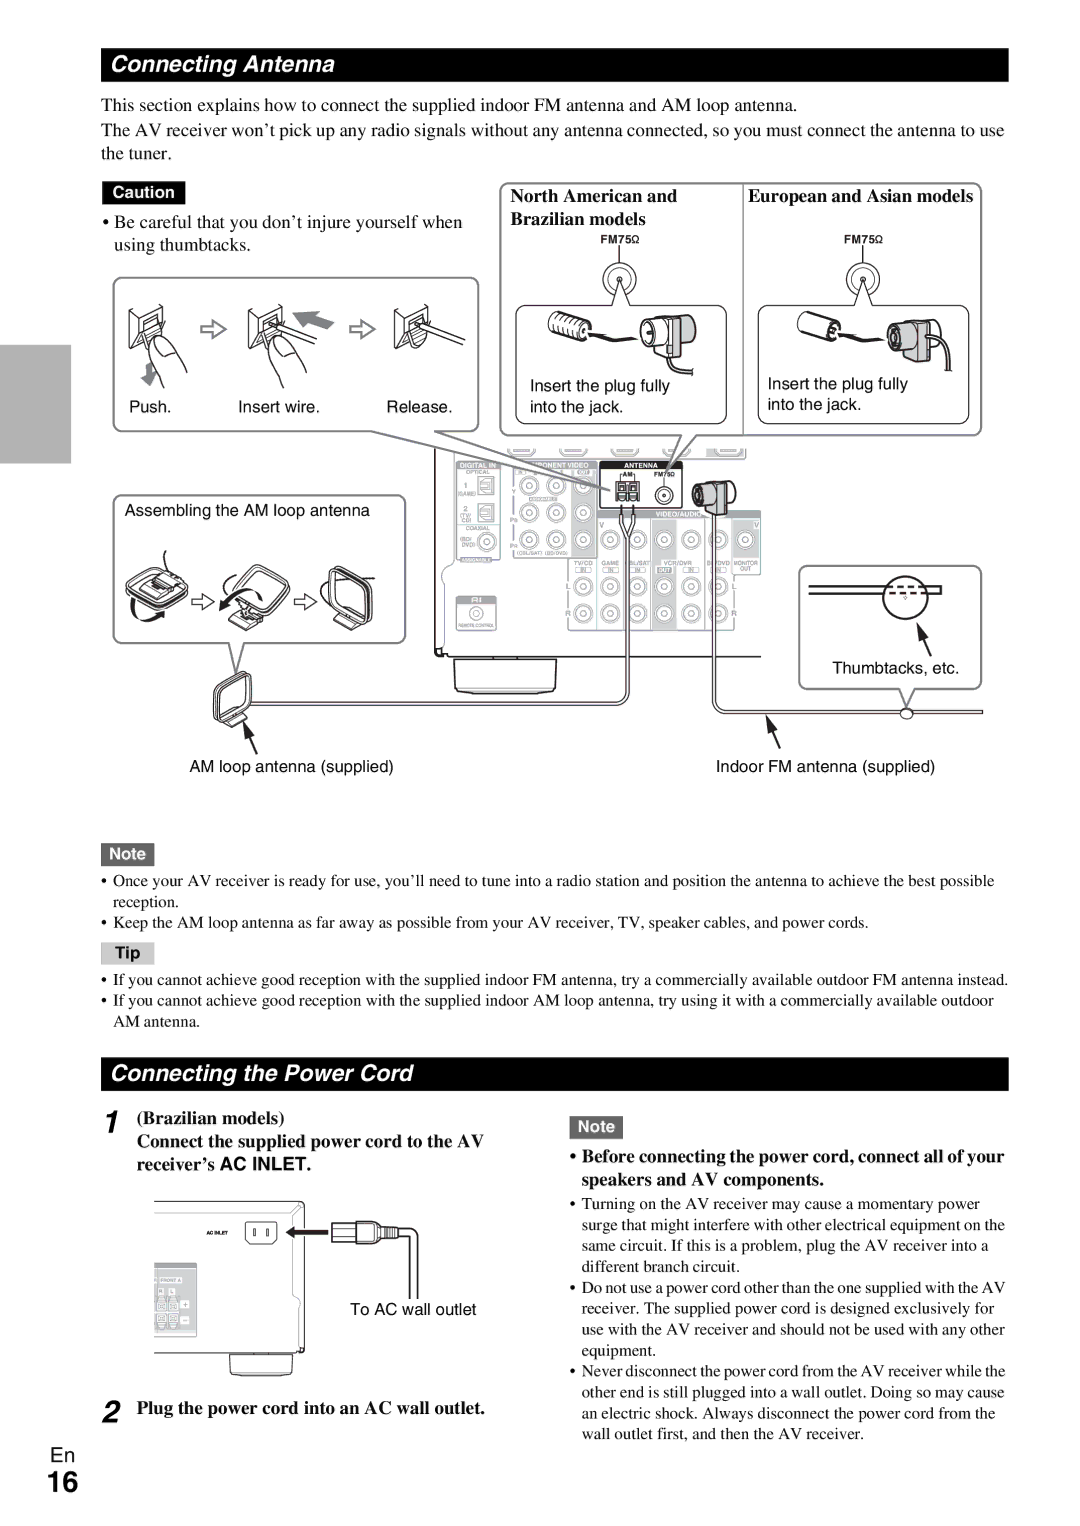
Connectivity options are abundant with the HT-R390. The receiver is equipped with multiple HDMI inputs, making it easy to connect various sources such as Blu-ray players, gaming consoles, and streaming devices. It also features audio return channel (ARC) support, which simplifies the connection between your television and the receiver, allowing for streamlined audio playback from your TV's built-in apps. Additionally, the receiver includes a variety of inputs, such as optical and coaxial digital inputs, as well as analog audio inputs, providing versatility for connecting legacy devices.
Another notable feature is the Onkyo HT-R390's compatibility with user-friendly technologies. It offers built-in Bluetooth connectivity, making it easy to stream music directly from smartphones or tablets without the need for cords. The receiver's high-current amplification also ensures that even lower-impedance speakers can be driven effectively, providing a clean and powerful performance across a wide range of speaker selections.
The receiver also comes with a user-friendly setup process, aided by the included setup microphone that helps calibrate the sound to suit the specific acoustics of your room. This feature optimizes audio performance, ensuring a balanced soundstage and accurate reproduction of movie soundtracks or musical performances.
In conclusion, the Onkyo HT-R390 stands out in the competitive market of home theater receivers due to its combination of powerful audio performance, versatile connectivity options, and user-friendly features. For anyone looking to upgrade their home entertainment system, the HT-R390 provides an excellent balance of affordability and high-quality sound reproduction.

