User’s Manual
3.5Record Schedule / Quality Setting
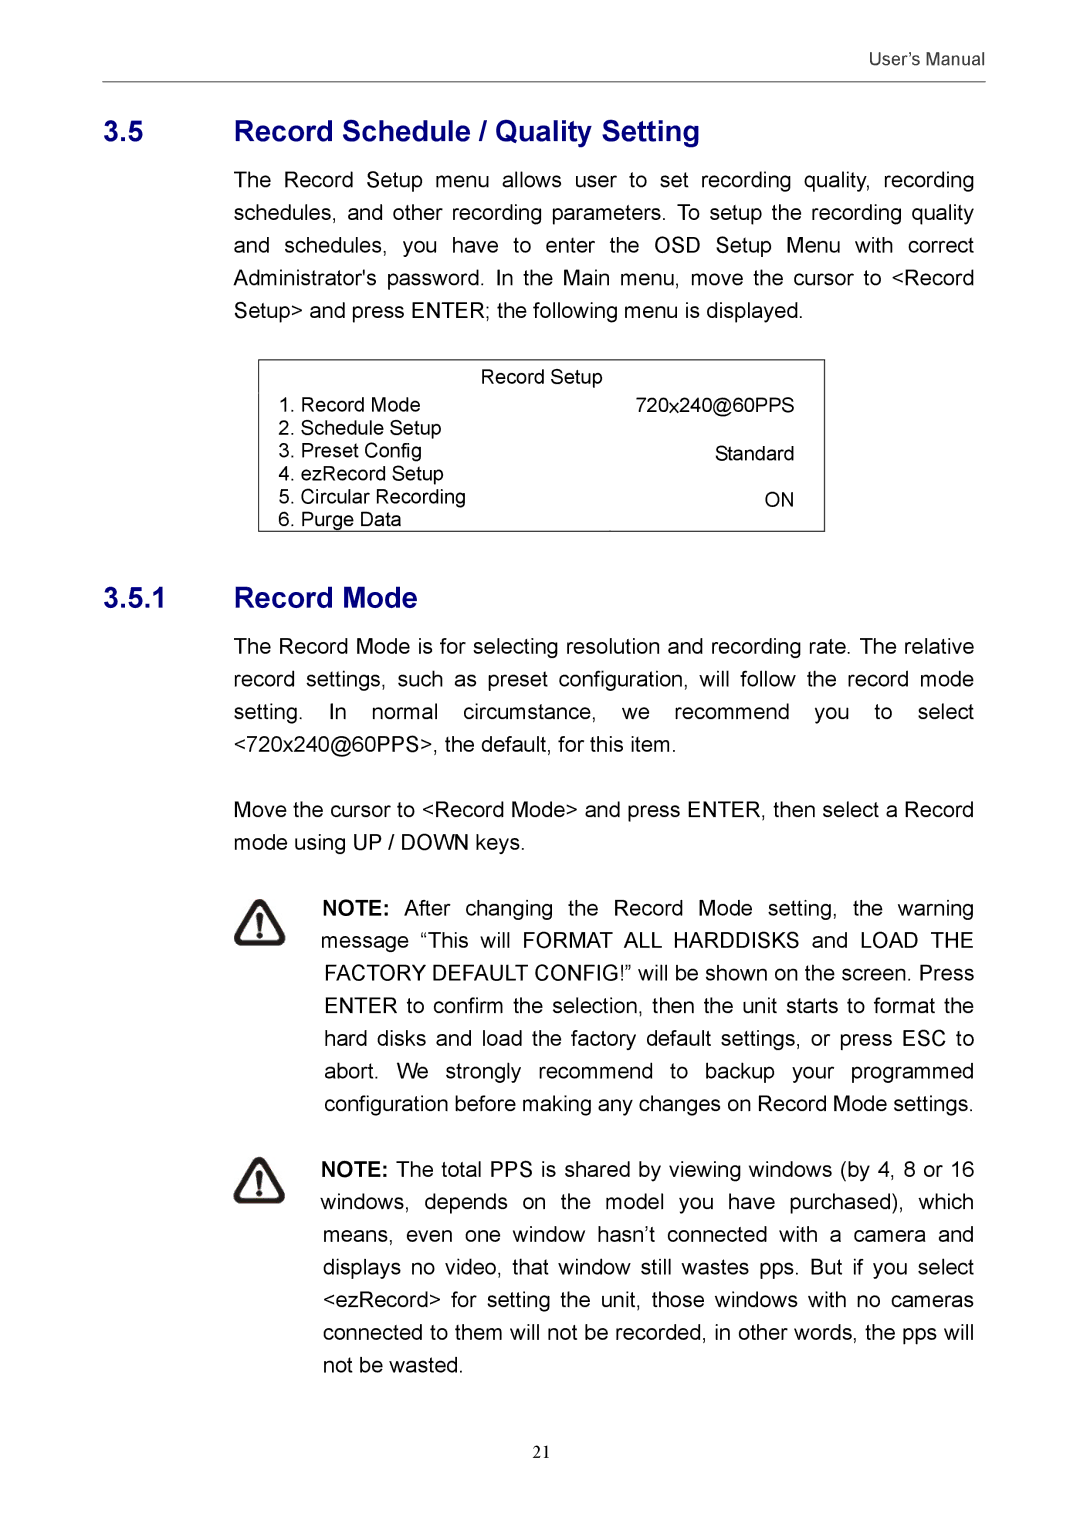
The Record Setup menu allows user to set recording quality, recording schedules, and other recording parameters. To setup the recording quality and schedules, you have to enter the OSD Setup Menu with correct Administrator's password. In the Main menu, move the cursor to <Record Setup> and press ENTER; the following menu is displayed.
|
| Record Setup |
1. Record Mode | 720×240@60PPS | |
2. | Schedule Setup |
|
3. | Preset Config | Standard |
4. ezRecord Setup |
| |
5. | Circular Recording | ON |
6. | Purge Data |
|
3.5.1Record Mode
The Record Mode is for selecting resolution and recording rate. The relative record settings, such as preset configuration, will follow the record mode setting. In normal circumstance, we recommend you to select <720x240@60PPS>, the default, for this item.
Move the cursor to <Record Mode> and press ENTER, then select a Record mode using UP / DOWN keys.
NOTE: After changing the Record Mode setting, the warning message “This will FORMAT ALL HARDDISKS and LOAD THE FACTORY DEFAULT CONFIG!” will be shown on the screen. Press ENTER to confirm the selection, then the unit starts to format the hard disks and load the factory default settings, or press ESC to abort. We strongly recommend to backup your programmed configuration before making any changes on Record Mode settings.
NOTE: The total PPS is shared by viewing windows (by 4, 8 or 16 windows, depends on the model you have purchased), which means, even one window hasn’t connected with a camera and displays no video, that window still wastes pps. But if you select <ezRecord> for setting the unit, those windows with no cameras connected to them will not be recorded, in other words, the pps will not be wasted.
21