Figure 5. Thread the collimation thumbnuts, with nylon washers attached, through the rear end ring and onto the threaded shafts. Make sure the thumbnuts have at least three full turns of engagement on the shafts.
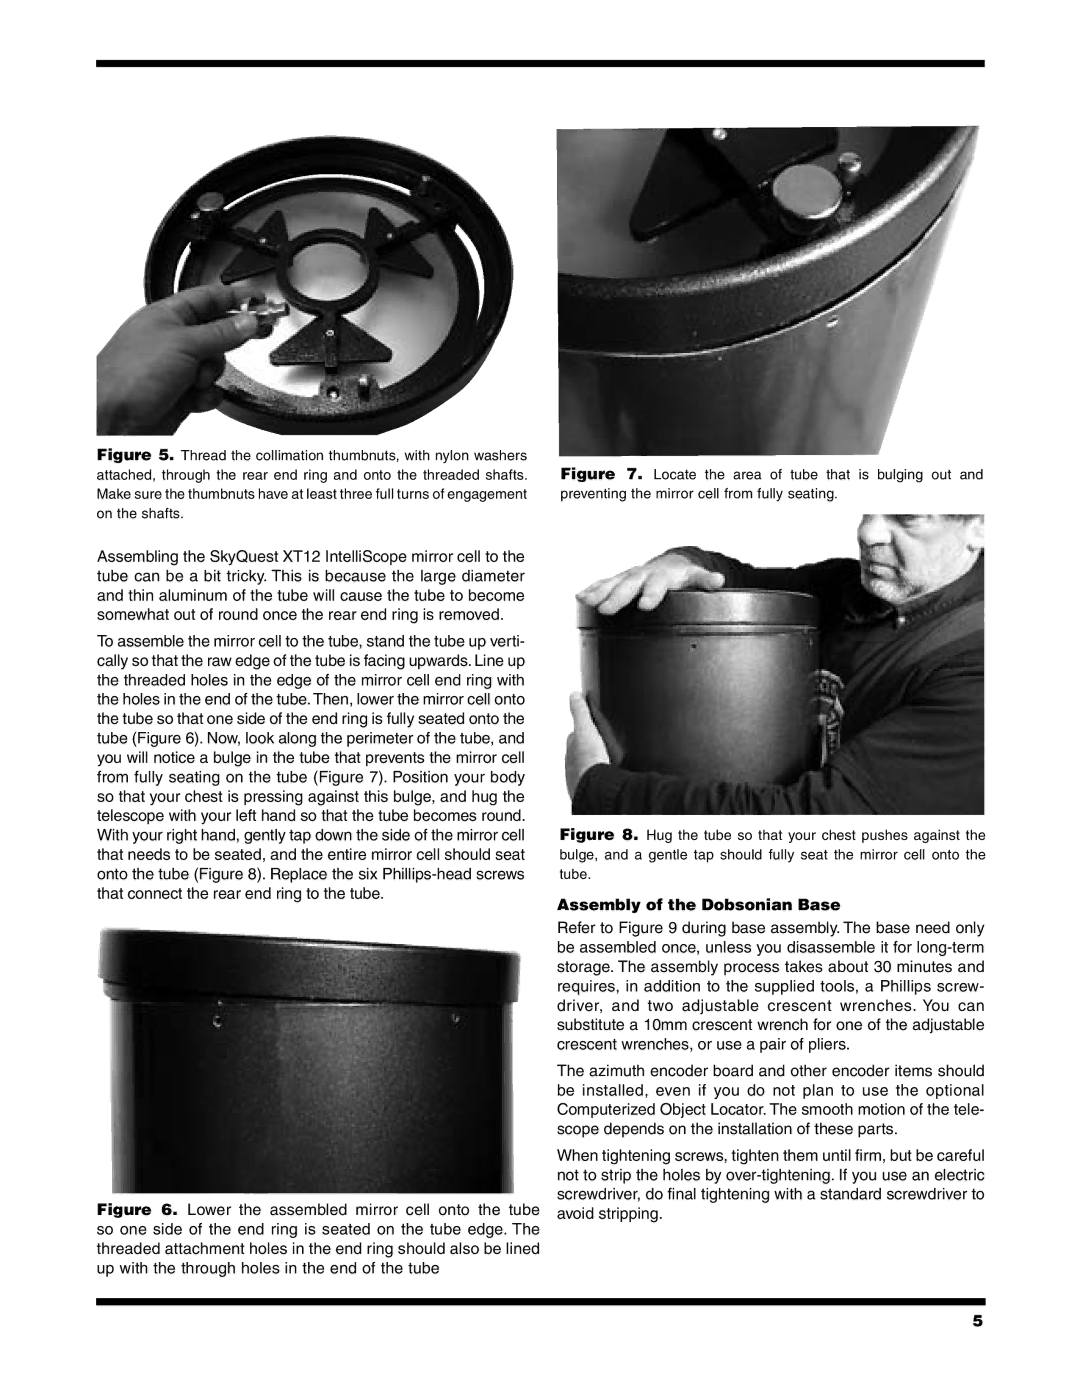
Figure 7. Locate the area of tube that is bulging out and preventing the mirror cell from fully seating.
Assembling the SkyQuest XT12 IntelliScope mirror cell to the tube can be a bit tricky. This is because the large diameter and thin aluminum of the tube will cause the tube to become somewhat out of round once the rear end ring is removed.
To assemble the mirror cell to the tube, stand the tube up verti- cally so that the raw edge of the tube is facing upwards. Line up the threaded holes in the edge of the mirror cell end ring with the holes in the end of the tube. Then, lower the mirror cell onto the tube so that one side of the end ring is fully seated onto the tube (Figure 6). Now, look along the perimeter of the tube, and you will notice a bulge in the tube that prevents the mirror cell from fully seating on the tube (Figure 7). Position your body so that your chest is pressing against this bulge, and hug the telescope with your left hand so that the tube becomes round. With your right hand, gently tap down the side of the mirror cell that needs to be seated, and the entire mirror cell should seat onto the tube (Figure 8). Replace the six Phillips-head screws that connect the rear end ring to the tube.
Figure 6. Lower the assembled mirror cell onto the tube so one side of the end ring is seated on the tube edge. The threaded attachment holes in the end ring should also be lined up with the through holes in the end of the tube
Figure 8. Hug the tube so that your chest pushes against the bulge, and a gentle tap should fully seat the mirror cell onto the tube.
Assembly of the Dobsonian Base
Refer to Figure 9 during base assembly. The base need only be assembled once, unless you disassemble it for
The azimuth encoder board and other encoder items should be installed, even if you do not plan to use the optional Computerized Object Locator. The smooth motion of the tele- scope depends on the installation of these parts.
When tightening screws, tighten them until firm, but be careful not to strip the holes by
5