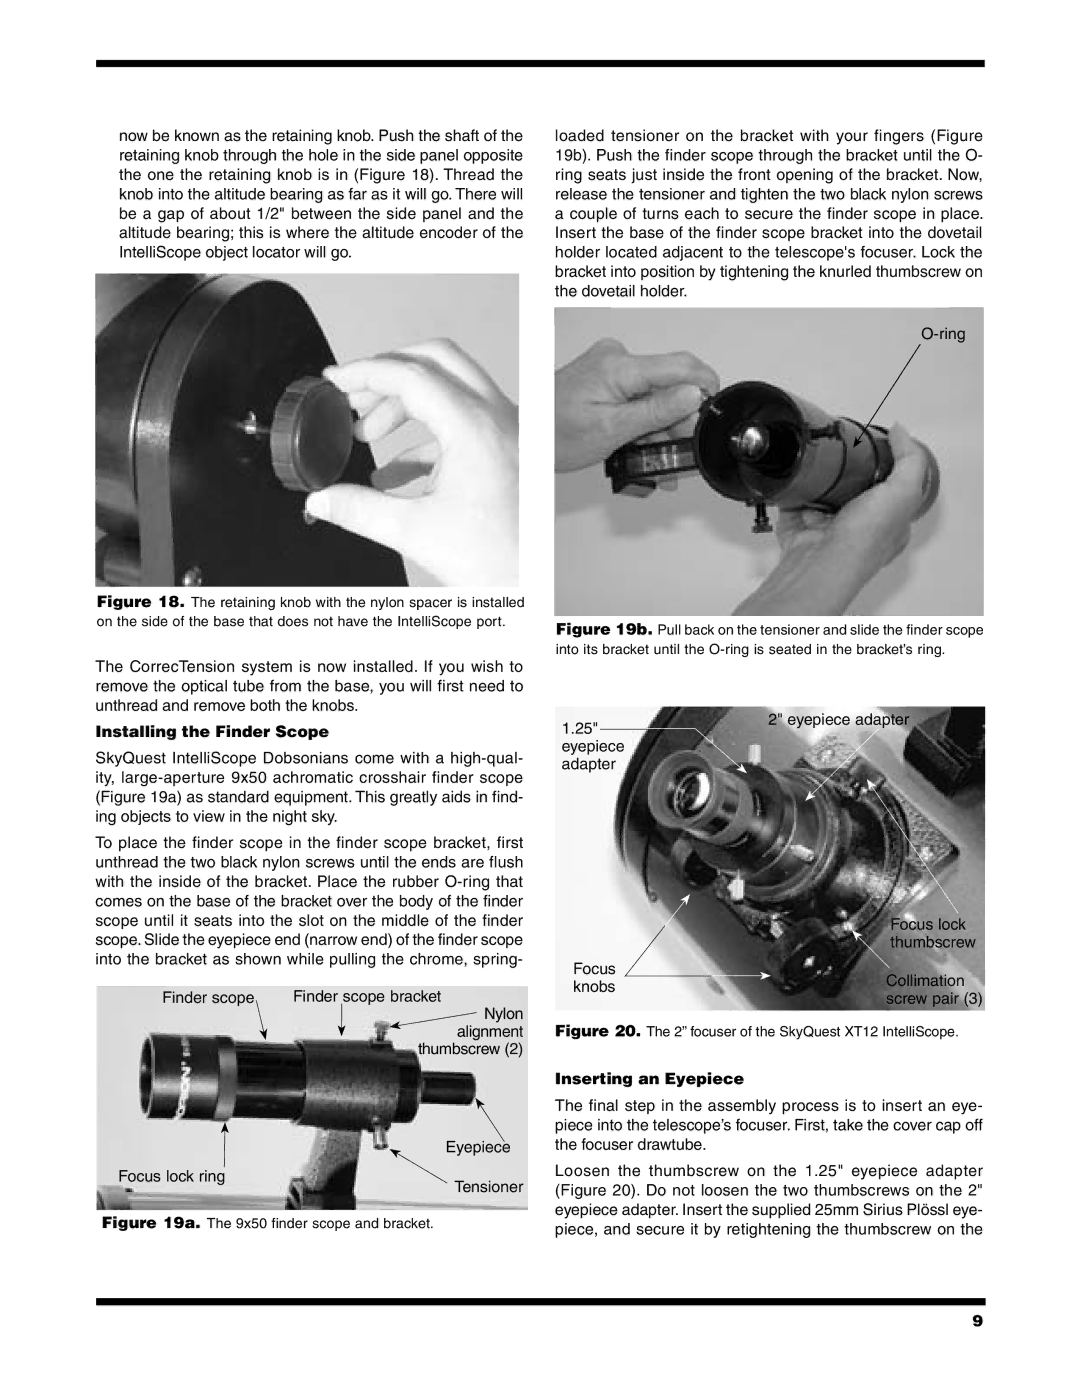
now be known as the retaining knob. Push the shaft of the retaining knob through the hole in the side panel opposite the one the retaining knob is in (Figure 18). Thread the knob into the altitude bearing as far as it will go. There will be a gap of about 1/2" between the side panel and the altitude bearing; this is where the altitude encoder of the IntelliScope object locator will go.
loaded tensioner on the bracket with your fingers (Figure 19b). Push the finder scope through the bracket until the O- ring seats just inside the front opening of the bracket. Now, release the tensioner and tighten the two black nylon screws a couple of turns each to secure the finder scope in place. Insert the base of the finder scope bracket into the dovetail holder located adjacent to the telescope's focuser. Lock the bracket into position by tightening the knurled thumbscrew on the dovetail holder.
Figure 18. The retaining knob with the nylon spacer is installed on the side of the base that does not have the IntelliScope port.
The CorrecTension system is now installed. If you wish to remove the optical tube from the base, you will first need to unthread and remove both the knobs.
Installing the Finder Scope
SkyQuest IntelliScope Dobsonians come with a
To place the finder scope in the finder scope bracket, first unthread the two black nylon screws until the ends are flush with the inside of the bracket. Place the rubber
Finder scope | Finder scope bracket |
| Nylon |
| alignment |
| thumbscrew (2) |
| Eyepiece |
Focus lock ring | Tensioner |
| |
Figure 19a. The 9x50 finder scope and bracket. |
|
Figure 19b. Pull back on the tensioner and slide the finder scope | |
into its bracket until the | |
1.25" | 2" eyepiece adapter |
| |
eyepiece |
|
adapter |
|
| Focus lock | |
| thumbscrew | |
Focus | Collimation | |
knobs | ||
screw pair (3) | ||
| ||
Figure 20. The 2” focuser of the SkyQuest XT12 IntelliScope. | ||
Inserting an Eyepiece
The final step in the assembly process is to insert an eye- piece into the telescope’s focuser. First, take the cover cap off the focuser drawtube.
Loosen the thumbscrew on the 1.25" eyepiece adapter (Figure 20). Do not loosen the two thumbscrews on the 2" eyepiece adapter. Insert the supplied 25mm Sirius Plössl eye- piece, and secure it by retightening the thumbscrew on the
9