eyepieces. A wider field can be desirable for viewing extended
Tube Balance
With the six
Disassembling the Telescope for Transport
Despite being a
Before disassembling the telescope, remove the finder scope (with bracket) and any eyepieces from the optical tube, and remove the IntelliScope Object Locator from the base. The eyepiece rack can also be removed from the base, if you wish. This will prevent these accessories from being damaged dur- ing transport. These items can be placed in optional acces- sory cases.
Disassembly of the Optical Tube
To remove the optical tube from the base, simply unthread the altitude tensioning knob and altitude retaining knob from the tube’s altitude side bearings until they are free of the tube and base. (Be careful to not lose the small spacer on the altitude retaining knob shaft; see Figure 30). Then, using both hands, carefully lift the tube off the base and set it on the ground. It is convenient to lift the tube by grasping opposing truss poles (Figure 28). The tube is somewhat heavy, so don’t hesitate to have a friend help lift it, if necessary.
Note: If you choose to thread the knobs back into the altitude bearings after removing the optical tube from the base, be careful not to put weight or stress on the knobs when trans- porting the telescope, or the knob shafts could bend.
To disassemble the optical tube, unthread the knobs in the truss pole connectors from the upper truss support ring while holding the upper tube section. Once all four knobs are unthreaded, remove the upper tube section. Now, unthread the eight knobs on the pole ends from the lower truss support ring, and remove the truss pole assemblies from the lower tube section. Place the dust covers on the tops of the upper and lower tube sections. The telescope is now disassembled and ready to be transported.
Note: In step 5 of Assembly of the Optical Tube, it was sug- gested that the lower tube section could be installed on the base before attaching the truss poles and upper tube section. Likewise, to avoid having to lift the entire optical tube assem-
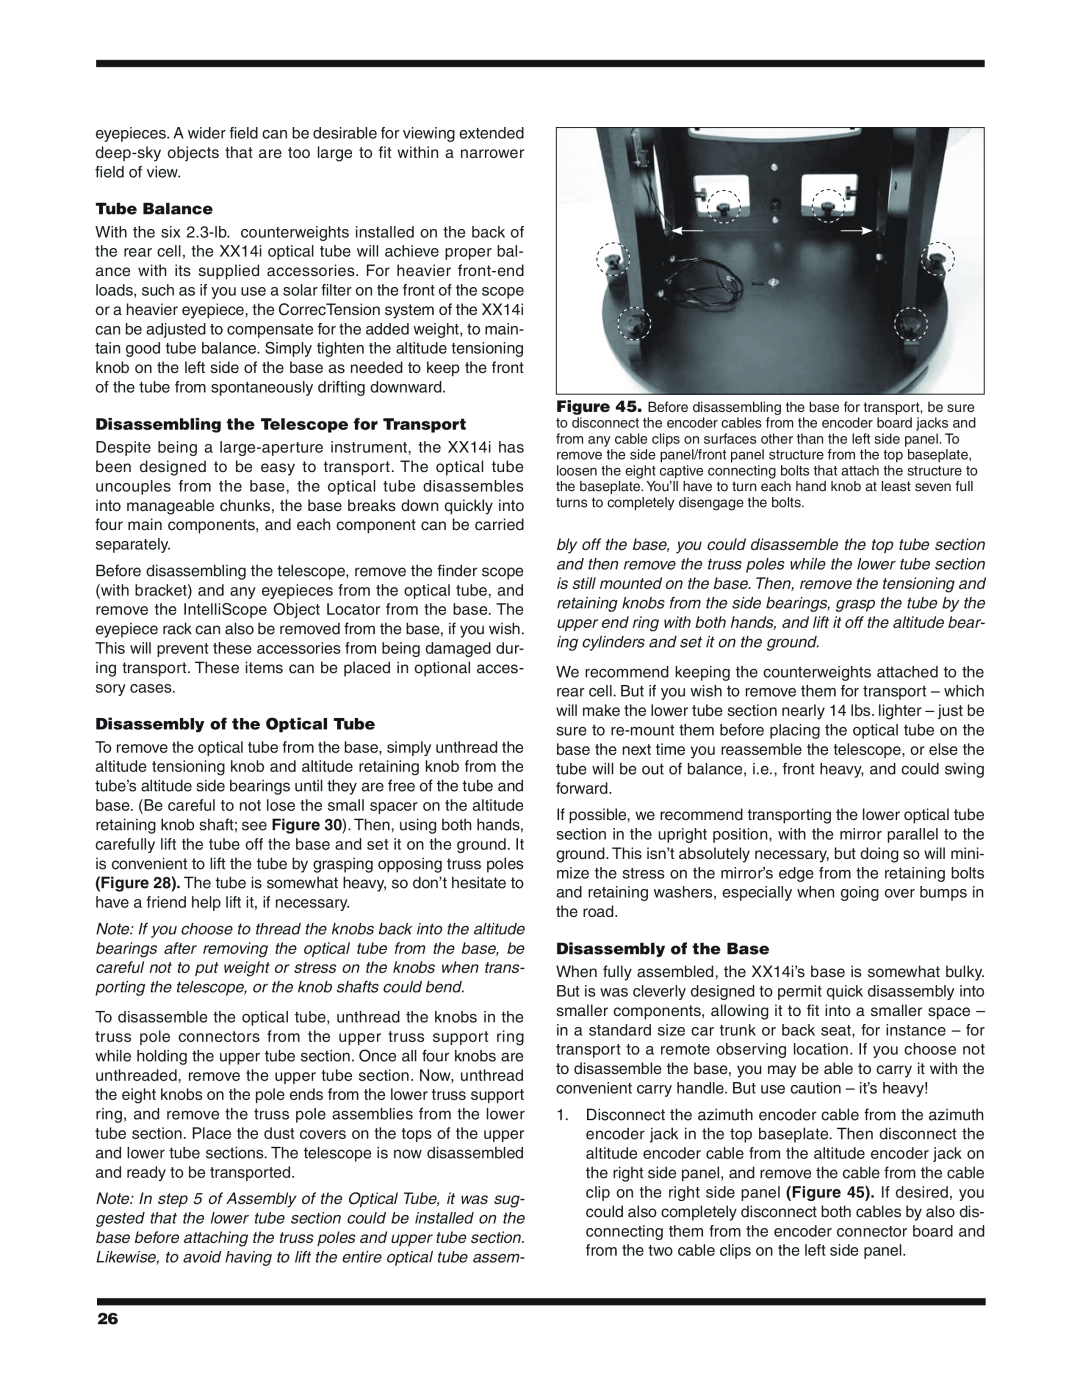
Figure 45. Before disassembling the base for transport, be sure to disconnect the encoder cables from the encoder board jacks and from any cable clips on surfaces other than the left side panel. To remove the side panel/front panel structure from the top baseplate, loosen the eight captive connecting bolts that attach the structure to the baseplate. You’ll have to turn each hand knob at least seven full turns to completely disengage the bolts.
bly off the base, you could disassemble the top tube section and then remove the truss poles while the lower tube section is still mounted on the base. Then, remove the tensioning and retaining knobs from the side bearings, grasp the tube by the upper end ring with both hands, and lift it off the altitude bear- ing cylinders and set it on the ground.
We recommend keeping the counterweights attached to the rear cell. But if you wish to remove them for transport – which will make the lower tube section nearly 14 lbs. lighter – just be sure to
If possible, we recommend transporting the lower optical tube section in the upright position, with the mirror parallel to the ground. This isn’t absolutely necessary, but doing so will mini- mize the stress on the mirror’s edge from the retaining bolts and retaining washers, especially when going over bumps in the road.
Disassembly of the Base
When fully assembled, the XX14i’s base is somewhat bulky. But is was cleverly designed to permit quick disassembly into smaller components, allowing it to fit into a smaller space – in a standard size car trunk or back seat, for instance – for transport to a remote observing location. If you choose not to disassemble the base, you may be able to carry it with the convenient carry handle. But use caution – it’s heavy!
1.Disconnect the azimuth encoder cable from the azimuth encoder jack in the top baseplate. Then disconnect the altitude encoder cable from the altitude encoder jack on the right side panel, and remove the cable from the cable clip on the right side panel (Figure 45). If desired, you could also completely disconnect both cables by also dis- connecting them from the encoder connector board and from the two cable clips on the left side panel.
26
