Operating Instructions
Information for Your Safety
Dear Customer
Following Applies only in the U.S.A
Following Applies only in Canada
FCC Note
About the battery pack
About the battery charger
Declaration of Conformity
DMC-FX33
Battery charger
Places with a lot of sand or dust
Contents
COL.MODE
Format
Standard Accessories
Names Components
DMW-BCE10PP
DE-A39B
Backlight compensation in intelligent auto mode P25 button
Charge the battery. P10
Quick Guide
Insert the battery and the card P12
Detach the battery after charging is completed
Turn the camera on to take pictures
Play back the pictures
About the Battery
When the Charge indicator flashes
Charging/number of recordable Pictures
Playback time Approx min Time
Charging conditions
Inserting Removing the Card Optional/the Battery
Check that this unit is turned off Prepare a card. optional
We recommend using a Panasonic card
About the Built-in Memory/the Card optional
Card
Card optional
Setting Date/Time Clock Set
Initial setting
MENU/SET button B Cursor buttons Mode dial
Press MENU/SET Press 3/4/2/1 to select the date and time
About the Mode Dial
Setting the Menu
Press Press 3/4 to select the setting Press MENU/SET to set
Press MENU/SET
Press 3/4 to select the menu item
Auto Review
About the Setup Menu
OFF
Power Save
Economy
Monitor
Guide Line
Shutter Tone Volume
NO.RESET
Reset
Travel Date P51
LCD Monitor Display Switching the LCD
Scene Menu
Dial Display
ON, OFF
Preparation
Flash AF assist lamp When holding the camera vertically
Using the flash
Taking Pictures
Focus range is 50 cm 1.64 feet to 
Exposure P39
Focusing P23
Lock
When the shutter speed is slowed
Preventing jitter camera shake
Scene detection
Determined scene
Changing the settings
Other settings in intelligent auto Mode
Press
Quick AF
Rotate the zoom lever towards Tele
Taking Pictures with the Zoom
Rotate the zoom lever towards Wide
Further extending the zoom
Press MENU/SET to close the menu
Menu operation
Checking the Recorded Picture Review
Press 4 REV
Press 2/1 to select the picture
Rotate the zoom lever towards T
Press twice
Playing back pictures
To delete a single picture
To delete Multi Delete
Press Press 3 to select YES and then press MENU/SET to set
Press 2/1 to select the picture and then press 4 to set
ALL Delete Except
Intelligent auto mode
Recording mode
Playback mode
About the LCD Monitor
Histogram
Recording guide line
Examples of histogram
Press LCD Mode for 1 second
Press 3/4 to select a mode
Press Press 3/4 to select a mode
Forced OFF
Forced on
Flash is not activated in any recording conditions
Auto
Shutter speed for each flash setting Flash setting Sec
Available flash range in Intelligent ISO
Available flash range
Wide Tele
Taking Pictures with the Self-timer
You can also press 2 to select
Compensating the Exposure
Press MENU/SET to finish
Under exposed
Compensate the exposure towards positive
Taking Pictures using Auto Bracket
Taking Close-up Pictures
HI-SPEED Burst Starry SKY
Focus range
Press 3/4/2/1 to select the scene mode
Press 4 at a to switch to the next menu screen
Technique for Portrait mode
Portrait
Soft Skin
About the information
Technique for Night portrait mode Use the flash
Self Portrait
Scenery
Sports
Night Scenery
Food
Party
Candle Light
Birthday/Name setting
Technique for Candle light mode
BABY1/BABY2
PET
Sunset
High Sens
Picture size and aspect ratio
Setting the shutter speed
HI-SPEED Burst
Starry SKY
Maximum Burst speed
Technique for Starry sky mode
Technique for Fireworks mode
Fireworks
Beach
Aerial Photo
Snow
Underwater
Motion Picture Mode
Press 2 again to cancel AF lock
Press the shutter button fully to stop recording
If you selected on the screen shown in step
Recording which Day of the Vacation You Take the Picture
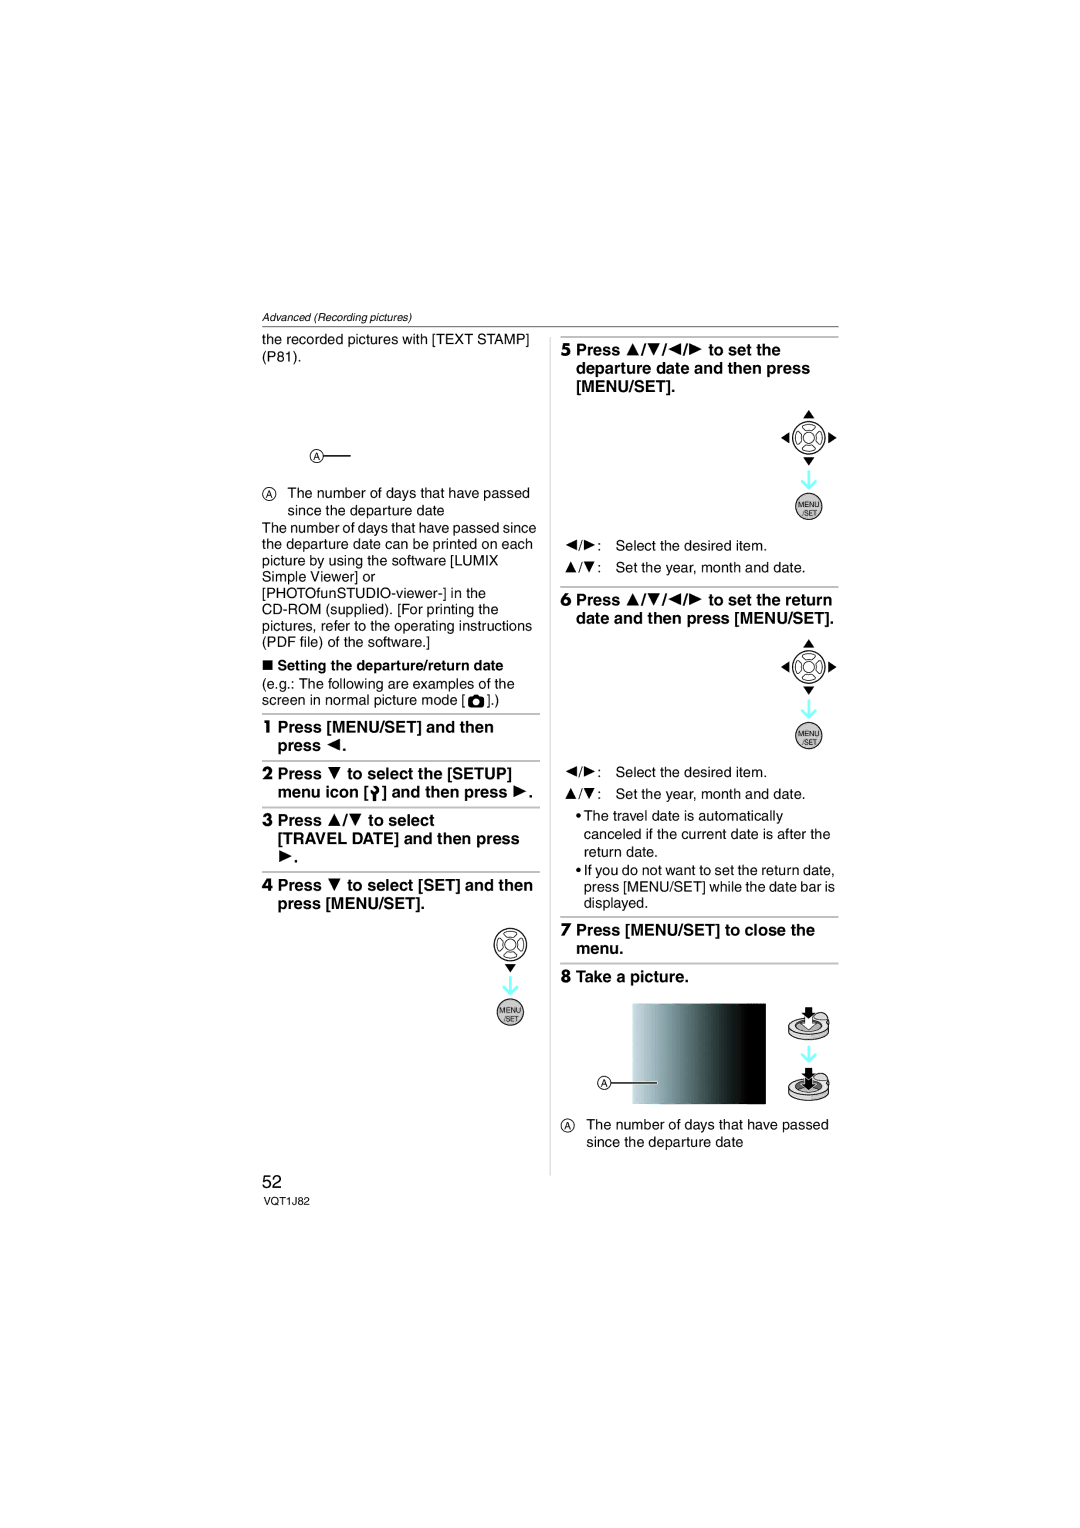
Setting the departure/return date
Press MENU/SET to close the menu Take a picture
Select the desired item Set the year, month and date
Number of days that have passed since the departure date
Canceling the travel date
Displaying the Time at Travel Destination World Time
Finishing setting the home area
Setting the travel destination area Perform steps 1, 2
Icon changes from to after setting the travel destination
Press 4 to select Home and then press MENU/SET to set
Using the REC Mode Menu
Sensitivity P59
Press and hold Func when recording
Adjusting the hue for a more natural picture
Balance
AWB
KlKelvin Color Temperature
Setting the white balance manually
Auto white balance
White balance icon on the screen turns red or blue
Settings
Intelligent ISO
400
800
Setting the light sensitivity
Setting the aspect ratio of pictures
Sensitivity
Aspect Ratio
PICT.SIZE/QUALITY
AF Mode
Setting the focus method
Audio REC
Recording still pictures with audio
Spot-focusing
Camera focuses on a limited narrow area in the screen
About face detection
About or
Taking Pictures using Burst
Stabilizer
Burst
Detecting jitter and compensating for it
Focusing in low light conditions becomes easier
AF Assist Lamp
COL.MODE
Slow Shutter
Recording bright pictures in dark places
Press 4 to select REC and then press MENU/SET
Take the pictures
Press 3/4 to select the menu item and then press
Audio REC
Cancel Mark
Press 3 to choose Play and then press MENU/SET
Press 2/1 to move the picture
GO to REC
Marks
Viewing pictures stored in the memory
Deleting clipboard pictures
Please bear copyrights and other such matters in mind. P2
Displaying Multiple
Displaying Pictures by Recording Date
Rotate the zoom lever towards W to display multiple screens
Press 3/4/2/1 to select a picture
Using the Playback Zoom
Press 3/4/2/1 to select the date to be played back
Press 3/4/2/1 to select a picture and then press MENU/ SET
Rotate the zoom lever towards T to enlarge the picture
To stop using the playback zoom
Playing Back Motion Pictures/Pictures with Audio
To delete a picture during the playback zoom
Motion pictures
Press 2/1 while pausing
Frame-by-frame forwarding/rewinding
Pictures with audio
Text STAMP/RESIZE/TRIMMING/ Aspect Conv
When a motion picture with Or was selected
To stop using the 9 screens playback screen
Press the shutter button
Nine pictures are saved as one single picture
Slide Show
Using the Play mode menu
Playing back pictures in order for a fixed duration
Setting the audio, duration and effect
Press 3/4 to select ALL, or and then press MENU/SET
Press 3 to select Start and then press MENU/SET
Press 4 to finish
Press 1 to search the categories
Category
Scene modes
Press 4 to select Slideshow Setup and then press MENU/ SET
Press MENU/SET twice to close the menu
Press 2 to return to the category playback screen
Playing back a slide show
Rotate DISP./ROTATE
Press 2/1 to select the picture and then press
To display the picture rotated
Rotate display
Setting your favorite pictures
Favorite
Title Edit
Deleting all favorites
Press 2/1 to select a picture and then press
Cancel
SET
Text Stamp
Will be resized when stamping the date etc. on them
Press 2/1 to select the picture and then press4
Press 3/4 to select YES or no and then press MENU/SET
Shooting Date Time
Travel Date
Title
Dpof Print
Setting the picture to print and the number of prints
Resize Trimming Aspect Conv
Number of prints icon B appears
To cancel all settings
To print the date
Preventing accidental erasure of pictures
Protect
Rotate Audio DUB Title Edit
Audio DUB
Press 4 to stop recording
Resize
Adding audio after taking pictures
Trimming
Following pictures cannot be resized
Aspect Conv
Press 3/4 to select or Then press MENU/SET
Changing the aspect ratio of a 169 picture
Aspect ratio to a or a aspect ratio
Only when selecting
Copy
Press MENU/SET several times to close the menu
Copying the picture data
Format
Initializing the built-in memory or a card
Connecting to a PC
Turn on the camera and the PC
Windows
Macintosh
Conditions under which a different Folder number is used
Folder Composition
About the PTP connection
Connecting to other equipment
Printing the Pictures
Press 2/1 to select the picture and then press MENU/SET
Press 3 to select Print Start and then press MENU/SET
Disconnect the USB connection cable after printing
Press Press 3/4 to select an item and then press MENU/SET
Print with Date OFF
NUM. of Prints
Paper Size
Postcard
When printing different pictures on 1 sheet of paper
Playing back pictures using the AV cable supplied
Turn the TV on and select external input Turn the camera on
Set the TV Aspect Turn this unit and the TV off
Playing back pictures on a TV with an SD Memory Card slot
Recording Recording in normal picture mode Initial setting
Recording after settings
Screen Display
Guide to GO to Play P66 Histogram P32 Age P45
100
Playback
101
102
When not using the camera for a long Period of time
103
About the picture data
About tripods
Message Display
104
Write Error Please Check the Card
USB Mode CHANGED. Please Remove the USB Cable
105
Folder Cannot be Created
Troubleshooting
106
107
108
Then activated again for the actual recording
You can rotate pictures with the Rotate function. P78
Picture is not played back
109
110
File numbers are not recorded consecutively
File numbers are recorded in ascending order
Picture is displayed in black
Number of Recordable Pictures and Available Recording Time
111
112
Available recording time when recording motion pictures
113
114
Specifications
115
116
117
AV OUT/DIGITAL
Digital Camera Accessory System
118
119
Digital Camera Accessory Order Form
For USA Customers
Request for Service Notice For USA Only
120
Limited Warranty Coverage
Limited Warranty For USA Only
121
Carry-In or Mail-In Service
122
Customer Services Directory For USA Only
Centralized Factory Service Center
Panasonic Camera and Digital Service Center
123
Précautions à prendre
124
Pour le Canada
Avertissement
125
Propos du bloc-batterie
Propos du chargeur de batterie
Chargeur de batterie
Index
126
Picture Quality Setting Motion Picture
Status Indicator
127
Number of Recordable Pictures
One Panasonic Way, Secaucus, NJ
Panasonic Puerto Rico, Inc
Panasonic Canada Inc
Ambler Drive, Mississauga, Ontario, L4W 2T3