V. OPERATION
![]() WARNING!
WARNING!
•Do not inhale any smoke emitted from the tool or battery pack as it may be harmful.
[Main Body]
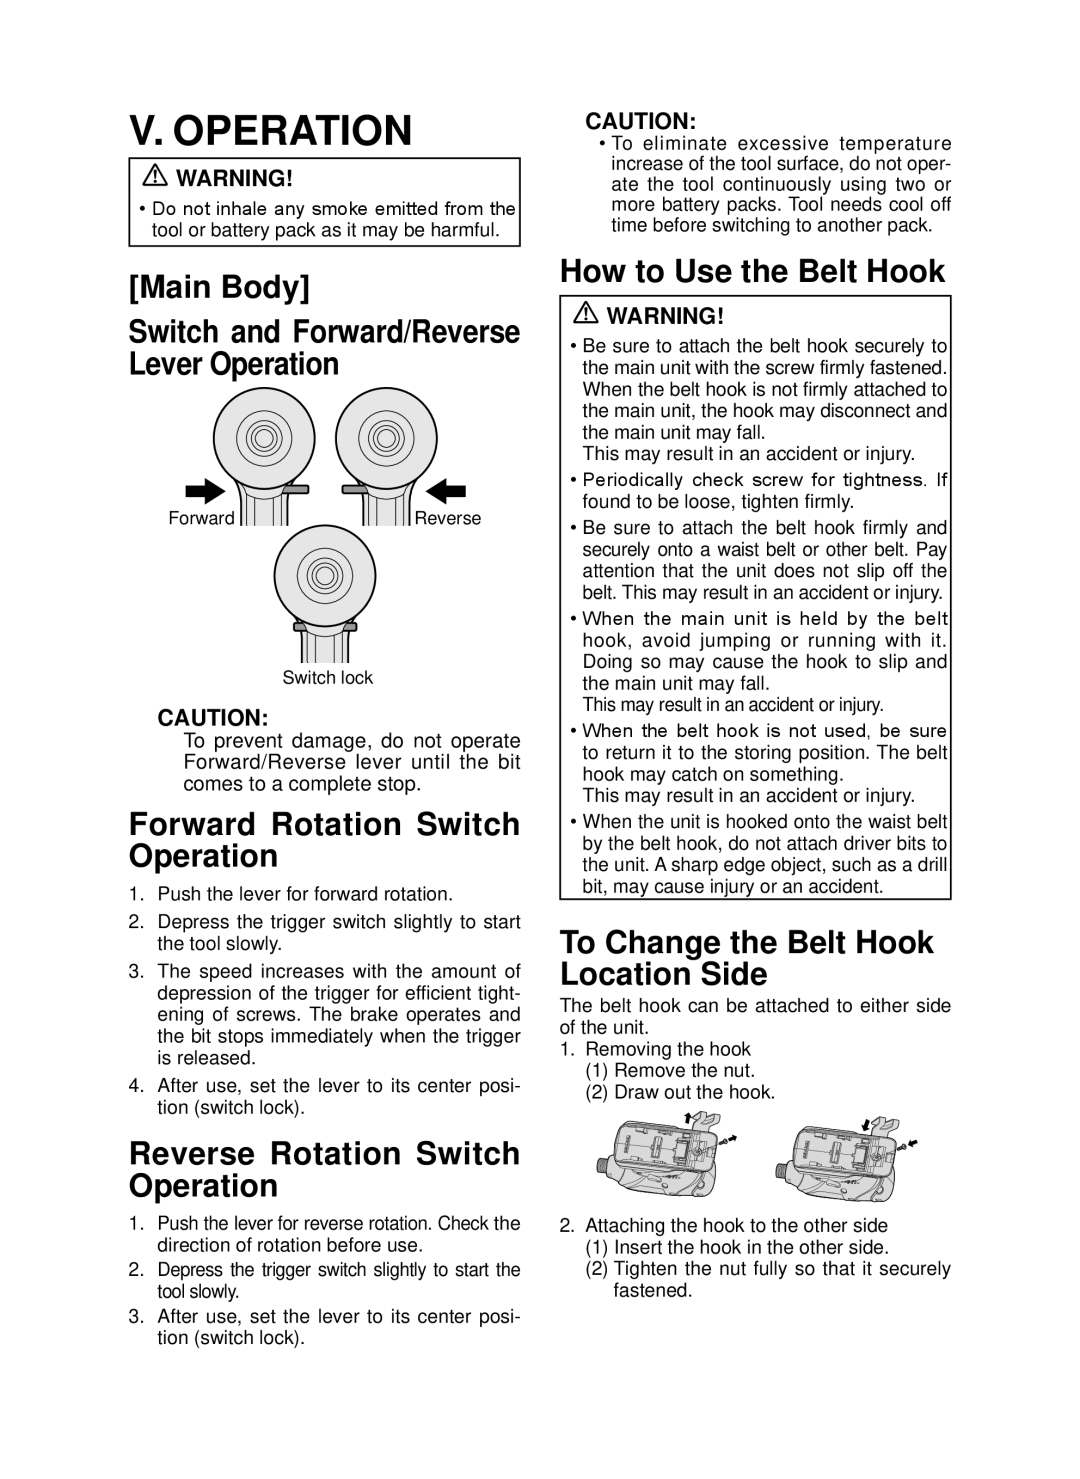
Switch and Forward/Reverse
Lever Operation
Forward ![]()
![]() Reverse
Reverse
Switch lock
CAUTION:
To prevent damage, do not operate Forward/Reverse lever until the bit comes to a complete stop.
Forward Rotation Switch Operation
1.Push the lever for forward rotation.
2.Depress the trigger switch slightly to start the tool slowly.
3.The speed increases with the amount of depression of the trigger for efficient tight- ening of screws. The brake operates and the bit stops immediately when the trigger is released.
4.After use, set the lever to its center posi- tion (switch lock).
Reverse Rotation Switch Operation
1.Push the lever for reverse rotation. Check the direction of rotation before use.
2.Depress the trigger switch slightly to start the tool slowly.
3.After use, set the lever to its center posi- tion (switch lock).
CAUTION:
•To eliminate excessive temperature increase of the tool surface, do not oper- ate the tool continuously using two or more battery packs. Tool needs cool off time before switching to another pack.
How to Use the Belt Hook
![]() WARNING!
WARNING!
•Be sure to attach the belt hook securely to the main unit with the screw firmly fastened. When the belt hook is not firmly attached to the main unit, the hook may disconnect and the main unit may fall.
This may result in an accident or injury.
•Periodically check screw for tightness. If found to be loose, tighten firmly.
•Be sure to attach the belt hook firmly and securely onto a waist belt or other belt. Pay attention that the unit does not slip off the belt. This may result in an accident or injury.
•When the main unit is held by the belt hook, avoid jumping or running with it. Doing so may cause the hook to slip and the main unit may fall.
This may result in an accident or injury.
•When the belt hook is not used, be sure to return it to the storing position. The belt hook may catch on something.
This may result in an accident or injury.
•When the unit is hooked onto the waist belt by the belt hook, do not attach driver bits to the unit. A sharp edge object, such as a drill bit, may cause injury or an accident.
To Change the Belt Hook Location Side
The belt hook can be attached to either side of the unit.
1.Removing the hook
(1)Remove the nut.
(2)Draw out the hook.
2.Attaching the hook to the other side
(1)Insert the hook in the other side.
(2)Tighten the nut fully so that it securely fastened.