Preparation
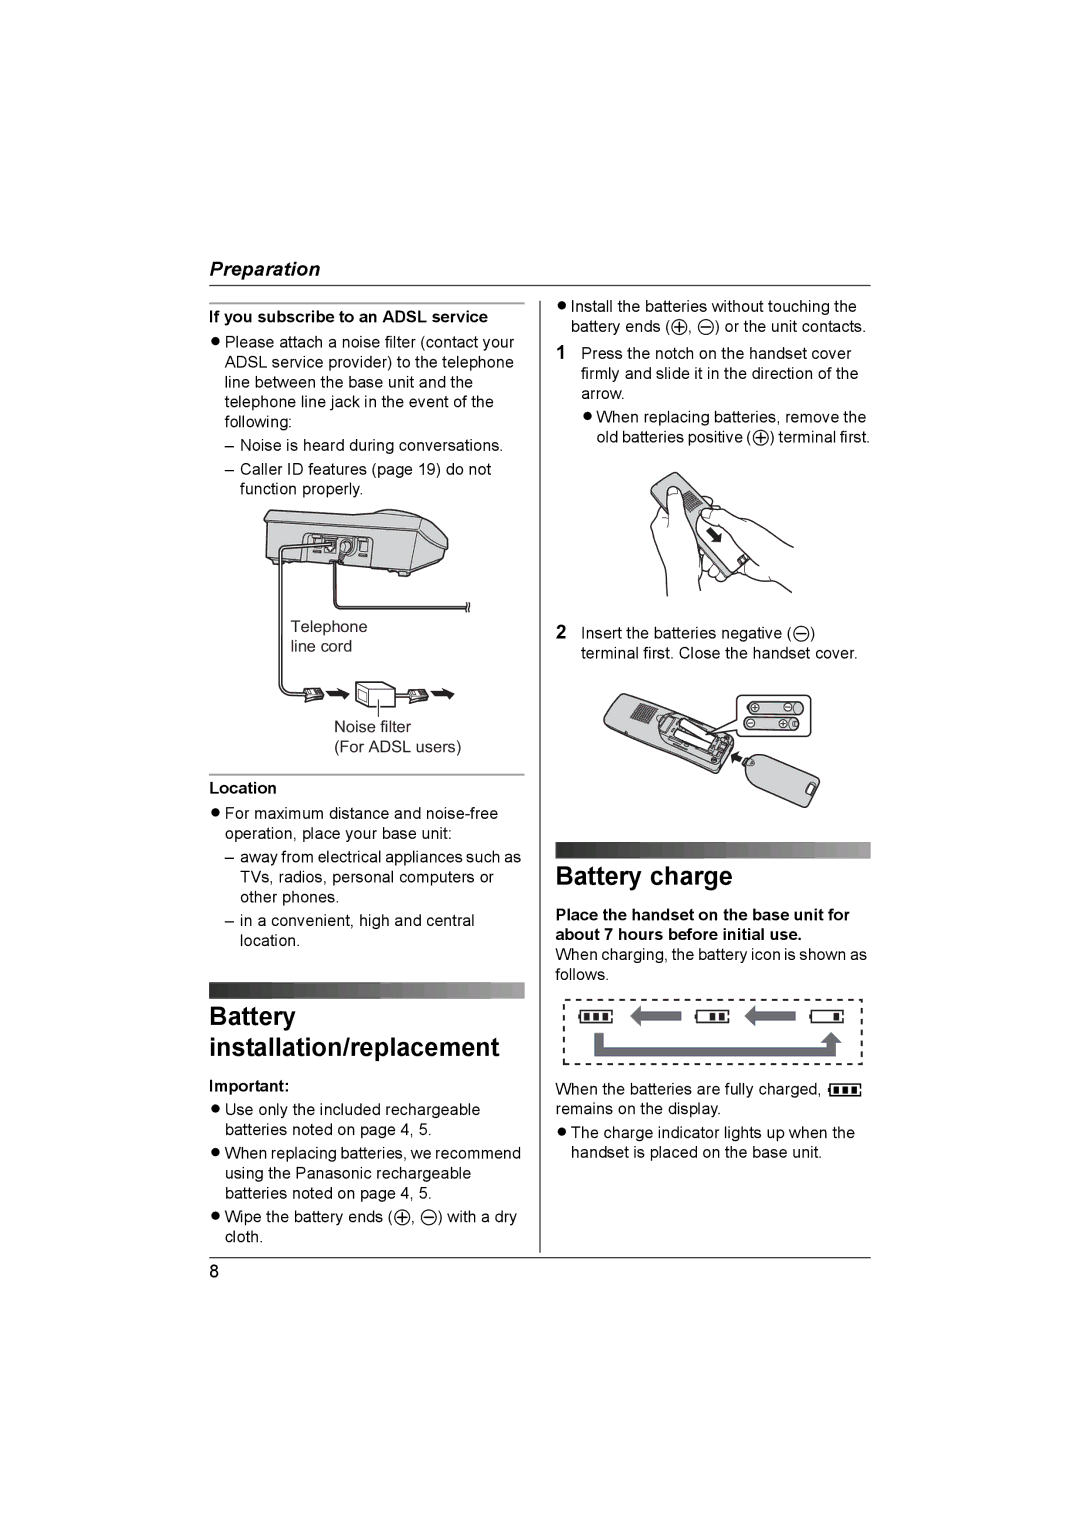
If you subscribe to an ADSL service
LPlease attach a noise filter (contact your ADSL service provider) to the telephone line between the base unit and the telephone line jack in the event of the following:
–Noise is heard during conversations.
–Caller ID features (page 19) do not function properly.
Telephone line cord
Noise filter
(For ADSL users)
Location
LFor maximum distance and
–away from electrical appliances such as TVs, radios, personal computers or other phones.
–in a convenient, high and central location.
Battery installation/replacement
Important:
LUse only the included rechargeable batteries noted on page 4, 5.
LWhen replacing batteries, we recommend using the Panasonic rechargeable batteries noted on page 4, 5.
LWipe the battery ends (S, T) with a dry cloth.
LInstall the batteries without touching the battery ends (S, T) or the unit contacts.
1Press the notch on the handset cover firmly and slide it in the direction of the arrow.
LWhen replacing batteries, remove the old batteries positive (S) terminal first.
2Insert the batteries negative (T) terminal first. Close the handset cover.
Battery charge
Place the handset on the base unit for about 7 hours before initial use.
When charging, the battery icon is shown as follows.
When the batteries are fully charged, 5 remains on the display.
LThe charge indicator lights up when the handset is placed on the base unit.
8
