To Cook by Auto Menu
& Hints
18.CHICKEN AND BAKED VEGETABLES
(750 g - 3.0 kg (meat only))
•To keep poultry in shape during cooking , truss or tie the legs of the bird together. Brush with melted butter and sprinkle with herbs if desired.
•Place the chicken breast side up on the Low Rack with a shallow dish underneath to collect the drips.
•Prepare the vegetables into even sized pieces.
•For chicken weighing 1.1 kg or less, place all vegetables around the outside of the rack. Brush with melted butter or oil.
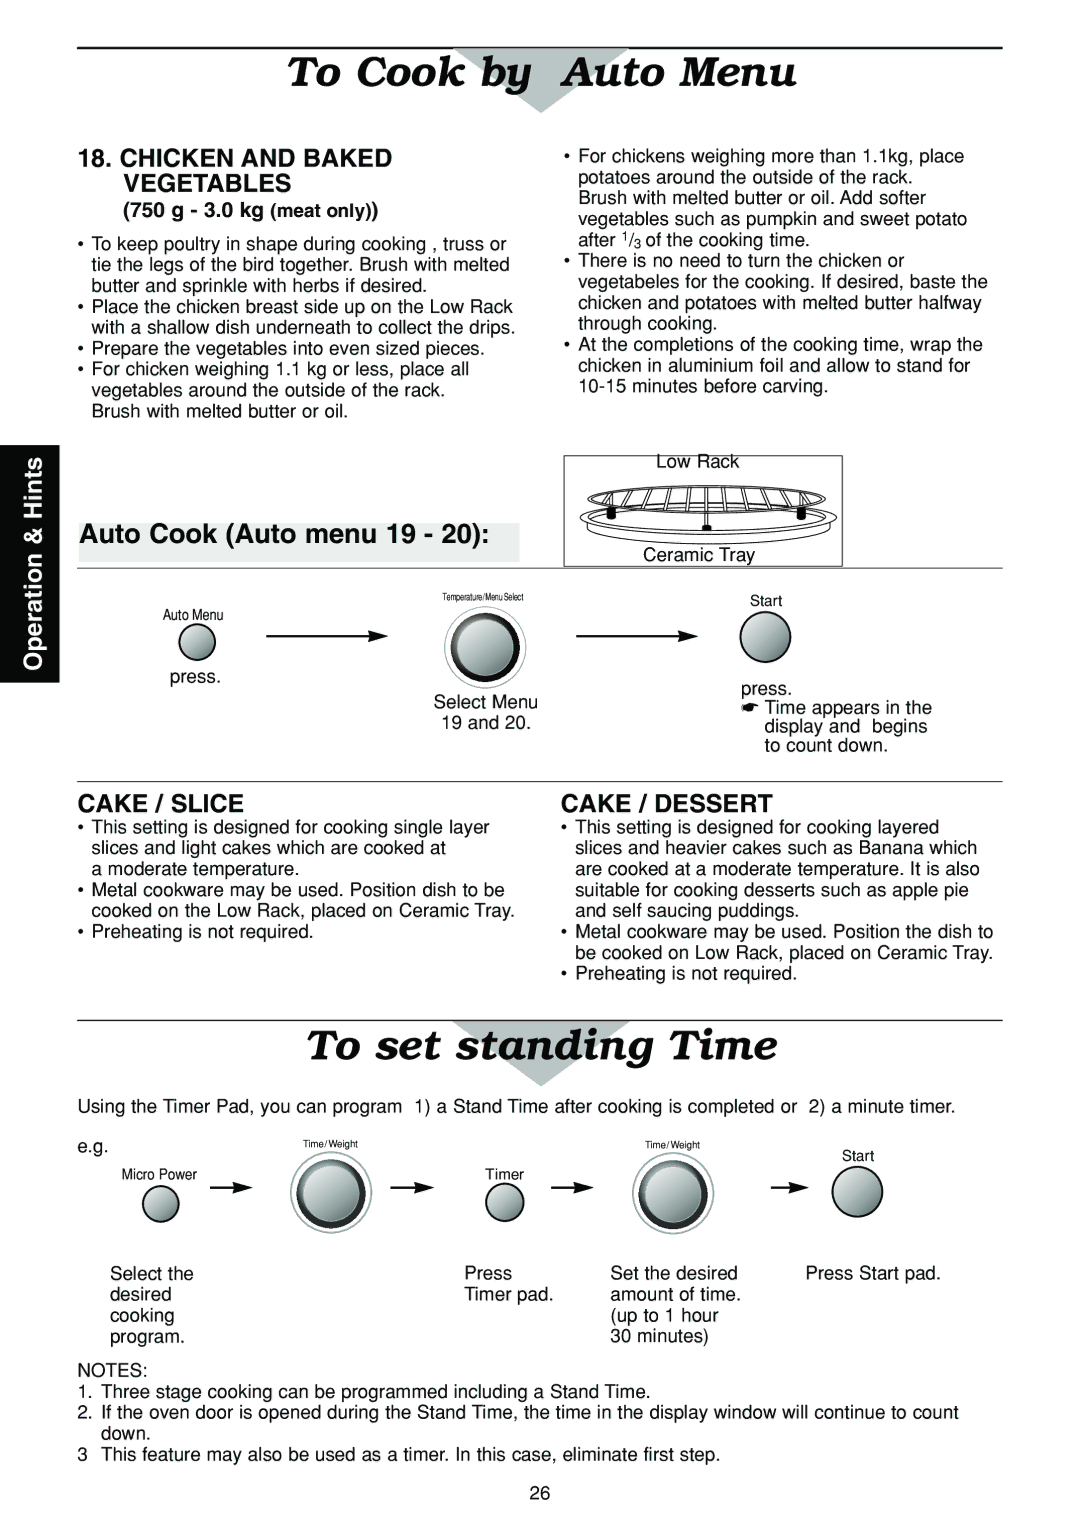
Auto Cook (Auto menu 19 - 20):
•For chickens weighing more than 1.1kg, place potatoes around the outside of the rack. Brush with melted butter or oil. Add softer vegetables such as pumpkin and sweet potato after 1/3 of the cooking time.
•There is no need to turn the chicken or vegetabeles for the cooking. If desired, baste the chicken and potatoes with melted butter halfway through cooking.
•At the completions of the cooking time, wrap the chicken in aluminium foil and allow to stand for
Low Rack
Ceramic Tray
Operation
Temperature/Menu Select
Auto Menu
press.
Select Menu
19 and 20.
Start
press.
☛Time appears in the display and begins to count down.
CAKE / SLICE
•This setting is designed for cooking single layer slices and light cakes which are cooked at
a moderate temperature.
•Metal cookware may be used. Position dish to be cooked on the Low Rack, placed on Ceramic Tray.
•Preheating is not required.
CAKE / DESSERT
•This setting is designed for cooking layered slices and heavier cakes such as Banana which are cooked at a moderate temperature. It is also suitable for cooking desserts such as apple pie and self saucing puddings.
•Metal cookware may be used. Position the dish to be cooked on Low Rack, placed on Ceramic Tray.
•Preheating is not required.
To set standing Time
Using the Timer Pad, you can program 1) a Stand Time after cooking is completed or 2) a minute timer.
e.g. | Time/ Weight | Time/ Weight |
|
| Start |
| Micro Power | Timer |
Select the | Press | Set the desired | Press Start pad. |
desired | Timer pad. | amount of time. |
|
cooking |
| (up to 1 hour |
|
program. |
| 30 minutes) |
|
NOTES:
1.Three stage cooking can be programmed including a Stand Time.
2.If the oven door is opened during the Stand Time, the time in the display window will continue to count
down.
3 This feature may also be used as a timer. In this case, eliminate first step.
26
